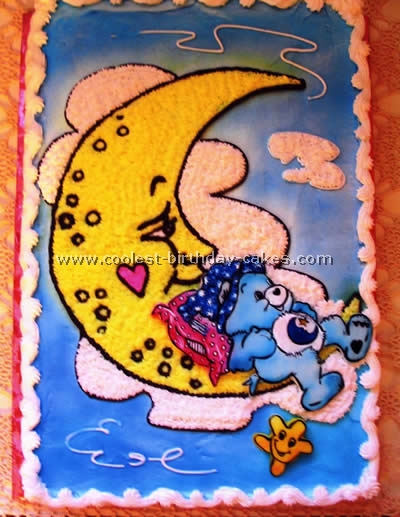
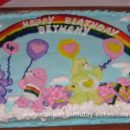
This Care Bear cake is made out of fondant and painted. The rest of the cake is drawn on and filled in. The icing is buttercream.
More Care Bear Cake Ideas
Cake by Anna B., Saratoga Springs, NY
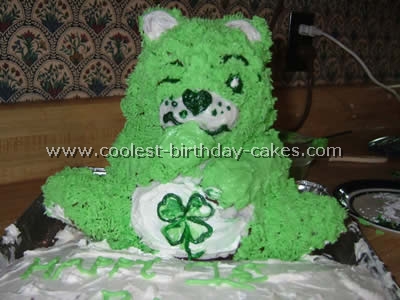
For this care bear cake I used the Wilton Panda Bear form and two round pans served as a cloud bottom. I trimmed a bit off the ears. I had a lot of fun making this and I’m sure I’ll use the form again.
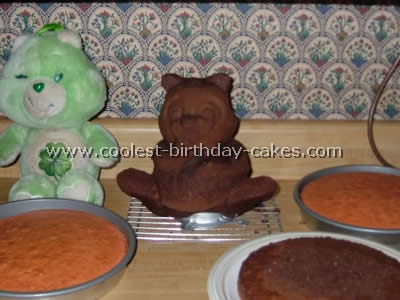
Cake by Helen R., Ingleside, TX
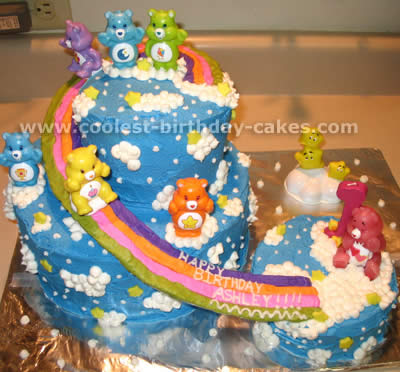
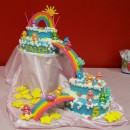
This Care Bear cake was made for my daughter’s first birthday. She loves care bears and so do I!
I made the round cakes and iced them with buttercream icing. I made the stars out of fondant and just piped white dots for clouds. The slide took a little brainwork. I drew a pattern with regular paper and made sure it lined up right. Then I traced it onto thicker cardstock type paper. I connected it to the top with icing and put Lollie pop sticks under it to support it all the way down and piped the different colors for the rainbow on the slide!
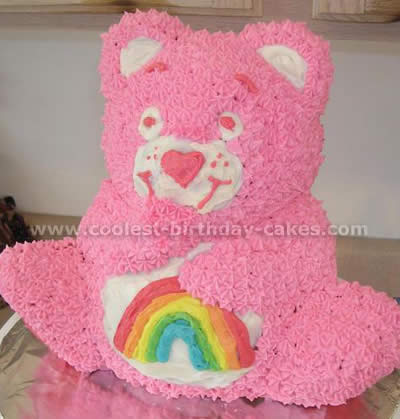
I made this Care Bear cake for my niece’s birthday. I used pictures of Cheer Bear that I got online to help me decorate it as accurately as possible. I used a #17 tip for all the pink frosting flowers.
Cake by MaryKay C., Kiev, Ukraine
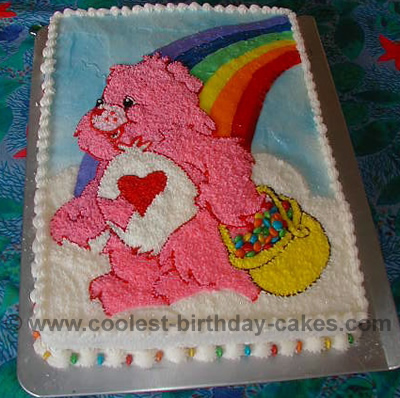
I made this Care Bear cake for my daughter’s 5th birthday. After photocopying/enlarging a photo from one of her Care Bear books, I created a stencil by tracing the outline onto wax paper with a Sharpie pen.
After frosting the cake and letting icing set, I piped in the rainbow free hand (using rose/flat tip, and then pressing flat with fingertip dipped in cornstarch).
While that was setting, I retraced the outlined bear on the back side of the wax paper template (not the Sharpie ink side) with black piping gel. I then pressed the piping gel outline onto the cake top. (Be careful to keep the outline as thin as possible because it spreads when you press it on the cake. It doesn’t really matter if the outline isn’t perfect – so long as you have a good, basic outline on the cake top.)
I then piped in the outline of the bear in red; basket in black; and filled in with star tips. I used mini M&Ms for basked contents as well as to decorate cake base.
This Care Bear cake was a BIG hit for my daughter’s kindergarten class party, where I took a Care Bear book in for story time.
Cake by Debbie A., Deer Lake, NL, Canada
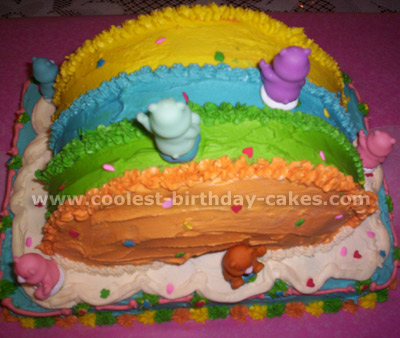
I found the idea for this care bear cake on the Internet but no picture was provided. I started with a white cake mix in a 9×13 pan. I, also, baked a white cake mix in a tube pan but before baking I separated the already beaten cake mix into 4 separate bowls and added a different color food coloring to each bowl. I then added the bowls to the tube pan (without mixing them) and baked as directed.
When baked, I cut the care bear cake into two half circles and stood them side-by-side on top of the 9×13 cake. I then used a butter cream icing to decorate and tinted the icing with paste food coloring so as not to soften the icing too much. The care bears are figures from a chess game. This care bear cake is not difficult to do at all and the kids LOVED it!
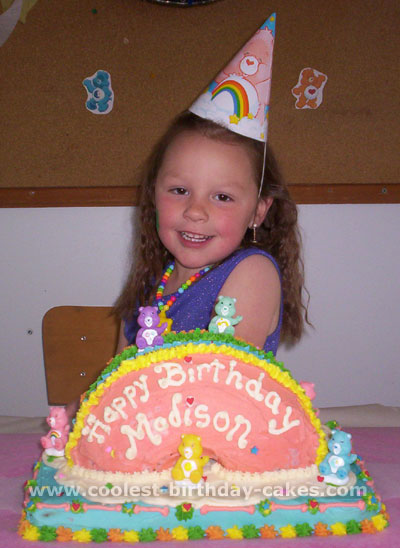
Cake by Shana G., Stouffville, Ontario, Canada
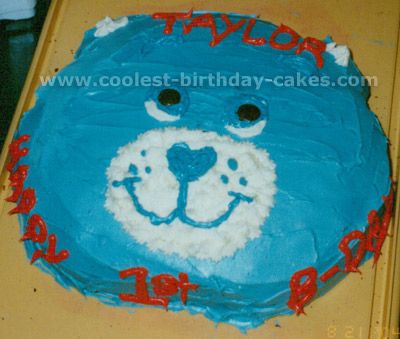
I made this Care Bear cake by first starting with a round cake. Then I cut a little off the sides just to give shape to the cheeks. I decorated the care bear cake with icing using a small rosebud tip.
Cake by Janelle A., Puyallup, WA
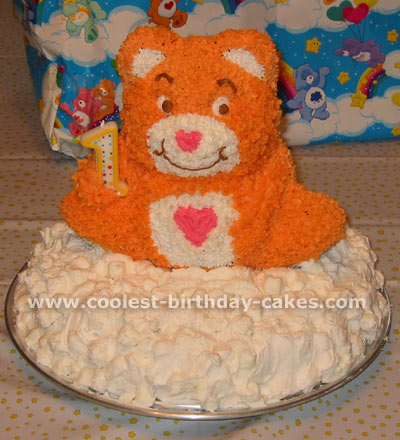
For this care bear cake I used the Wilton Panda Bear 3-D pan and baked cake as instructed. I trimmed the ears a little to make them a little rounder. I then outlined the areas that were going to be white and the hearts. Then I filled in the areas with small stars.
I reshaped the arms around the candle and tummy by stacking stars until I achieved the look I wanted. For the base of the care bear cake I covered a cake pan with shortening only frosting mixed with miniature marshmallows (butter frosting won’t stick to the pan). I wanted it to look like a cloud. I had so much fun making this care bear cake!
Cake by Heather M., Aurora, IL
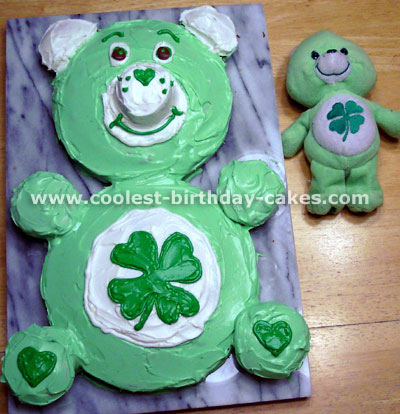
For this care bear cake I used two cake mixes. I used one cake mix and made an 8-inch round and a 9-inch round cake. I used the 8-inch round cake for the head. I used the 9-inch round cake for the body.
I used a second cake mix and made cupcakes. I used 6 of the cupcakes – four cupcakes for the paws, and one for the snout and one for the ears.
I began by “drawing” circles on the two cakes with a toothpick, one for the belly and one for the snout. I then frosted the entire cake light green, except for the circles I drew.
Then I removed the cupcake wrappers from four of the cupcakes and frosted the tops and sides light green and set them next to the cake for the paws. I then cut one of the cupcakes in half and frosted just the round sides light green, and placed the cut side next to the head cake.
I then used a circle (writing) tip and outlined the circles on the tummy and head with white frosting. I used the same tip to fill in the area, and then smoothed it with a knife. Then I frosted the top of the ear cupcakes white.
Next I cut the crown off of the last muffin, placed it upside down on the white frosting on the head cake, and frosted it white. Finally I used the circle tip and made two oval eyes with the white frosting.
I tinted more frosting dark green and used a circle tip to make the hearts on the feet, the heart on the nose, the smile and freckles, and the eyes of the care bear cake. I outlined these first, then filled them in and smoothed them with a knife.
Finally, I used the dark green frosting with a circle tip and made the four leaf clover. I cut two small pieces from a tootsie roll to make the eyes, and then put a dot of dark green frosting for the pupil. It took me two store bought tubs of frosting to make this care bear cake.
Cake by Allison H., East Amerst, NY
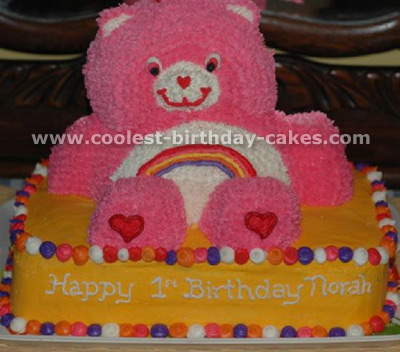
Someone requested that I make a Care Bear cake that went along with a Care Bear theme for his granddaughter’s first birthday. I really enjoy making 3-D cakes, so I gave it a shot.
The Care Bear cake base is two layers thick (9×13″ pan). For the Care Bear’s body, I cut three identical circles, stacked them, and shaved them into a torso. I did the same for the head, but made it an oval shape instead of a circle.
I put filling between the layers and did a base layer of frosting. For the arms I cut long ovals and frosted them to the side of the body. For the legs I cut little squares and added circle pieces for the feet. I placed skewers through the arms to make sure they stayed. All of these pieces came from two more layers from a 9×13″ pan.
I decorated the Care Bear cake using a star tip, using a little more pressure and layering for the snout and ears. Keep in mind that if your Care Bear is large and heavy, you need to place dowels in the base and cut a cake board to fit the body of the bear so that it does not squash the Care Bear cake base.
Cake by Dawnetta H., Barnhart, MO
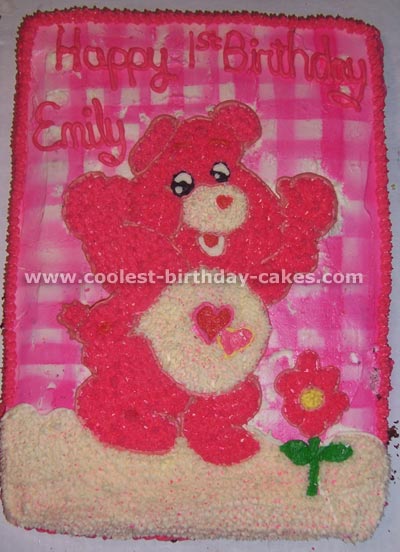
I made this cake for my niece’s first birthday. The cake idea came from the napkins my sister had purchased for the party.
I first baked two 9×13 cakes. After leveling the cakes I put them together and then iced them with white icing. I took strips of wax paper and sprayed pink icing in thin lines to create the tiles.
After that I took a picture of a Care Bear that I had enlarged and traced it on wax paper. I then poked holes in the wax paper with a toothpick and then placed it on top of the cake. Using the toothpicks I poked holes through the wax paper and then onto the cake.
I then used pink icing and outlined the picture. Using a star-tip decorating tip I filled in the cake with stars and put a white border around it.
Cake by Michelle K., Pine Mountain, GA
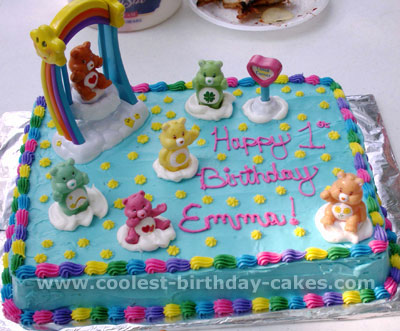
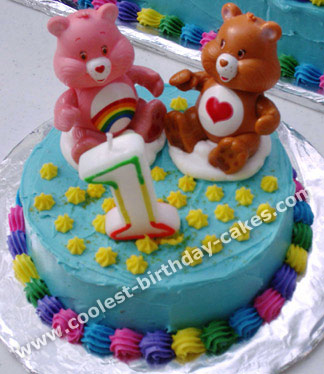
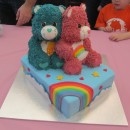
I made a Care Bear cake for my daughter’s first birthday. The small Care Bear cake was her smash cake that she ended up falling asleep in.
The Care Bear cake was very easy to make. The sheet cake and smash cake were both iced in blue tinted butter cream icing and the figurines were from a care bear play set I purchased.
Your comment has been sent successfully.