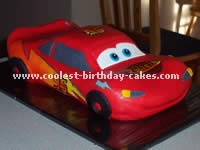
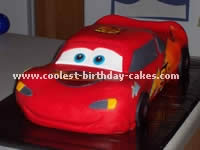
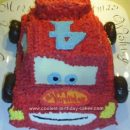
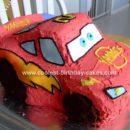
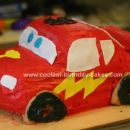
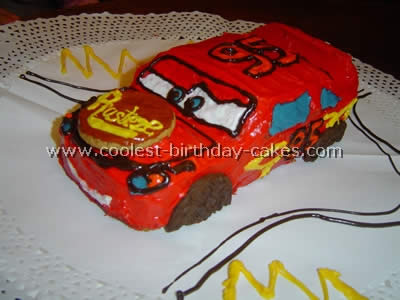
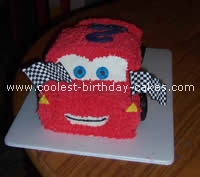
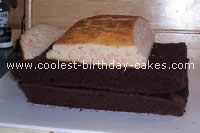
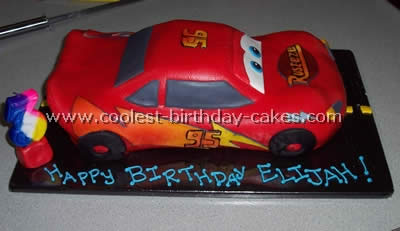
I made this cake for my son’s 2nd birthday. It is made of three cakes (two sheets and one square) that is cut out and mounted and I used skewers to secure.
For the Cars cake decorations I made the red icing two days before to get it to a deep red.
The eyes and side windows were made of a bit of fondant. I printed the flag out and cut it out and I lucked out with the tires.
I found two yo-yos at the dollar store that I cut in half.
This makes a large cake that will feed 30 + people.
More Cars Cake Decorations
Cars cake decoration by Judith Y., San Antonio, TX
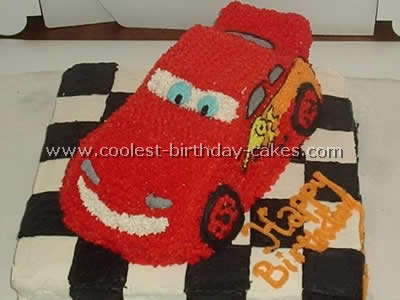
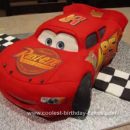
This Cars cake was made for my co-workers son’s who was turning five. The Wilton Cruiser cake pan was used for this cake. The bottom portion of the cake was made using a 12X12 cake pan. I cut the top of the Cruiser cake and a portion of the hood area to get the general shape of Lightning McQueen.
I cut the top of the cake and used it as the spoiler on the rear, using toothpicks to secure it to the
In order to cover the cake I used a can of Duncan Hines white frosting heated in the microwave for about 30 seconds and poured that over the car portion of the cake to form a glaze. Using black piping gel I ‘drew’ the details on the car. I used Wilton colors, Red, Sky Blue, Lemon Yellow and Orange for the colors to fill in the detail. I used a small star tip for the body of the car. I used a piping tip to fill in the gray on the windows, the lightening bolt, the tires on the car and Lightning’s eyes.
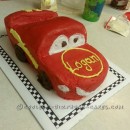
The base of the Cars cake was split and filled. A checkered flag was used as the backdrop on the cake using chocolate icing tinted with black to get the dark black color vs. a dark gray. The car was placed directly on top of the cake.
The cake served about 60 people. My co-worker said the cake was a huge hit and I have since been asked to make this cake three times now and each time it gets rave reviews. The Cruiser pan is a great pan to have and is very versatile. I have made a lot of different types of cars with it.
Cars cake decoration by Rosa H., Jakarta, Indonesia
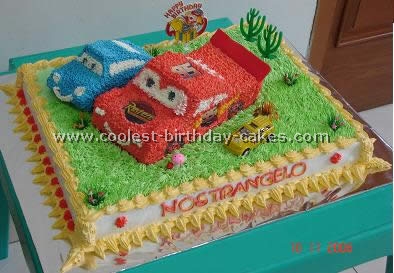
My two sons are big fans of Cars, the movie, especially Sally and Lightning Mcqueen. So, I made this cake. Lightning McQueen and Sally are made of cake. I carved the cake and finished off the cars cake decorations with whip cream.
Cars cake decoration by Liz A., Invercargill, New Zealand
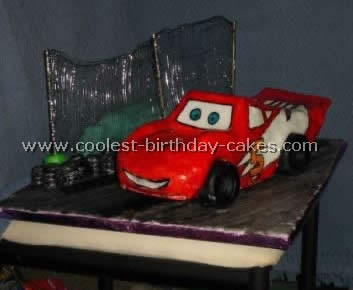
My boyfriend’s boss asked me to make a cake for his son’s 5th birthday. Sam had just seen the Cars movie so of course he wanted a Cars cake. He had a little matchbox type car of the main car (I still haven’t seen the movie so I don’t know the name of it!) which I used as a base for my start.
I made two big cakes and chopped them up roughly to form the shape of the car, covered it with butter icing, then draped a piece of icing over top.
I sketched out the paintwork with the end of a paintbrush and painted the parts red or black. The spoiler at the back was a little heavy so split and broke.
When Sam got it he just stared at it and didn’t want to cut it.
Thanks for sharing all these Cars cake decorations!
Cars cake decoration by Karen K., Hewitt, TX
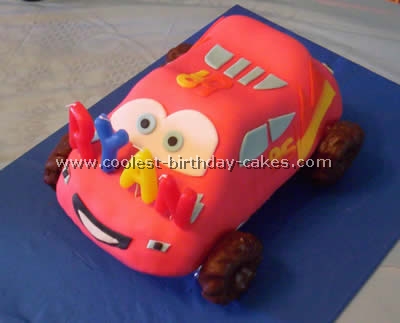
This Cars cake was for my son’s 5th birthday and he LOVES the movie Cars. This cake was made with the cruiser cake pan. I put the cake on a small cake board cut slightly smaller than the cake. I then hot glued two hidden pillars covered with foil to the larger cake board to look like the axles. The cake looked “suspended”.
For the Cars cake decorations, I covered four donuts with melted chocolate to look like wheels and attached them with toothpicks. The wheels were the most requested thing on the cake! The cake was a triple chocolate fudge cake. And was first covered with a layer of buttercream icing then covered with the tinted fondant.
I used fondant colored in coordinating colors to cut the shapes to resemble the race car. I actually used a toy as a guide on the details. I used clear vanilla to attach the fondant pieces to each other. Working with fondant is kind of like using play dough. You can create anything and easily fix mistakes. Just let your imagination run wild!!!
Cars cake decoration by Beatriz B., Santiago
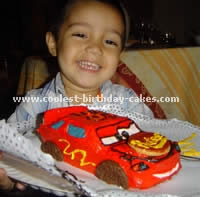
My little three-year old nephew loves the movie Cars especially Lightning McQueen so we decided to make a Cars cake for his birthday. For this Lightning Mcqueen cake from Pixar’s Cars I made a rectangular yellow cake which I carved into the shape of the car. I covered it with red cream cheese frosting.
I colored earlier and then did the Cars cake decorations details in cream cheese as well with different colors. It turned out so good my nephew loved it!
Cars cake decoration by Maria P., Portugal
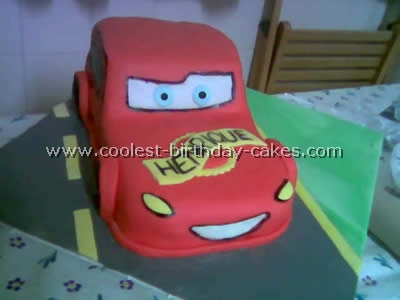
I was looking for some examples of cars cake decorations and caught this site. I looked at other ideas and came up with this cake. It’s a chocolate shaped car cake with caramel filling covered in sugar paste (all edible). I decorated it to look like the car character. Thanks for sharing all your ideas; it really helps a lot to read about different experiences and ideas, its very hard in Portugal to find equipment and material, as there is almost nothing here. Once again thanks, keep sharing.
Cars cake decoration by Angela N., Singapore
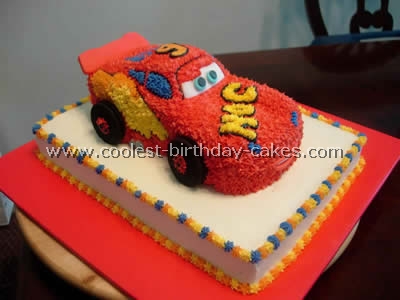
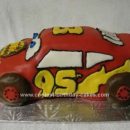
For this Cars cake, I first baked a rectangular and large loaf cake. After the cakes cooled off, I cut the loaf in the shape of CAR with the back slightly arched.
Ice the rectangular cake accordingly. For the Cars cake decorations, include details like eyes, mouth, No.95 and tailgate using fondant. I baked a sheet cake and a deep loaf cake. The car was cut out from the loaf. The eyes mouth and front window were made from fondant.
Crumb coat the cake and ice it red. Mixing red icing is tricky. You need a lot of red (if not it looks pinky) however if the icing is exposed to light it turns slightly darker. Try using ‘NO TASTE RED’ mixed with Red so you don’t get the bitter taste.
Cars cake decoration by Annette K., Sacramento, CA
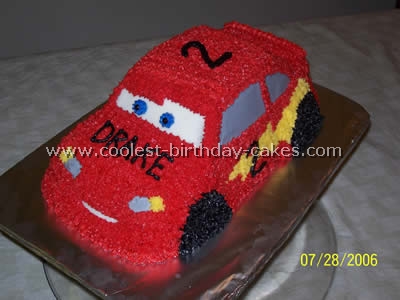
Here’s an idea for a Disney Pixar’s Cars (the movie), Lightning McQueen cake. My mom always comes up with the most unique cakes that no one has ever seen before. And she just had to create a one of a kind cake for my son’s 2nd Birthday.
For the Cars cake decorations, use the Wilton’s 3-D Cruiser Cake Pan, 1 box of cake mix, Wilton’s butter cream frosting, Wilton’s food coloring in red (no taste), yellow, black, blue, white, gray (mix black with white), tip #16, tip #4, tip #21, and tip #10.
Bake and cool your cake that was made with the Wilton 3-D Cruiser cake pan.
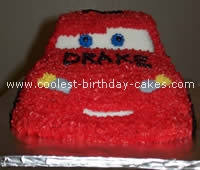
To begin frosting: start with the spoiler on the back of the cake first. Use the red frosting to build up the spoiler in the shape of an upside down V and let dry. Or you can just use a piece of cardboard and fold it in half and stick toothpicks underneath to hold into the cake. You would then frost later.
You will want to frost the windows next. Use the butter knife to spread the white frosting onto the front windshield. You can make it smooth by dipping the knife into hot water. This will help smooth the surface. Using gray frosting, frost both sides of the windows and the back windshield. Smooth same as the front windshield. Then use the white frosting to make a smooth section on the front of the hood for the mouth. Use the gray frosting to make smooth sections for the headlights.
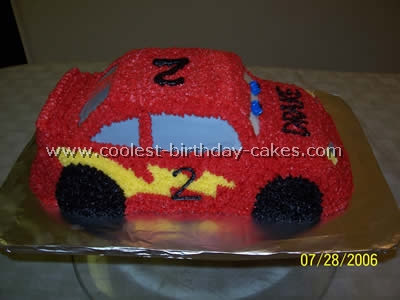
Next draw the outline of the lightning bolts on each of the sides with yellow frosting. Fill in with tip #16. Next, fill the tires in with black frosting using tip #16. Then frost the rest of the cake-using tip #16 with red frosting. Make sure to draw the mouth while you are frosting and leave some of the white frosting you created earlier on the hood as the teeth. Also be sure to frost around the headlights that you made earlier with the gray frosting.
Once you have completely frosted the cake you will want to add the detail to the windows. On the front windshield add the eyelids on top of the white frosting. Then use the same tip to create the detail on each of the side windows over the gray. On the back windshield, use tip #4 to add 3 vertical lines of red from top to bottom of the window.
Add yellow frosting using tip #16 to the outer section of the headlights, which should cover a portion of the gray. Use black frosting with tip #4 to add the year old the child is turning to each of the sides of the car. Use tip #10 with black frosting to add the same number to the top of the cake. Add the child’s name to the hood using black frosting with tip #4.
For the eyes, use tip #21 with blue frosting to create one circle for each eye. Then use tip #4 with black frosting to add the center dot to each eye. You can flatten them down a little if you’d like once they have dried a little.
You have now created one of the cutest characters from the Disney Cars Movie! Good luck with your own Cars cake decorations!
Cars cake decoration by Patricia G., Surrey
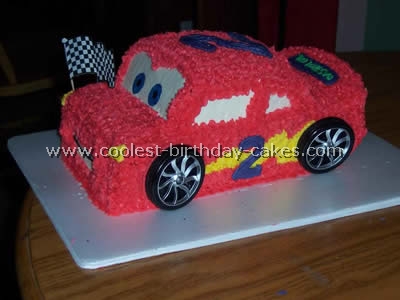
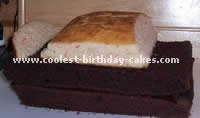
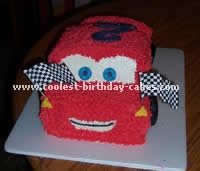
For my son’s 2nd birthday we did a racecar theme and with the new movie CARS out, we decided to go with Lighting McQueen. He took three sheet cakes to make.
Then I cut them out as shown on the picture.
I made the red icing about two days ahead of time to give the red time to darken or else he would have been pink.
For the tires I lucked out at a local $1 store and it was a two sided yoyo that I just split in half, but I was going to use chocolate coated cookies. The flags I printed off the computer and used toothpicks to insert.
Cars cake decoration by Gaedry G., Cape Town, South Africa
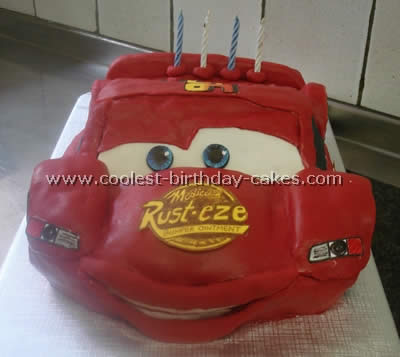
My son loves the Cars movie and desperately wanted a Lightning McQueen party for his 4th birthday – I love a challenge so I copied the shape and coloring of the car from a dinky version of Lightning McQueen.
The Cars cake was made with two square-shaped chocolate cakes cut into the shape of the car and stuck together with toothpicks. I spread jam over the cake and rolled out store bought ready-made plastic icing which I had colored.
I divided the car into parts as the icing is difficult to work with and it is easier to work with smaller rolled out bits.
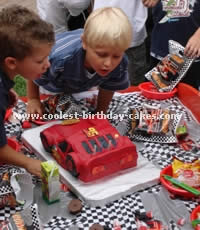
I made the tires a few days in advance from three round biscuits “iced” together and covered in black rolled out icing. The coloring of ready made icing takes a long time as you can’t mix it with a spoon and it must be kneaded by hand – thus it is wise to do the coloring of the icing a day or two before the party – unless you want to spend the whole night before the party in the kitchen! I drew the stickers on cardboard with felt tip pens and stuck them onto the cars cake with icing.
Cars cake decoration by Karen D., Calgary, Alberta
This Cars cake is covered with MMF. I put too much crisco in the red and I smudged black all over. But my son loved it anyway.
