My nephew really wanted a crocodile cake for his birthday and we couldn’t find a cake tin. I searched the net to get some ideas and thought this can’t be that hard. I cooked three cakes to make him – two rounds and one rectangle. I drew a pattern out of paper for each section of the croc. The best tip I got was to freeze the cakes. This means it won’t crumble and cuts easily.
So I put the paper pattern over the top of the cakes and then cut around them with a sharp knife. Then put back in the freezer until it was ready to ice. It was easier to ice too when the cake is frozen as the frosting doesn’t melt off.
I used licorice for the claws and cut out the teeth and made them sharper from lolly teeth. I found some of those silly glasses with the spring eyes and pulled the eyes off and used those on two small cup cakes which I cut in half to give him some character. I think it turned out pretty well in the end!

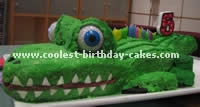
Cake by Donna F., Christchurch, New Zealand
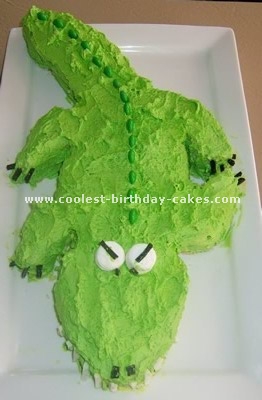
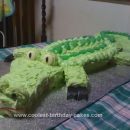
The crocodile cake idea came after being on holiday in Australia and seeing a croc for real in a wildlife park. Our son was crocodile mad for quite some time. I used a plain sponge cake and found pictures on the net of crocodiles. I then cut out a page template of the shape I wanted and cut around it to cut out the sponge shape. I used butter icing and mixed yellow and blue food coloring to get the leaf green colour.
For the eyes I used marshmallows with a bit of licorice, for the eye slits and for the spine I used green pebbles. Licorice was used for the claws also. The cake was a real hit and quite tasty too.
Cake by Tina K., Excelsior, MN
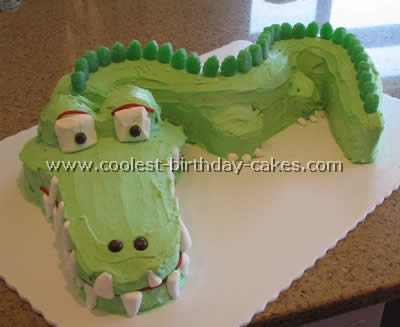
I used a bundt cake cut into three equal pieces as well as a 9×13 cake and four cupcakes cut in half to make this crocodile cake. I cut the bundt cake and made an “s” shape and then cut the 9×13 into a head shape.
I cut a cupcake in half and placed them on top to shape the eyes. I should have frosted it at that point although I did not. I then cut cupcakes in half for the legs. I used spearmint leaves with toothpicks for the spine scales. I used rope licorice for the mouth and rolling pin squished marshmallows for the eyes with skittles for the eyes. The claws and teeth are cut up large marshmallows.
Cake by Joy S., Bridgewater, VA
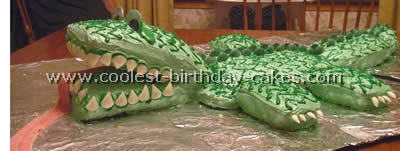
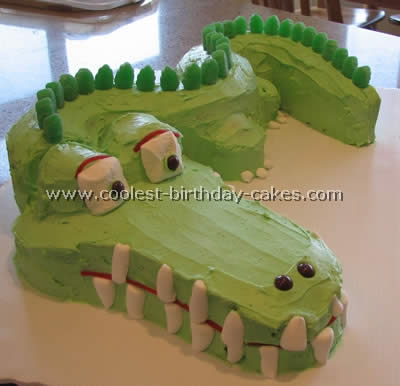
I made this crocodile cake for my cousin’s birthday because I had gotten her a shirt with an alligator on it so decided to make a cake to match. I bought a pack of those foil mini pans and used them for the legs and end of his tail.
For the tail I shaped the foil pan kind of to a point at the end so it would shape the tail. I think I used just a regular loaf pan for the mouth and for the first part of the tail. As I was putting it together and trying to figure out how I could make the mouth be open my granddaddy came in a decided to help. He went down in the basement and made me a wedge type piece out of wood which I covered in foil and then used it to support the mouth.
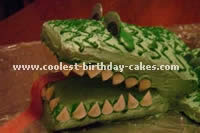
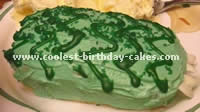
I piped dark green icing on top then sprinkled it with green gourmet sugar. The spine things are dark green melting wafers cut in half. The teeth are white melting wafers cut to shape. The cut off pieces I used for the toenails. The eyes are just goggle eyes because I think they look funny.
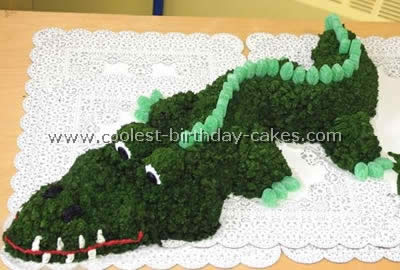
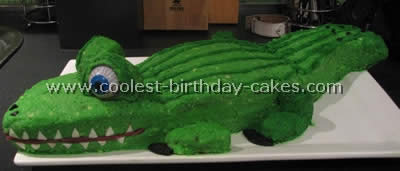
This crocodile cake was made by following the directions posted for alligator #9. The body is a bundt cake cut into thirds, the head a Christmas tree pan, the legs are cupcakes and eyes marshmallows. I used spearmints for the spine and toes.
The icing is a star tip. The designer for cake #9 did such a great job of detailing how she made the cake it was very easy to follow. My son loved this cake for his fourth birthday and people were amazed at how great it looked. Thank you for making this site, it has been great fun to try cakes posted here and has inspired me to try new and exciting cakes on my own!
Cake by Priscilla B., Waverly, IA
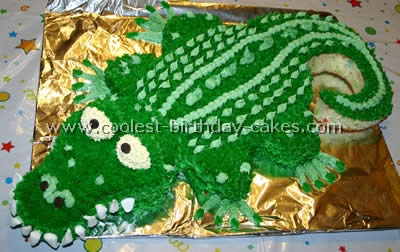
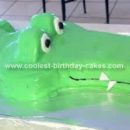
We took two box cake mixes (in this case confetti) and made two 9×13 cakes for this crocodile cake. We then drew on the cakes with edible ink markers to plan our cuts. The body and feet came from one cake. Head and tail came from the other cake. Frosting was purchased. The green body frosting was from a squeeze bag at Wal-Mart. It took six bags to do what is done and probably would have taken two more to finish the tail. The lighter green was tinted buttercream. And the off white eyes were the buttercream frosting sans tint. I needed only one tub of buttercream.
The eyes are donut holes, nostrils and pupils are chocolate chips. Yes I did run out of frosting for the side of the tail but it was 1 AM and my husband refused to make a second Wal-Mart run for more frosting. The kids didn’t even notice! I was very happy with how this cake turned out. We used your website for inspiration. Thanks!
Cake by Patricia G., Oak Forest, IL
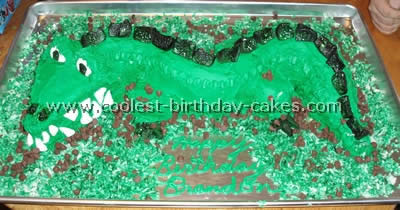
We got the idea for a crocodile cake from this website. However we changed the instructions and made due with what we had at home. We made a 9×13 cake and a bundt cake. The bundt cake was cut into three equal sections turned opposite each other for the body. The 9×13 was cut into triangular shapes and layered to make the head and tail. We used a 32 oz cup to cut out the legs.
We cut marshmallows with scissors for the spikes down the back. We dipped them in green food coloring and let dry for three hours. We stuck toothpicks in the bottom prior to dipping. We then smashed four marshmallows and made three cuts to resemble the claws. They were also dipped in green food coloring. We used a cake frosting from a box and colored it green. We used a line tip for the legs and a star tip to create the ridge down each side. We used marshmallows for the eyes and used a q-tip with green food coloring to color the eyeball. We used cut up marshmallows for the teeth.
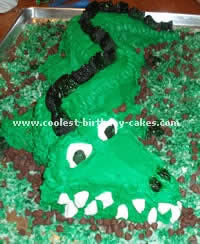
We then used coconut with green food coloring to resemble grass and chocolate chips to resemble dirt on the crocodile cake.
Cake by Tracey K., Plain City, OH
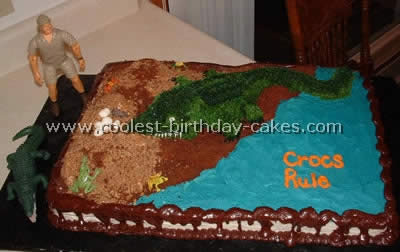
The idea for this crocodile cake came from my son’s love for reptiles and Steve Irwin. We put our heads together to come up with this cake after searching different websites for crocodile cakes. The croc was carved out of a pound cake already made from the freezer section at the grocery. It’s more firm than regular cake and pre-made which saves on time. The hills were made from the cut away scraps from the croc and covered with icing. The tail of the croc was also made from scraps laid out in the “S” shape then piped with icing with the Wiltons tip #16 as is the rest of the croc body.
The chocolate frosting was a little runny to begin with so I just proceeded with the trim on the cake and called it “swamp mud”. The icing was homemade from the Wilton recipe for buttercream icing. The sand was made from crushed teddy bear Graham’s chocolate and honey. My son thought of the idea of the croc coming out of the water for her eggs on the shore. (That’s the white circle things on the hill). The crocodile cake was made from two 9×13 cake pans, one chocolate one white then put together and icing as one cake. The two cakes were placed on a large cutting board for extra strength that was covered with black decorating foil. I used two different colors of green for the croc to try to make it as real as possible.
The party was the best one yet since we hired a reptile guy to come and share his different animals with the kids. It was very interesting and educational. Everyone including the moms’ got to hold the python and alligator. Hope this is helpful to spark some creative ideas to everyday moms’ with outstanding kids! Have fun!
Cake by Amanda R., Jacksonville, FL
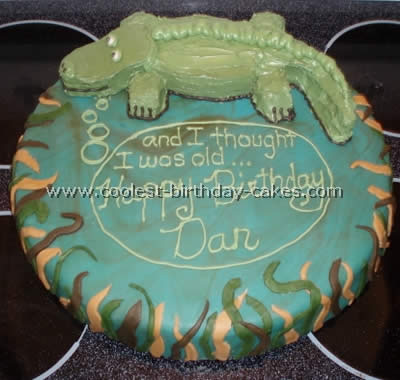
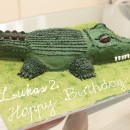
I looked all over for a crocodile cake pan and when I couldn’t find one I broke down and carved it out of cake. The alligator was carved from a 9″ round yellow cake. I colored the cream cheese frosting, made his eyes out of fondant and piped on the rest. The swamp is a 14″ round yellow cake covered with chocolate frosting and marbled fondant (moss green, royal blue and brown).
The weeds are cut from fondant and stuck on with a little bit of water. My seven year old daughter colored, rolled and cut all of them out herself! I just told her to do leaf looking shapes. I think she did a great job!
Cake by Janet T., Tauranga, New Zealand
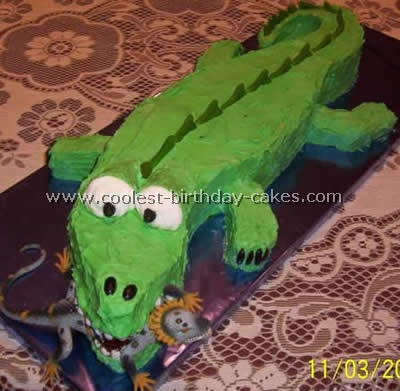
Grandson age four wanted a crocodile cake after seeing a Steve Irwin program were he was wrestling a crocodile so I checked out a number of photos and came up with this design.
I used two sponge roll tins and made a moist Madeira cake to fit the two tins. Cut out a shape of a crocodile from baking paper and cut cake to shape and joined together. Any pieces left over were used to make legs and support the back of eyes. I made green vanilla cream to cover the body green. Jube airplanes cut in half went down the main body and at tail peppermint leaves cut in half. The eyes were large marshmallows and black jelly beans for pupils, white jelly beans cut into quarters used for teeth and black jelly beans cut in half long wise were used for the claws and nostrils.
Finally I found a rubberized lizard, cut and lifted the jaw and put strawberry jam and the lizard in mouth. I must say it looked very realistic and grandson and all his friends loved it.
Cake by Natalie K., Beirut, Lebanon
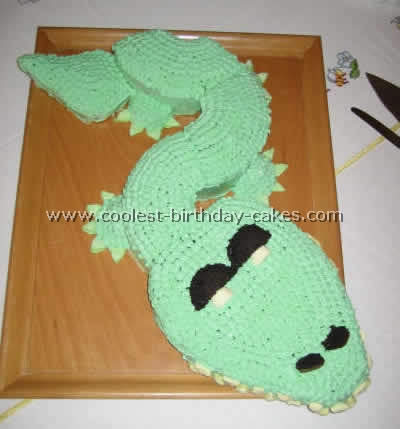
I got my whole idea for a crocodile cake from the alligator/crocodile site. There was a diagram on how to assemble by Abby Q. I baked two cakes, one rectangular and one bunt and three cupcakes. The rectangular was cut into a rounded triangle for the head.
Two of the left over pieces were fitted for the tail as a lozenge, the rest for the nostrils. The bunt was cut into three to form the body. The cupcakes were cut in half for the two eyes and four feet. I used three tubs of vanilla icing by Betty Crocker, colored green, piped with a Wiltons nozzle. I used flattened marshmallows for teeth and claws and eyes.
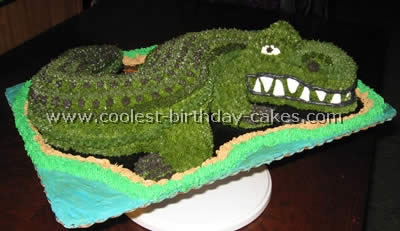
I got this idea for a crocodile cake from your website. What fun. I used a bunt cake for the body, cut into thirds with the pieces put opposite each other. For the head I used a 9×13 cake shaped into a head. I used marshmallows for the teeth and eyes and used all different colors of icing to ice everything.
The legs were cupcakes cut in half and then icing brought down to the shape of feet. Everyone enjoyed it and I had fun making it. Thanks for the idea.



Your comment has been sent successfully.