Take a look at these cool homemade Dragon cakes shared with us by cake decorators from around the world. Along with the birthday cakes here, you’ll also find loads DIY birthday cake-making ideas and how-to tips to inspire your next birthday cake project. Enjoy!
And don’t forget… if you end up with a cool cake, have great tips to share or pictures of awesome birthday cakes you’ve made in the past, share them here and be a part of our coolest birthday cake community.
Latest Dragon Cakes
- Coolest Ever Dragon CakesThe idea for this dragon cake for my son’s three and a half birthday (he’s born on Christmas so we … Read more
- Cool Dragon Cakes and Lots of Creative Cake IdeasThis cake is very simple to make but looks very effective, good for old and young alike. This one was … Read more
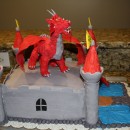
- Breathtaking Homemade Dragon and Castle CakeI made this dragon and castle cake for my daughter’s 10th birthday. I had started the tradition of making my … Read more
- Cool Dragon Cake for a Ninja Birthday PartyLast year my son wanted to have a ninja birthday party. I couldn’t find a ninja cake that I really … Read more
- Coolest Baby Dragon CakeI made a momma and a baby dragon cake and I entered them as a whole unit for a cake … Read more
- Dragon Birthday Cake WishMy husband who is a kid at heart has always wanted a dragon birthday cake so I surprised him with … Read more
- Coolest Green DragonWhen my sweet girl turned 6 she asked for a Dragon cake, so I set about having a look on … Read more
- Deadly Dragon CakeThis was a dragon cake for a 15yr old boy. Hand carved and covered in fondant. The eyes are M&Ms. … Read more
- Coolest Smaug the Dragon CakeMy kids’ birthdays are just 12 days apart, so when we have a birthday party, it’s always a joint party. … Read more
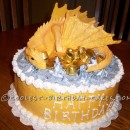
- Cool Golden Birthday Dragon CakeThis cool golden birthday dragon cake was probably my best effort, ever, to date. I wanted to make a golden … Read more
- Coolest Dragon Slayer Birthday CakeThe birthday boy loves guns and dragons. He thought that this dragon slayer birthday cake would be a crazy idea … Read more
- Coolest Fire Breathing Dragon CakeWhen my son requested a fire breathing dragon cake I was a bit concerned. This is what I came up … Read more
Featured Cakes
Breathtaking Homemade Dragon and Castle Cake
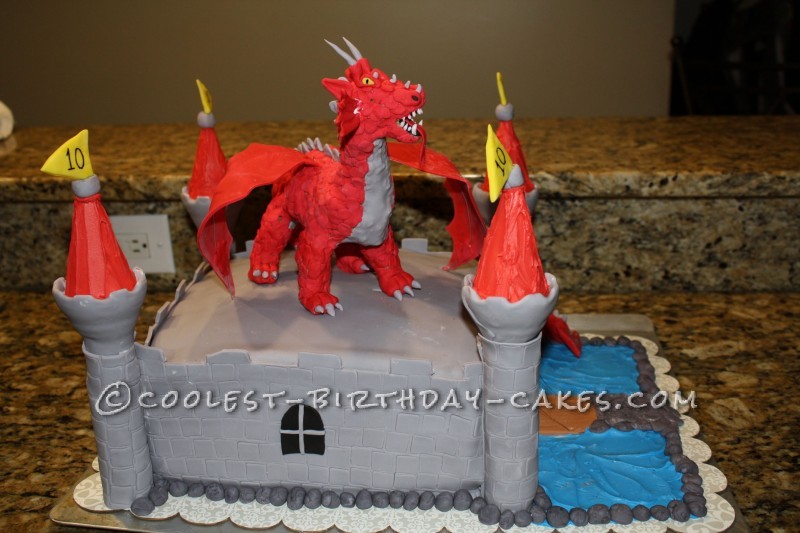
I made this dragon and castle cake for my daughter’s 10th birthday. I had started the tradition of making my kid’s birthday cakes because my Mom used to do the same. My daughter has been into dragons and wanted another dragon cake. However, I like to do different cakes so I recommended a castle cake with a dragon protecting it. Read more »
Dragon Cake by Erica R., Pflugerville, TX
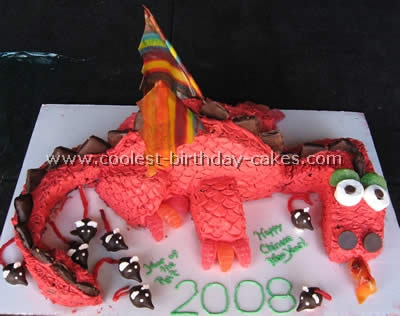
I got the idea for this dragon cake from the family fun website. It was a hit for my son’s class at their Chinese New Year celebration. It is made out of two round cakes, one cut in half for the body, the other divided in half (one half cut into four pieces for the arms and legs and the other half cut to form the head, neck and tail).
Dragon Cake by Melody H., California
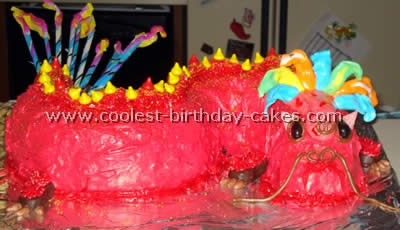
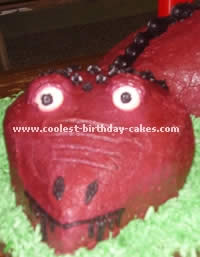
My son had a Boy Scout cake auction that was a Chinese theme so he wanted to do a dragon cake! The red color is said to bring good luck to the person who receives the cake so he wanted a red dragon.
The process: I made two bunt cakes. One was cut in half and made up the body; the other was cut into a couple of pieces to make up the head and tail. I added red cake coloring to white frosting and spread it over the entire cake. I used candy for the decorations (most taffy that we rolled and molded with our hands to make the face and main), a tootsie roll for the whiskers, and cookie for the four feet and jelly beans for the eyes. It was fun trying to figure out what candy would work. The only thing we wanted and couldn’t find was black licorice ropes but taffy worked.
Dragon Cake by Casey H., Gladstone, MO
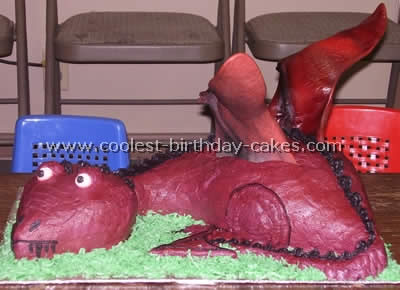
I made this dragon cake for my brother-in-law’s 28th birthday. I started with two 9″x13″ cakes and two 8″ round cakes. I used my cake leveler to split each cake in half length ways so I actually had eight cakes to work with. I covered the 13″x19″ cake board with aluminum foil and I used a toothpick to draw out my design on the board to make sure it fit. I then traced the design onto a sheet of wax paper, cut out the wax paper shape and used that as a pattern for cutting my sheets of cake to fit the board.
I used three thick pieces of my round cakes and one thin top “dome” piece to build the head. For the neck I used two thick pieces of sheet cake and the body consists of three thick pieces of sheet cake and the other thin top “dome” piece from the round cakes. I made the base of the tail out of two triangle shaped pieces of scrap cake but the remainder of the tail is pure icing.
The eyes and legs are all icing too. I wanted the cake to be a dark blood red so I bought burgundy coloring but it turned out purpler looking. After icing the cake smooth I sprayed the whole cake with Wilton “Color Mist Food Color Spray” in red to help fix the color. The wings are cut off of a large toy dinosaur that I purchased at a toy store and I stuck wooden chop sticks inside of the wings so that they could be stuck in the cake at the last minute.
The grass around the dragon is just coconut shavings colored with liquid food coloring. You’ll get the best color if you wear gloves and mix the coconut with your hands.
Dragon Cake by Suriana A., Ipoh, Malaysia
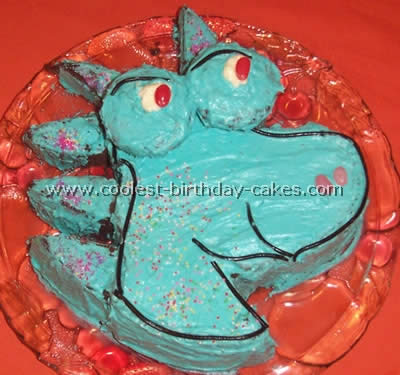
I used a 10″ round cake tin and cut out the shape of the dragon cake from a traced piece of paper that fit my 10″ cake. The spikes for the neck were from the same cake. The eyes were made from two cupcakes. I frosted the cake with butter cream icing and decorated with candy and licorice for the outline.
Dragon Cake by Bill M., San Antonio,TX
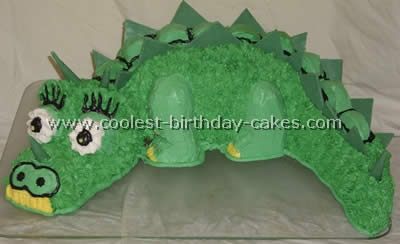
I made this dragon cake from the compilation of pictures on your dino/dragon cake page. My niece wouldn’t let her mom cut it. Thanks you rock!
Dragon Cake by Morgan W., Claremore
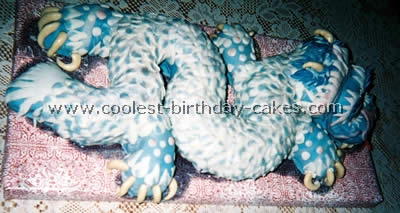
My daughter is really into dragons so for her “Dragon party” this year she wanted a replica of her favorite kind of dragon cake, the Chinese dragon. I used two bundt cakes, one standard size and one smaller. These I cut in half to make the sinuous body with the smaller halves being at the tail end. For the head and legs I used a frozen Sara Lee pound cake which was easy to carve when partially thawed. The whole was frosted with a crumb coat of buttercream then I applied marshmallow fondant to the entire body. Since it still didn’t have the look I was going for I added fondant scales one at a time and other details like the whiskers, eyelashes and tail.
The eyes, tongue, horns and claws are formed with the colored tootsie rolls which are easy to shape into anything once kneaded a bit and actually taste good, unlike gum paste. Plus they are shiny, a look that I needed for those parts. I then dusted all of it with a sparkling silver edible glitter which unfortunately does not come up in the photo very well. The cake itself was just a simple box cake and I purchased, a smaller bundt style cake at the grocery. The fondant recipe can be found at this site – with wonderful instructions on how to prepare it.
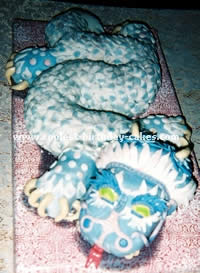
It was my first time to use it and it was easier than I had imagined. The scale application was incredibly time consuming. I estimate that the whole thing took me 10 hours spent over a couple of days. It would be possible to put a small reservoir under the cake on the dragon’s snout and put two cut straws down the nostrils into that space, fill it with dry ice and have a smoke effect coming out from its nose. I thought of this too late but may do it next time I make a dragon cake.
Dragon Cake by Jeanette C., San Jose, CA
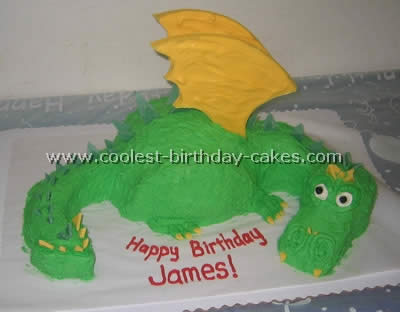
I made this dragon cake for my son’s fifth birthday party. I found the idea from looking at other dragon cakes on-line (including this site!) and ran with it. First I baked the cakes using two cake box mixes, one 10″ round cake, two 8″ round cakes, four large cupcakes.
I did a quick freeze of the 10″ and 8″ cakes after cooling so they would be easier to cut and assemble (about one hour or longer). I cut the 10″ cake in half and folded up together with some frosting to make the main body and then cut one of the 8″ cakes in half and placed on either side of the body to give the appearance of the big hind legs. I cut the remaining 8″ cake to make the curved tail, the neck and the snout. The cupcakes I used to make the head, the end of the tail and a little ramp to fill out the neck attached to the body.

I frosted the whole thing roughly with green frosting so that it looked “scaly” and then piped the nostrils and eye structure. The eyes are just frosting as well. To make the wings I first drew the shape I wanted on a piece of paper and then made molds by folding aluminum foil into durable ~1” strips and formed it on my drawing. I then put my molds on wax paper on a cookie sheet and melted Wilton’s white chocolate discs and colored it with food coloring made for chocolate, filled my aluminum foil molds and refrigerated. Make sure to create a long enough base to the wing so that when you push it into the cake it has enough structure to stay up.
The wings were just over 1/4 inch thick. The scales are also made of melting chocolate. I just spread melted chocolate on wax paper and refrigerated them with a sharp knife cut triangles for the scales. Note: you can make the wings and the scales ahead of time! I made mine the week before making the rest of the cake.
This dragon cake was a huge hit with my son and all of his friends! The look on his face was worth every minute I spent making the cake.
Dragon Cake by Torii L., Bigfork, MT
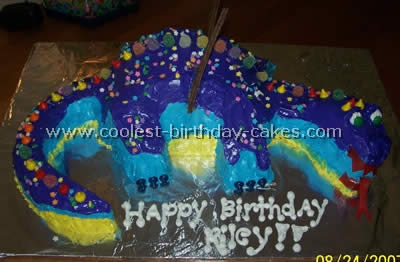
I followed the instructions on this site for a dragon cake but I made three cakes (just in case) which gave me room to mess up. I used fruit roll ups for the mouth/teeth. I used chocolate graham crackers for the wings since my fruit roll up wings didn’t look right.
This cake was for a girl so I used star pastel sprinkles on the back. I highly recommend buttercream icing. I used a cream cheese /cool whip icing that tastes awesome but didn’t give me the texture I wanted so next time I will use the buttercream instead or try fondant. I had fun making this and the little girl loved it.
Dragon Cake by Kathleen S., Prince Rupert, Canada
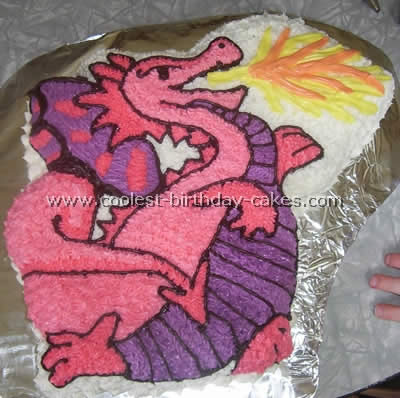
I made this dragon cake for my girlfriend’s birthday. I used the Wilton mystical dragon cake pan. I then decorated it with pink and purple icing. You can sort of see in the picture I used variations of light and dark pink icing to define the tail and other parts a bit better. It’s not all that prominent but it makes a difference.
I find that making black colored icing is hard; I wind up with a purplish grey color which doesn’t look good. So in lieu of black I used canned chocolate icing. I always outline or trace the design on the cake with chocolate icing, or a darker icing to section off and define the different parts of the cake. I find that a lot of the times after piping your stars in that the lines have ” disappeared” so I like to go over the lines on the finished cake with the chocolate icing to give it a polished look.
Dragon Cake by Karen P., Dalton, GA
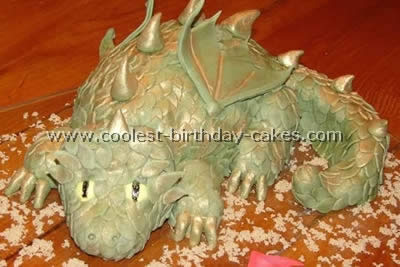
I baked a 12″ round layer using a pound cake because I think that’s easier to carve. After it cooled I cut out the shape of the dragon’s body with his tail curving around the body, sort of looked like the shape of a fat snake with no head. I iced it with buttercream and took some of the leftovers from the 12″cake and placed them on the back of the dragon to make him taller and carved it so that it sloped the way his back should down toward his tail and down toward where his head would be and then iced that.
You could use more of the cake scrapes to make the head and legs but I shaped his head, legs and tip of his tail out of rice krispie treats and covered them with a thin layer of buttercream once they were cooled and hard. I tinted the fondant green but left it a little marbled because I liked the look. I rolled it out thin and cut out scales using a small petal cutter. I just started at his tail and worked my way up. Sometimes I had to dip a brush in water and apply it to the scales to get them to stick to one another. After all the scales were on I brushed them with Luster Dust.
His spikes and nails are made from fondant so are his wings but I would have rather made them out of gum paste so that they would have dried better. To make his eyes I melted yellow candy wafers and poured them into 1/8 tsp measuring spoons. I placed the spoons in the fridge for a couple of minutes to let the candy set. Then I popped them out and placed them on the dragon’s face with buttercream as the glue. I put them on before I put the scales on. I used a paintbrush dipped in icing color to make his pupils. One more thing, when I first started on the dragon cake he looked so bad that I was sure I’d never make him look right, I almost gave up. But don’t worry they just look bad before the scales go on. It’s time consuming but not really that hard. Have fun.
Dragon Cake by Devon R., Lapeer, MI
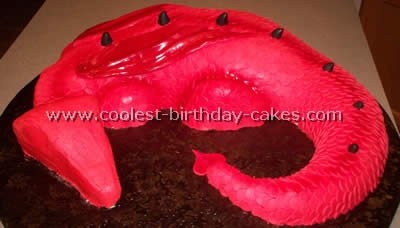
I made this dragon cake for my uncle’s 60th birthday because he collects dragon memorabilia. I got some inspiration from the Cake Central website and went from there. The cake itself is made out of an 11X15 sheet cake, a bundt cake pan, two 8X2 rounds and a 6X3 round.
The bundt cake and the round cakes were cut in half and placed on their sides to make the hips and shoulder and the rest of the dragon was carved out of the sheet cake. The legs came out of the 6X3 round pan cut in half for the back legs. I crumb coated the entire dragon in buttercream for an easier time doing the final coat of buttercream in red on top of that. The scales were made out of fondant rolled about 1/16-1/8 thickness and individually cut out using the large end of tip number 12. The wings were also made out of fondant as well as his horns and spikes and other features.
The dragon cake was lightly airbrushed with red Americolor and then accented with cranberry luster dust. The dragon was placed on a 24in. plywood circle covered in black foil.
Dragon Cake by Riece S., Werrington County, Australia
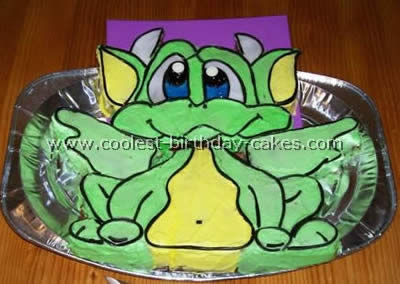
I made this dragon cake for my mother’s last birthday. She loves dragons of all kinds. I found the picture online and copied it freehand onto some grease proof paper. I had to make two cakes using large rectangular pans and then using the drawing, made the head from one cake and the body from the other.
I used the cut off pieces to make the wings. I decorated with icing and used licorice to achieve the outline look. The eyes were done with colored gel purchased from a general store and two white chocolate buttons for high-lights in eyes.
