Take a look at these cool homemade Fairy cake ideas shared with us by cake decorators from around the world. Along with the birthday cakes here, you’ll also find loads DIY birthday cake-making ideas and how-to tips to inspire your next birthday cake project. Enjoy!
And don’t forget… if you end up with a cool cake, have great tips to share or pictures of awesome birthday cakes you’ve made in the past, share them here and be a part of our coolest birthday cake community.
Latest Fairy Cake Ideas
- Coolest Tinkerbell Cake Ideas and Decorating TipsI made this Tinkerbell cake for my boyfriend’s niece’s 4th birthday party. She really likes Tinkerbell and princesses so I … Read more
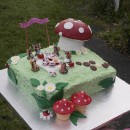
- Coolest Homemade Fairy CakesFairy cakes are simple if you like fiddly jobs like making tiny sandwiches and cakes out of icing and flower … Read more
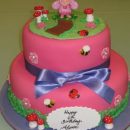
- Coolest Homemade 2 Tiered Fairy CakeMy daughter really loves and wanted a fairy cake, so I came up with this creation. She and everyone else … Read more
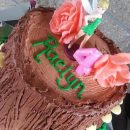
- Awesome Tree Stump Tinkerbell Birthday Cake IdeaDeciding on a Tinkerbell Birthday Cake Idea There has only been two times total for both kids that I didn’t make … Read more
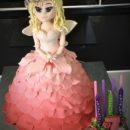
- Beautiful Homemade Flower Fairy Princess Birthday CakeI made the body for this fairy princess birthday cake about a week in advance, used a mold I had … Read more
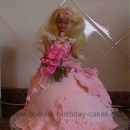
- Magical Tinkerbell Doll CakeI made this Tinkerbell doll cake for little Maddy. I am her great aunt and we were at her cousin Ada’s party (the … Read more
- Fun Fairy Cake For A First Birthday!I made this tinker bell doll fairy cake for my niece’s first birthday. It was a bundt cake with a … Read more
- Cool Fairies and Waterslide CakeThis Fairies and Waterside cake was an interesting cake to make. My niece turned 5 and was having a birthday … Read more
- Coolest Fairyland Fantasy CakeI was asked to make a Fairyland fantasy cake for a 6 year old little girl who loves everything fairy. … Read more
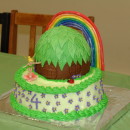
- Cool Tinkerbell Cake with House and RainbowMy daughter wanted a Tinkerbell cake for her birthday, with specific instructions that it also had to have her house … Read more
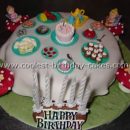
- Fairy Tea Party CakeWhen my youngest daughter was turning 3, I knew it was my last chance to choose what she had for … Read more
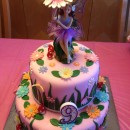
- Garden Fairy CakeI made this garden fairy cake for my daughter who was turning 9. I wanted to make something special so decided … Read more
Featured Cakes
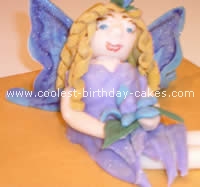
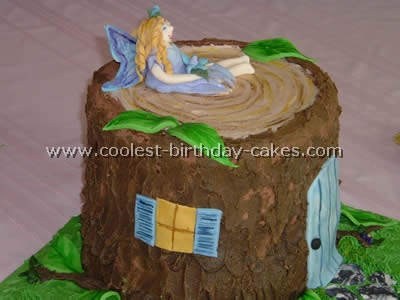
Fairy cake by Margie F., Charles Town, WV
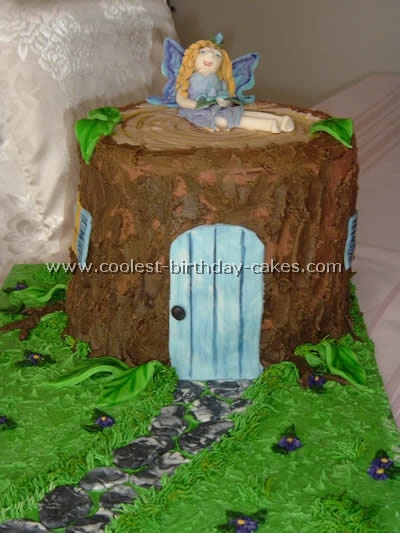
This fairy cake is made with four 8-inch rounds stacked.
The bark is chocolate buttercream and the fairy and accents on her house are made out of fondant.
Fairy cake by Julie S., Tunnel Hill, GA
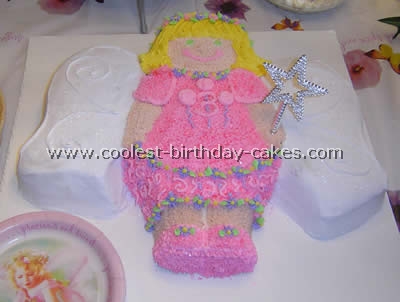
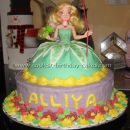
For this fairy cake I used the Wilton doll pan for the fairy’s body and the Wilton butterfly pan for the fairy’s wings. I decorated the fairy cake to match the outfit my daughter was wearing. I used one of my daughter’s “magic wands” to place in the fairy’s hand. This was a fun and easy fairy cake to make.
Fairy cake by Sabrina T., Richmond, British Columbia
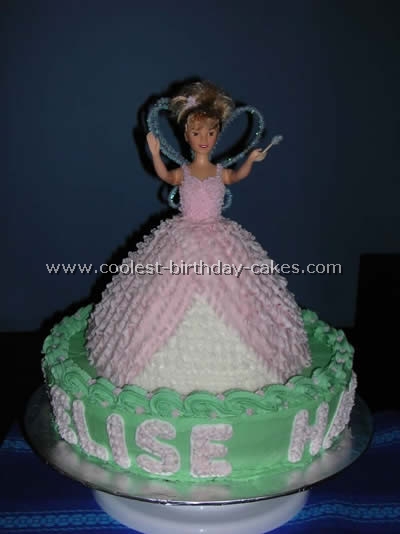
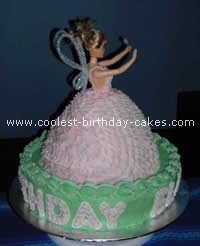
I made this fairy cake for my boss’ 3-year-old daughter. I used Betty Crocker cake mix and the Wilton Butter Cream icing recipe. I used alphabet cookie cutters as stencils for letters and then I simply piped around the stencil and filled in the letters with a star tip. I found it best to use a slightly thinner icing recipe than I normally use so that the icing flows smoothly without breakage points.
Fairy cake by Ana H., Miami, FL
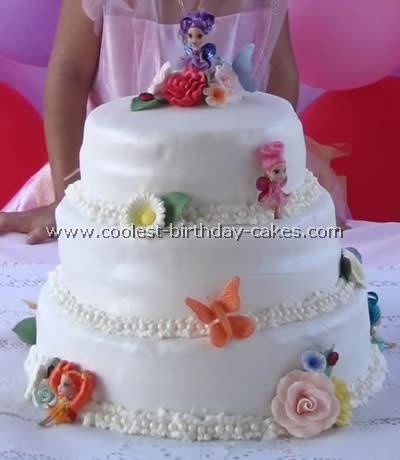
My friend Marta baked the actual cake and put it together. It was the first time I worked with fondant and I got help from her. The flowers and butterflies of the fairy cake are made of sugar; they were purchased at a cake-decorating store and I painted them with luster and pearl dust.
Fairy cake by Annelize V., Johannesburg, South Africa
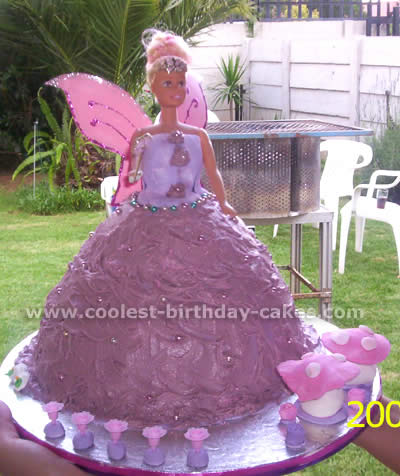
My daughter wanted a princess fairy cake. This was my first attempt, and it was easier than I thought.
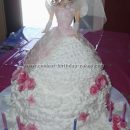
I used the mould pan and two cake mixes to create the dress. I covered the whole dress in marzipan. Then I inserted Barbie (without the legs) into the cake. I made some butter frosting and put that over the marzipan. I made the wings from cardboard. The mushrooms and roses were made from marzipan (and a little imagination).
This was so easy, I felt like such a pro. The look on the kid’s faces – priceless! My daughter absolutely loved her fairy cake.
Fairy cake by Robin L., Neosho, MO
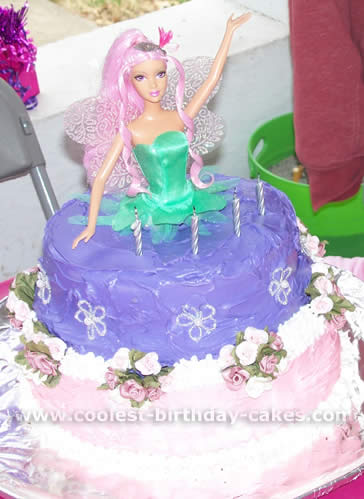
I had decided that this year I wasn’t going to buy a cake for my daughters’ birthday this year. She wanted to have a “Barbie Fairy” party. I mentioned it a work and a friend suggested making a Barbie Doll Fairy cake. I had never seen one so I decided to go online and check it out. I was shocked at all the beautiful cakes that I found!! That’s when I decided that I just had to make one.
I used my mixing bowl from my electric mixer. And for the bottom two layers I used a 10′ cake pan that I bought at Walmart. I don’t know how to make frosting roses, and I had a hard time finding them, so I decided to use artificial roses and flowers. They were beautiful!!! My daughter loved the fairy cake, and I had a lot of fun too.
Fairy cake by Stephanie B., New Zealand
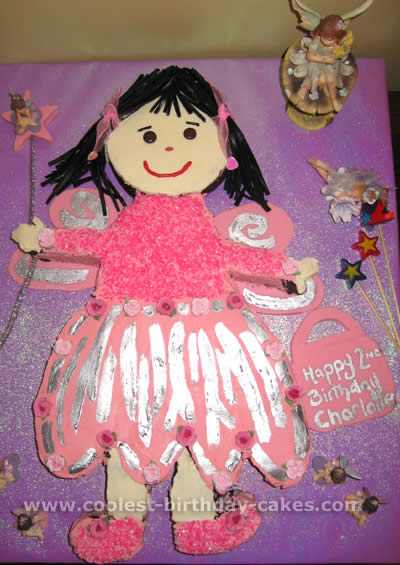
Charlotte was obsessed with the cake books, pouring over them for hours and hours and she wanted a swimming pool cake. All well and good but the cake would have fed 8-10 people and we were having over 50! What to do?
Serious negotiations began – bribery in the form of anything fairy for at least 2 months and finally with 3 weeks to go she said I could go ahead and make her a fairy cake!
My headache began when I realized there was no such thing as a fairy cake in any of the cake books, shaped tins or websites for me to gain inspiration from. So I did the next best thing – I gathered all of Charlotte’s fairy stuff together and found the fairy I liked the most. She was cute and best of all a simple design. I had never done any sort of shaped cake before and all I knew was that I needed a “pattern”.
Right – pens out and after more than a dozen attempts I was almost happy with my drawing. After a bit more practice I had 2 versions of a head, 2 versions of wings and a body.
I took it along to copier shop and asked if they could enlarge it so the skirt was right to the edge of an A3 then copy all the other bits to the same proportion. They were amazing – they cut out each piece and took their time getting it right (and only charged me for the finished product!!!).
Next off to buy cake tins– I ended up needing a roasting pan size for the skirt, a square for the legs and upper body and a 15cm round for the head. But no one seemed to stock a 15cm round. The lovely people at Choice Catering Equipment came to my rescue – they could get one within 48hours – it was Tuesday and the party was Saturday – no problem plenty of time.
The next day someone told me I needed to freeze the cakes so they would cut easier!!! That meant making them today! Ahhhh! I decided I would do with the small pan I had and after whipping up a huge rich chocolate and raspberry cake as I was about to pour into the pans the doorbell went and the 15cm round pan arrived – sometimes you have a great day!
Later that day I also coloured some fondant pink and cut out the wings, a handbag and star for the wand. Cakes made and frozen next was the design. The staff at Milly’s Cook School on The Strand in Parnell were fantastic – if they realized they were talking to an idiot they never showed it – they helped with choosing colours, decorations and gave plenty of practical advice – one of the best things was to invest in a palette knife – was that worth every cent!
Next it was trolling the $2 shops for fairies, pipe cleaners for the wand and other bits that might just work. The best buy was a $1 hand tied organza hair tie that I was able to sneak 2 ties from and use as the fairies hair ties! I even had to make the cakeboard as the fairy was such a heffalump!
My good friend Jo came over on the day I had to ice the cake – she kept her son and my daughter well away while I was concentrating, she sliced liquorice into the thinnest threads possible for the fairies hair and she made much needed cups of coffee! When she left I had cut the frozen cake into the right shapes and skewered it together and made the icing.
Next was the tough bit while my daughter slept I would ice it. After a couple of hours she was due to wake so I took a quick look at my progress – not too bad, we had a pink icing body, white face, white hands, the wand was in place, the wings were attached and her handbag was all set to say Happy Birthday Charlotte!
However she did look a bit scary with no hair, no eyes and so I quickly put her face on – much nicer for a 2 year-old to wake up to! Thank goodness though she decided to take a 3-hour nap that day. I had put the “sequins” on the fairies top and shoes and couldn’t decide what to do for her skirt – I decided to get out the remaining silver powder I had bought when I attempted to make my sisters 30th cake a few weeks earlier.
I quickly phoned a couple of cake places and asked about using the silver edible icing on butter cream icing – they said they had never done it and wouldn’t recommend it, but hey its butter cream icing right – I can scrape it off if I have to so I went against their advice and decided to paint the fairy a skirt – fabulous she looked ready to party.
I also used the silver to paint the “Happy Birthday” message on the handbag. The look on my daughters face was priceless when she woke and I took her to see her fairy cake – she was thrilled and although she still says she wants the swimming pool cake next year I think she quite liked this one and so did all the people at her party – the head and half the body were all that was left over! And one cheeky little monkey even ate one of the fairies eyes so she looked like she was winking at us all!
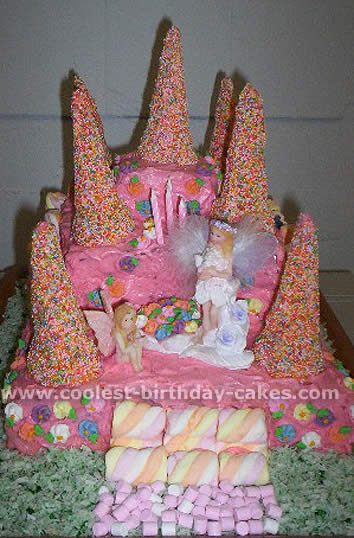
Fairy cake by Anja C., Mossel Bay, South Africa
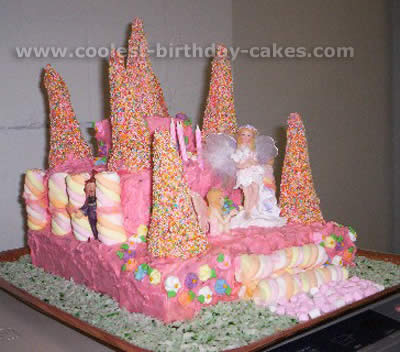
For this castle fairy cake, bake 2 large cakes and cut in four square sizes (2 must be the same size). Layer as seen in picture. Ice 5 ice-cream cones and decorate with 100’s & 1000’s – these are your towers.
Place layers accordingly on each other and cover with icing of your choice. Place cones where must be. Make a flower-climber out of small flowers and place on fairy cake. Make steps by placing marshmallows in rows and place fairies on castle.
Fairy cake by Lisa A., House Springs, MO
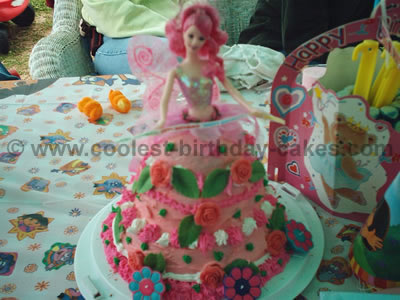
For this Fairy cake I took 3 glass bowls each one larger than the other. I filled them about half way with cake mix and baked them. After they cooled I stacked one on top of the other and cut a small circle in the middle of all three. I decorated the Barbie cake with icing and candies and once the icing hardened, I stuck the doll inside.
Fairy cake by Stacey F., Mesa, AZ
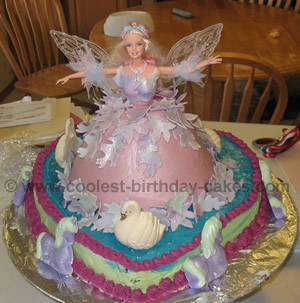
My daughter wanted a Barbie of Swan Lake birthday party. I searched the web and found some similar ideas, but using as many resources as I already had, this is the cake I came up with. She was especially interested in the unicorns so that is where they came from. This is actually the Barbie of Swan Lake with the light up wings doll in the cake. (It can also be a fairy cake…)
At least one day ahead of decorating:
Take one package of fondant and color 2/3 aster mauve, divide the remaining 1/3 into thirds and color 1/3 blue, 1/3 green and 1/3 violet. Using an amount of the aster mauve equal to the smaller thirds, stack small pieces of the four colors and fold and knead twice to get a marble/striped effect. Using leaf cookie cutters cut out various shapes, be sure to include enough to allow for breakage. Brush with pearl dust and put on flower formers to dry. Use violet and green leftover fondant to form unicorns, using candy mold. Store rest of mauve for later use.
Use swan candy mold and white candy melts to make swans (3). I painted the details in the mold before filling with candy melts. Set aside to harden. (I refrigerated them)
Fairy cake by Angela N., Singapore
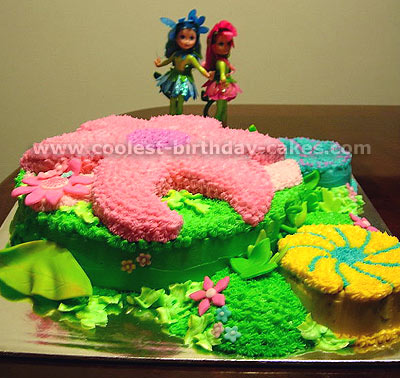
The fairies were meant to be put on top of the main cake, but I had to transport them separately, so I took the picture of the cake with them behind it.
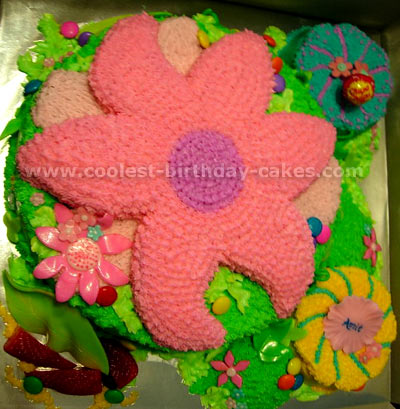
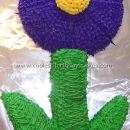
It was a 10″ round cake. I traced a large flower on it and cut out the top layer, and some petals/leaves on the second layer so it looks like a dimensional flower. The birthday girl refused to let her mom cut it!
Fairy cake by Dee-Emily T., Australia
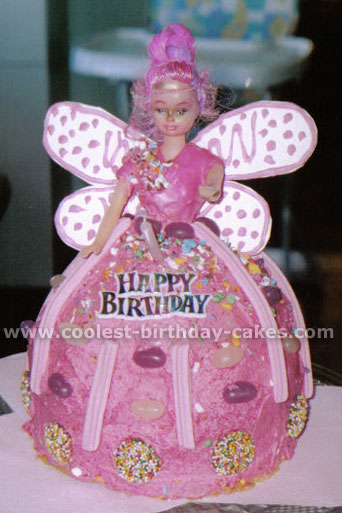
My first ever attempt of this fairy cake for my Daughter Emilia’s 1st Birthday. All from ideas I had in my head.
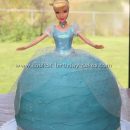
The fairy cake was a basic round sponge cake that I layered and cut to make the skirt (you can even just buy a shop sponge). I made a hole and slotted the doll in the middle of the cake, if the doll sticks out to much you might have to cut her down, its best to buy a cheap plastic doll instead of a Barbie.
I iced the fairy cake with basic butter icing which consists of: 125q butter, 1-1/3 cups icing sugar sifted, 1 Tablespoon milk, 1 teaspoon of water (add colour of your choice). I continued the icing onto the dolls body to make a dress effect as if it was all one piece.
I made the wings of the fairy cake from cardboard and pinned it to the dolls back. I decorated it with a piping bag (icing, water and pink colouring). I used musk sticks for decoration, 100’s & thousand lollies, freckle chocolates and pastel coloured jellybeans.
I dusted her hair and skin with gold food colouring powder to give an angelic effect.
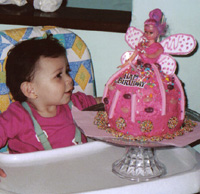
This fairy cake turned out great and any mistakes can easily be covered up. This is sooooo easy. Give it a try. It’s worth your child’s big smile on the day.
Your comment has been sent successfully.