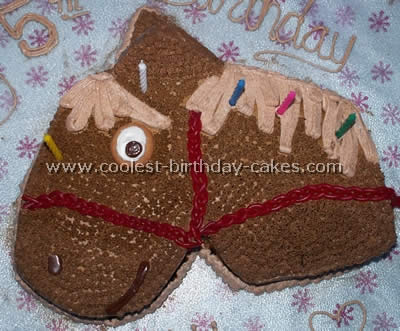
The idea for this cake obviously was this site for horse cakes. (Thank you to everyone who shares- you’re all great!) I only made a couple small changes to personalize it. For the ears I cut out two triangles and using frosting and toothpicks attached them to give it a 3-d effect. I used long string licorice and braided the pieces together. (I had no trouble with this, when I got to the end I pinched the pieces together with my nail and they stayed for hours.)
I used a star tip to decorate the horse only because I am terrible at getting a smooth finish. And last I manipulated tootsie rolls for his nostril and smile. This cake was a lot of fun. Very simple, easy to be creative with and a real hit with my horse fanatic
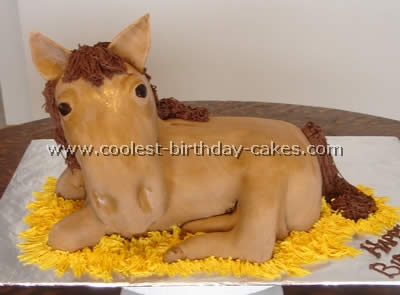
I made two cakes in loaf pans. The head was going to be too heavy to do the way I wanted so I made it out of rice krispie treats and formed the head that way. I rounded the two cakes and made legs as well. I covered the whole thing in fondant which is a little tricky but it turned out well and piped chocolate buttercream frosting for the mane.
I made vanilla buttercream and used a combination of lemon yellow and copper food gel to make the “hay”. I made the ears out of fondant and let them dry a little before attaching to the cake.
I used this wonderful site for ideas for horse cakes and this is what I made!
Cake by Elizabeth N., Tallahassee, FL
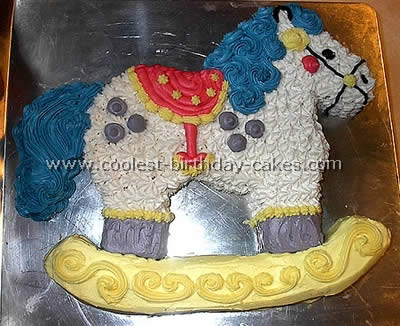
This was made for a baby shower for my boss several years ago. The cake was made out of a sheet cake and cut to the desired shape copied from other horse cakes on this site. I colored buttercream with lots of food coloring to the vibrant colors. I used two sized star tips and regular tips to decorate. I bought the black icing with the tip attached for the reins and eyes.
Cake by Tonya J., Knoxville, TN
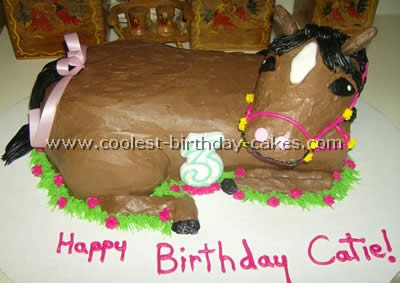
For the body of the horse I used two 9 X 13 inch cakes stacked on top of each other. For the hind quarters I used a 9″ round pan and a round Pyrex bowl. Trim to get the horse shape. I cut the top off of the Pyrex bowl for the top half of the hind leg and just used icing for the bottom and hoof of the back and front legs. For the head I used a flower pot and a smaller Pyrex bowl.
I iced the body and head smooth using brown icing. I used fondant covered with icing for the ears and attached them with toothpicks to the head. I attached the head to the body with wooden skewers. Next time I make the cake I think I will use Styrofoam for the head. it was very top heavy and after the travel it broke away from the body. The eyes and diamond are made with icing and the nostrils are made with two pink Wilton Jumbo Confetti Sprinkles. The mouth is made using black icing and tip #6.
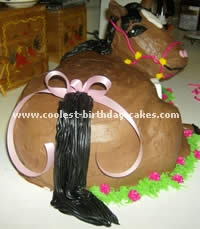
The tail and the mane are made with black icing and tip #333. I tied a ribbon on a flower pick and placed it at the top of the tail. The harness is made of icing and tip #6 and embellished with tip #16. I think if this cake didn’t have to travel to its destination using the cake head would work fine but if traveling I would use Styrofoam!
Good Luck with your horse cakes and enjoy!
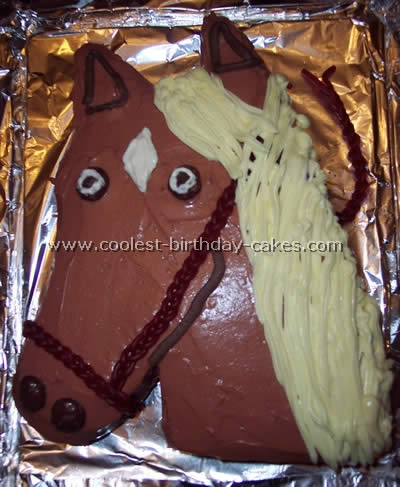
My daughter really wanted a horse cake so I searched this site for horse cakes and this is what I made. I drew a picture of a horse head, just the basics and on large scale. Then I put it over the cake after it cooled down and cut it out. I just used the basic cream cheese frosting recipe. It was really hard to make the brown color. You just have to experiment.
I used milk duds for the eyes and nostrils; I used Twizzlers for the halter and lead rope. Just get the kind that peel apart. Just don’t put the halter and lead rope on until you are going to show it because the Twizzlers will break apart if you put it in the fridge. I learned the hard way.
I just used a box cake and made a strawberry cheese cake filling and chocolate cake.
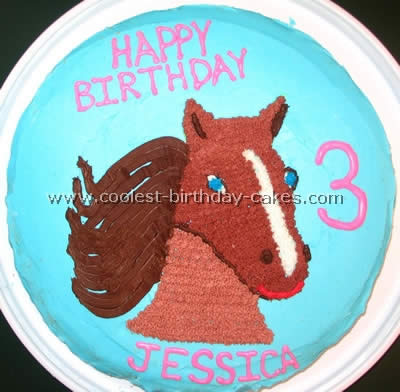
This is the first of three horse cakes I made (so far!). My daughter especially liked real looking horses – and we found the “Horse Power” supplies to use for a party at home. I used a large round one layer pan. I took a picture of the horse head from the party supplies, sized it large and printed it out. Then I used clear gel to outline the image, flipped it over onto the frosted cake and filled in the various areas using frosting and decorating tips.
I’m not thrilled with the dark line at the bottom of the horse’s head but felt it needed something to distinguish the head from the neck.
Cake by Gab L., Perth, Western Australia
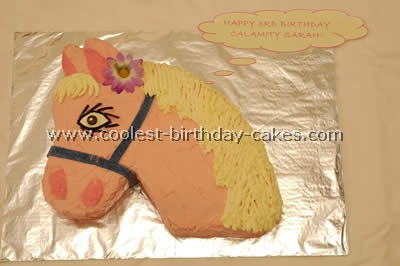
My daughter is currently obsessed with the 1953 Doris Day musical “Calamity Jane” (go figure!) and she “really” wanted a pony cake for her third birthday party and it had to be pink of course! I got the basic idea for how to make the cake from other horse cakes on your website but made a few modifications.
I baked a rectangle cake in a large roasting pan (approx 32cm x 24 cm) as I didn’t have a large enough cake tin. I used three Green’s packet cakes to make sure it turned out nice and high (besides which that particular brand turns out super moist!) I made a template in the shape of a pony (using designs from this website!) as I was too nervous to cut it out freehand. I cut the shape out of the frozen cake and used the leftovers to make the ears (others on your website had only one ear but I thought two looked more realistic).
I used pink butter icing for the base and then tinted it slightly darker for the nostrils and insides of the ears. The bridle was made of blueberry sour strips and the eye was just white icing with a brown Smartie and thin strips of licorice. I made another lot of (white) butter icing and added coconut for the mane which I piped on in random lines.
The cake was a big hit with all the kids and adults alike – all thanks to this site!
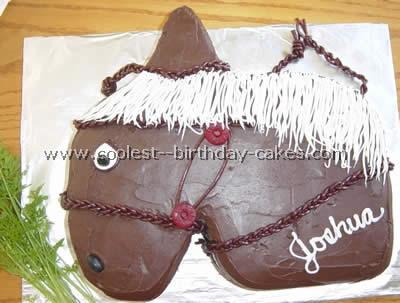
I made this for our son’s fourth birthday. He asked for a cowboy birthday. I got my ideas from other horse cakes on this site. I made a two layer chocolate cake and froze it for two days. I then cut it to the shape of the horse’s head (cutting the triangle for the ear from the bottom to make the neck). I iced with chocolate icing.
I used a black jelly bean for the nose and white icing and half of a jelly bean for the eye. I piped white icing for the mane and his name and used braided string licorice for the reins.
It was a very simple cake to make and it turned out great. Tasted yummy too!
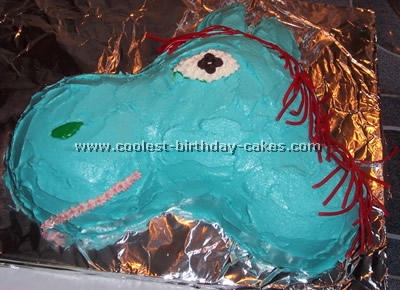
I got the idea to use two pyrex bowls from others on this site for horse cakes and it worked out better than I expected! I greased and floured the bowls beforehand and the cakes popped right out. I cut a bit off the large one in order to attach the smaller “nose” cake and I used that to make the ears.
I used shoelace licorice for the mane since my son had requested a blue horse with red hair for his second birthday! Everyone loved it although there were a couple of “Godfather” horse head references from a few funny relatives!
Cake by Penny H., Murfreesboro, TN
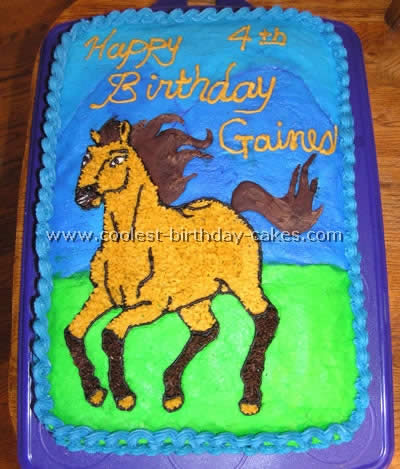
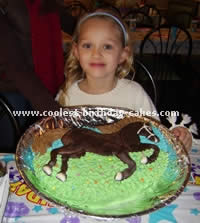
I iced the bottom 1/3 of horse cake with green buttercream icing and the top 2/3 with blue. Cut “mountains” out of wax paper and place outline at top and straight piece across the green and sprayed Wiltons blue food coloring in between. Trace a picture of Spirit (this was from “How to Draw Spirit” book) onto wax paper.
The night before decorating, melt chocolate square, place into plastic bag, cut off tip and squeeze onto mane and tail onto wax paper. Drag a toothpick through it to shape and give texture. Let it dry. Peel off wax paper. Cut out picture, place onto cake and outline with toothpick or sharp knife. Place mane and tail in correct position and outline and detail the rest with chocolate/brown icing. Star tip in with tan icing and dark brown for bottom of legs.
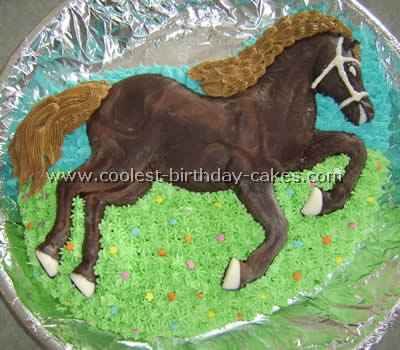
My daughter was into My Little Ponies. The previous year I made a pony cake so I did not want to duplicate it. She picked horse invitations and horse cakes that I tried to duplicate. I borrowed a cake pan from a friend who purchased a fantastic cake mold.
First I purchased melt able chocolates from Micheal’s and put that in the bottom of the mold and when it cooled I removed it from the pan. I then baked a yellow cake mix in the pan and when done frost the area where the horse would lay and then put frosting all around the molded chocolate. She loved it.
It has been the 6th cake I have made for my family. The kids love their themed cake and I like that it is original and not a cookie cutter grocery store cake.
