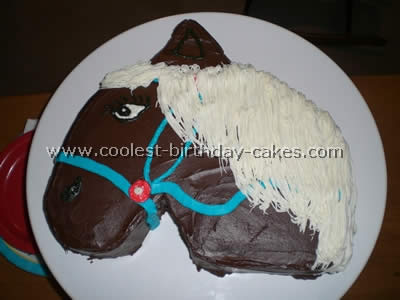
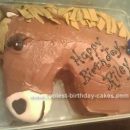
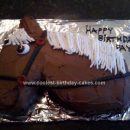
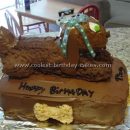
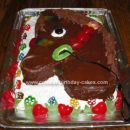
As with other similar horse cakes I simply cut the shape out of a 13×9 inch cake pan and used the cutout between head and neck for the ear. I iced the entire horse cake with chocolate icing and then used the “hair” tip (can’t remember which number) for the mane – I held the tip about four inches from the cake so that it would fall naturally and be more “flowing”.
It took a lot to build it up so that it was nice and thick. My two year old horse lover was very excited.
Awesome Horse Head Cake
Horse Cake by Mark B., Charlotte, NC
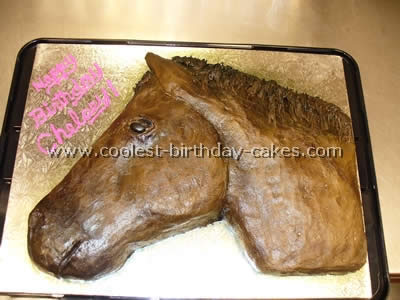
I made this horse cake for my daughter’s birthday. She recently started competing in a local rodeo and loves her horse. I used a 1/4 yellow sheet cake and carved out the horse shape with a sculpting knife. Then, I iced the cake with butter crème icing and used a grass tip and chocolate butter crème for the horse’s mane. I used a black jelly bean for his eye and used an air brush for the horse’s coloring.
Adorable Horse Cake
Horse Cake by Julie F., Smithfield UT
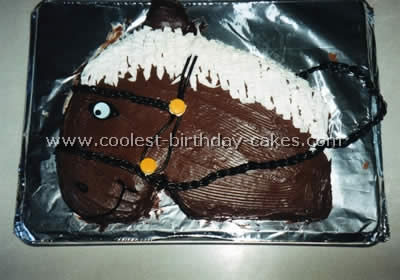
This is a 9×13 horse cake. I always make my cakes a day ahead and freeze them so they are easier to shape and frost. I cut the shape of the horse head except the ear. The ear is the piece cut out between the neck and head.
I frosted the horse cake with chocolate frosting. I then piped white frosting on for the mane for a contrast. The reins are black licorice ropes braided and tucked under the cake. There are also Spree’s candies on the bridle. The eye was a Necco wafer. Black gel was used to outline and make eye and smile. I used a black jelly bean for the nostril.
Fun Birthday Cake
Horse Cake by Rachel R., Jacksonville, FL
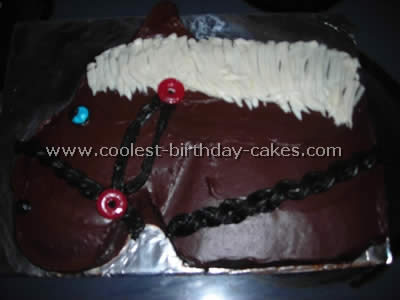
I found this horse cake from a website and followed the instructions. I first baked a 9 x 13 cake. After it cooled I etched out a triangle piece on the bottom of the cake and saved the piece for the ear. I iced the cake with chocolate icing. I used black icing for the reins. This is the second horse cake I’ve made with this template and the first one I used black licorice for the reins.
The black rope icing worked much better. The licorice popped up. I used red lifesavers on the reins piped white icing for the hair and blue icing for the eye. It was very easy and a huge hit for my friend’s daughter’s birthday.
Coolest Stable Cake
Horse Cake by Jennifer L., Dorchester ,WI
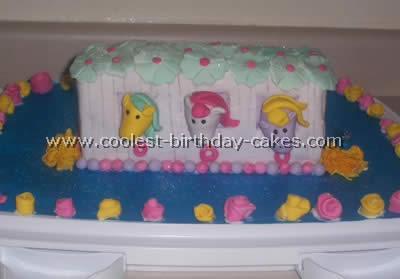
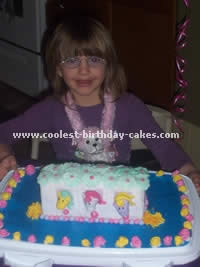
My daughter wanted a horse cake. I made this cake out of Marshmallow fondant and crispy treats. First, I took an 8×8 pan of crispy treats and cut it in half then took a sharp knife to slant the roof. I used cookie cutters to make the flowers.
Then, I molded the pony heads and set aside to dry a little. I made ribbon roses and hay bails with a garlic press. I even made a tiny blue bird if you look close.
Lastly, I made tiny pearls by using an icing tip as a cutter to make them all about the same size. This cake was a blast to make and not at all intimidating to work with the fondant since it only costs about $3 to make.
It turned out to be a very special birthday!
Stunning Carved Birthday Cake
Horse Cake by Sharon B., Sydney, Australia
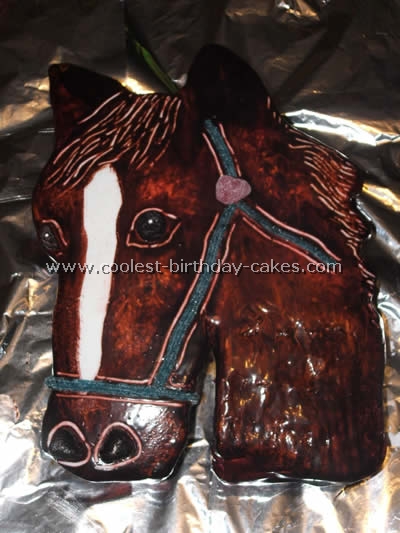
This horse cake was made in a large rectangular cake tin. I froze the cake for a couple of hours before cutting the shape.
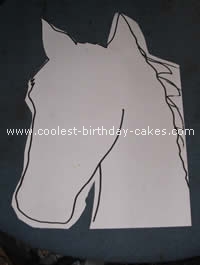
For the template I simply searched a picture of a horse online, printed it out, copied the shape freehand onto a sheet of A4 paper and cut it out. Then I placed the template onto the cake and cut around it. I then purchased some pre-made royal icing that you take out and roll flat. I made a sugar syrup of 2 parts sugar and 1 part water taken to the boil and brushed this over the cake. Then, I placed the icing over the top carefully. I folded, tucked and trimmed where needed (always handy to have another person to help with this part).
The next stage was to mix up food colourings: red and green together to make brown. I then painted the horse leaving the strip of white for the front of the head. You can be as creative as you want with this part using shading etc. I then went over it with a skewer to score the pattern for the mane. Then I placed jelly sweets for the eyes and nostrils. I added candy strips (you can use licorice string, etc) for the bridle!!! Last touch is the tiny dot of white icing for the eyes and a little more scoring around the features to make them stand out.
My daughter is most impressed with this horse cake as I am myself; actually I am more shocked that I was able to make something like this!!!! And, it was easy!!
Colorful Homemade Cake
Horse Cake by Heather I., Castaic, CA
I got this horse cake recipe from the web site familyfun.com and it looked easy enough so I gave it a shot. The only thing I didn’t do was use all food products to decorate, I cheated and used buttons and a fake eye but the rest of it you could eat. It was really easy and it made a little girl very happy, that was most important.
Cutest Horse Cake
Cake by Karen A., Lexington, KY
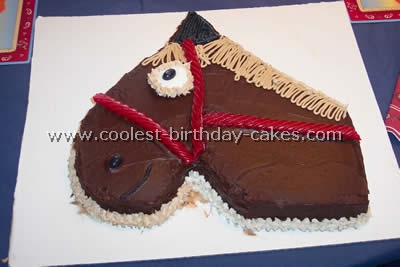
I borrowed this horse cake design from this website, but changed it up a little. First, I used a 9×13 cake pan, cut a triangle out for the ear and then rounded the rest of the cake for the face of the horse.
I used chocolate icing and added a slight touch of brown to the white icing to make the horse’s mane. Red licorice was used for the bridle. I used a black jellybean for the nose and eye and a vanilla wafer for the base of the eye with white frosting.
Cool Chocolate Fondant Horse Cake
Horse Cake by Carolyn W., Eugene, OR
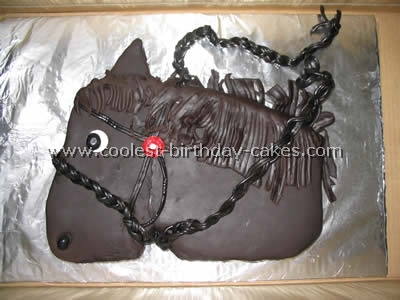
This horse cake was made as a simple yellow butter cake with raspberry filling. I got the idea for the shape and decoration from this site. I used chocolate fondant to cover the horse cake and make the mane; the reins are braided licorice.
Fabulous Fondant Birthday Cake
Cake by Luluk S., Jakarta, Indonesia
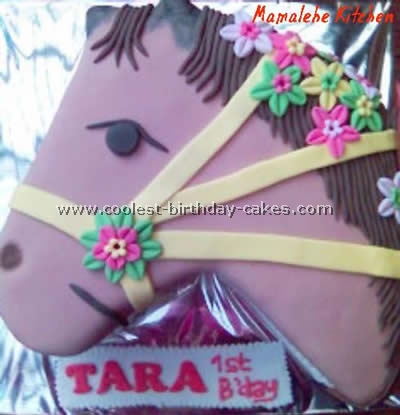
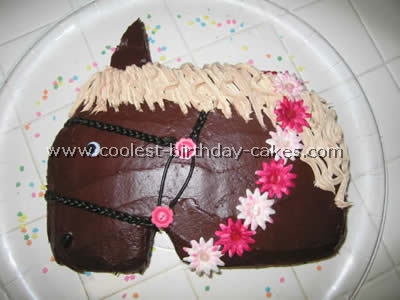
This cake was made from square chocolate butter cake with ganache filling. I used a paper pattern and cut the cake into horse-shape. I covered it with butter cream and last with fondant. Since it’s a girly horse I made up flowers in the horse’s hair. And this horse cake was especially dedicated to my daughter’s best friend. They’re a horsey family and they were surprised with the cake!
Coolest Wilton Carousel Cake Pan
Horse Cake by Missy M., Imler, PA
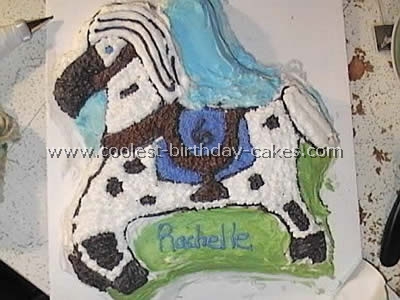
I used the Wilton’s Carousel Cake Pan for this horse cake. The rest of the idea was from my 6-year-old niece; she loves horses.
I used multiple star tips.
Gorgeous Homemade Horse Scene Cake
Horse Cake by Barbie C., Commerce, TX
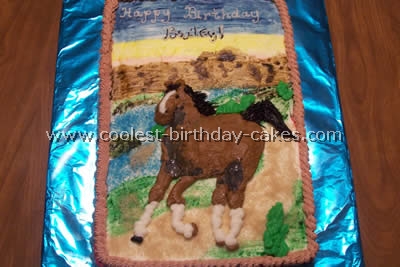
I made this cake for my neighbor’s daughter, Bailey (6th birthday). She is a very big horse fan. I took the picture from the invitation and decided to use it to make the horse cake. I just made a 9×13 sheet cake. Using buttercream icing I iced the top of the cake white and the sides of the cake red. I then used paste food coloring, water and a paintbrush that came in a candy making kit. I painted the background.
Painting the Background
I dipped the paintbrush into the paste color and then into water before applying it to the horse cake. I started with the blue sky, and then added some yellow and a little pink just above the mountains. Then I painted the mountains using brown and added dimension with some darker patches of brown. Next, I painted the grass. I used blue sugar for the water and raw sugar for the sand along the path, and the little island in the river.
Piping in the Horse
I used brown butter cream icing to pipe the horse using a size 12 tip for the head and body and a size 10 tip for the brown part of the legs, and a size 5 tip for the ears. I added some detail with a little black buttercream icing at the chest and haunches. Then, I used white buttercream icing and a size 5 to complete the legs and add the blaze down his face. I used cornstarch on my fingertip to pat out the piping marks to make it look more like a 3D sculpture on top of the horse cake.
Finishing Details
I used black buttercream and a size 3 tip for the right front hoof, and brown butter cream and a size 3 tip for the other three hooves. I used a size one tip and black buttercream for the eyes. Then, I inserted the tip into the side of the horses’ face and filled in the hole I made with the black buttercream to look as if the eye was in a socket.
I used black buttercream for the mane and tail using tip 233 (good for hair, fur, or grass). Black licorice laces would have worked also. I used a pale tan buttercream to make the rope border, along the top edge using tip 18. To finish off the sides I used tip 2 and white buttercream to mimic the paisley’s in a bandanna, and added to it with tip 2 black buttercream polka dots. I then used a pale blue and made a shell border along the bottom edge using tip 21.
The horse cake was a big hit at the party and my neighbor even said, there were mother’s who asked if I made cakes for other parties.
