This cool collection of Spongebob cake ideas and designs is sure to provide you with inspiration as you set off to create the coolest Spongebob cake ever. Good luck!
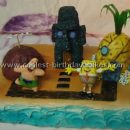
3rd Birthday Spongebob Squarepants Cake
Spongebob cake submitted by Sherri H.
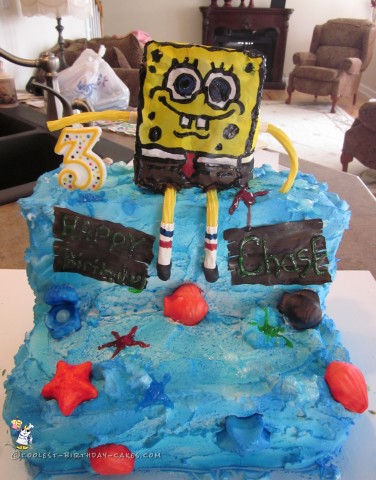
I made this Spongebob Squarepants cake for my son’s 3rd birthday.
Who lives in a Pineapple under the sea? Spongebob Squarepants!
After having to listened to this song 24/7, my son wanted his 3rd birthday to be all about Spongebob.
Spongebob Squarepants Cake Instructions
- I made the base of the cake into a square and cut the other square cake into 3 sections by stacking them together to make the backdrop.
- Then I covered it with buttercream icing in a swirl method to make it look like the sea.
- I used fondant in soap molds designed with sea creatures for the starfish and shells. Spongebob was my masterpiece.
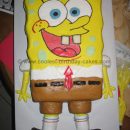
- I cut out a square piece of cake and covered it with fondant.
- Using my Cricut machine, I cut out a paper design to make the Spongebob face, tie, and outfit.
- The arms and legs are yellow twizzlers.
- I put fondant around the base of the legs to make the socks and shoes.
For his party, I dressed my son in a shirt and hat made like Spongebob and all of the food was labeled as Spongebob characters like Planktons for the hot dogs.
Spongebob Squarepants Birthday Cake
Spongebob cake submitted by Andrea S.
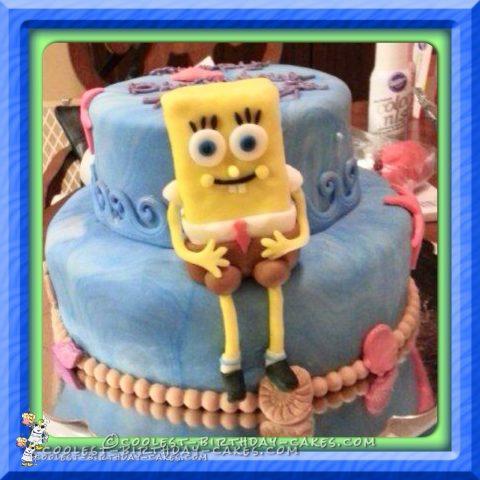
This Spongebob Squarepants birthday cake was super fun to make. It had an underwater theme and was decked out with Spongebob himself.
Spongebob Squarepants Birthday Cake Details
- The cake was two tiered and covered with mixed fondant colors to create a wavy appearance.
- The shells and waves were made from Wilton molds.
- Spongebob Squarepants was constructed entirely by hand out of a Rice Krispies treats and covered in fondant pieces.
- When complete, he was placed on the edge of the bottom tier.
This was my first time making anything like this and I’m not going to lie; it was terribly frustrating at first.
The payoff was completely worth it, though. The cake was for a young girl’s birthday and she cried with excitement when she saw it!
This was one of my favorite cakes I have ever made by far.
Cool Spongebob Squarepants Birthday Cake
Spongebob cake submitted by jailanie m.
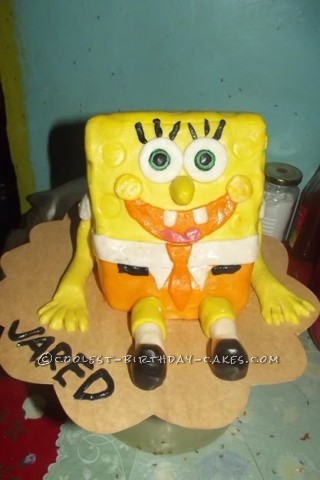
Making this Spongebob birthday cake cake was exciting for me because this is one of my nephew’s favorite and I want it to be nice and really looks Spongebob.
Maybe the hardest part for me was making the fondant, but I still made it work out. The best thing and the funniest thing while making the cake was when I did Spongebob’s mouth because it reminded me of myself. I have Spongebob teeth meaning they are big like Spongebob’s and there is a gap, not as wide as Spogebob. Well, my nephew was amazed and even the guests as well. They thought its only a toy because it really looks like a toy so they were amazed. Even my family and my son love it and makes me proud.
So far I have enjoyed making the cakes so i just take it easy as long as you enjoy what you are doing you will have a great result or outcome. Hope this will help to inspire more kitchen lovers like me out there.
Coolest Spongebob Cake
Spongebob cake submitted by Jenn W.
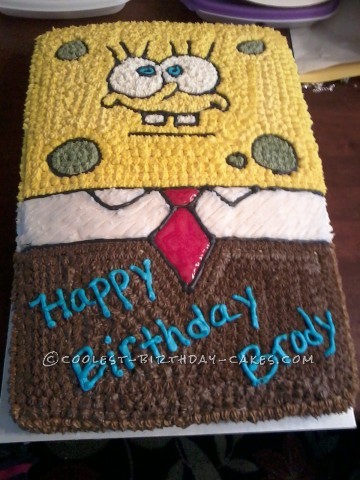
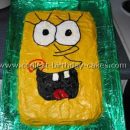
This Spongebob cake was my first customer order cake so I was super excited! I used a full sheet pan and crumb coated the cake before decorating it. Next I used a toothpick to draw in the areas of the face and areas to outline. I then outlined those areas in black icing.
Then I tinted the remaining icing all the appropriate colors and used a star tip to fill in the areas except for the tie and white underneath it. I used a red gel icing for the tie and used a round tip for the writing in blue. The customer loved it so I was very happy! Enjoy!
Coolest SpongeBob Squarepants Cake
Spongebob cake submitted by Mary D.
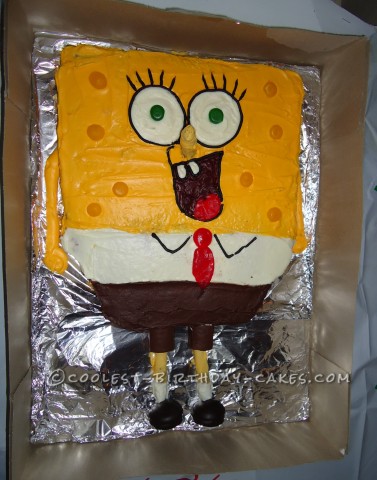
My son LOVES SpongeBob, so for his 4th birthday I made him this SpongeBob Squarepants cake. I baked a sheet cake using 2 funfetti cake mixes. Then I tinted frosting yellow and frosted the top half of the cake. I split the bottom half between white and milk chocolate frosting. Nexgt I frosted the face features using white for eyes and teeth, black for outlines and lashes, and tinted milk chocolate frosting red for the inside of his mouth.
Both the tongue and tie are made from flattened out DOTS candy. His green eyes are DOTS too. I cut the yellow DOTS in half for sponge holes. The top of his pants are two halves of Swiss Rolls. His legs and nose are pretzel rods frosted. His shoes are Malamar cookies. I used a large tip (1A) top make his arms.
Everyone loved it. The kids were fighting over his legs and shoes!
Coolest Spongebob Cake
Spongebob cake submitted by Patricia W.
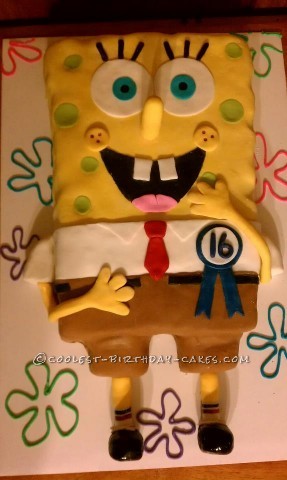
I made this Spongebob cake for a family friend’s 16th birthday! Spongebob was made of 2 layers of 11×15 marble sheet cakes with chocolate icing in between. The legs of his shorts were made with cupcake bottoms. Then I made homemade marshmallow fondant and tinted a good sized amount with Wilton Golden Yellow. I covered Spongebob in the fondant and using a small fondant roller, made the indentations around the sides.
I used the same fondant to make his nose (secured with a lollipop stick), cheeks and arms. Next I added some green to some of the yellow to make the spots and gently pressed down on them when applied to give them an indentation look as well. I used some of the white fondant to make his shirt, socks, eyeballs and teeth. I tinted a small amounts with sky blue for his pupils, royal blue for the ribbon, pink for his tongue, and no taste red for his tie.
Then I tinted what was left with brown for the shorts and black for the other details. His shoes were made from the black fondant, but I painted them with the coloring gel to make them shiny. Using the end of a lollipop stick, I made the freckles on his cheeks with no taste red gel. I then made the “flower clouds” with icing tinted violet, rose, sky blue and (light) leaf green. She absolutely loved it!
Marshmallow Fondant Spongebob Birthday Cake
Spongebob cake submitted by Christine A.
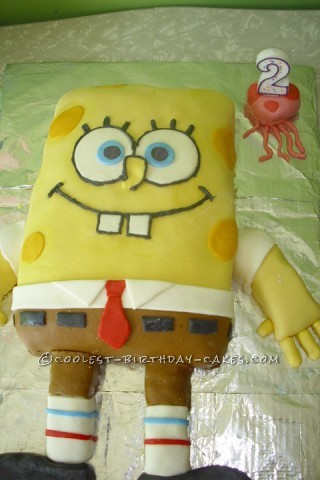
My husband and I decided to try our hand at marshmallow fondant, so for our son’s 2nd birthday we rolled up our sleeves and dove in. And what better character to start with than SPONGEBOB! We stayed up until 3am perfecting our masterpiece and are still shocked at how well we did. Maybe in another life we will open a cake shop… or perhaps when the kids are grown and we can stay up until 3am without consequence.
Either way, we not only created a great cake, but also a new tradition. Every year the kids now expect us to make elaborate cakes for their parties. The hubs and I always have fun and make a date night of it (snacks, caffeinated drinks, and music). In the morning the boys wake up and see something that mom and dad made together for them, it is pretty cool! The downside, we can’t get lazy and make a normal cake ever again. But the smiles on their faces and the memories far outweigh the long nights and messy kitchen so we’ll do it until they think we’re not cool anymore.
Spongebob Surprise Birthday Cake
Spongebob cake submitted by Ashlie W.
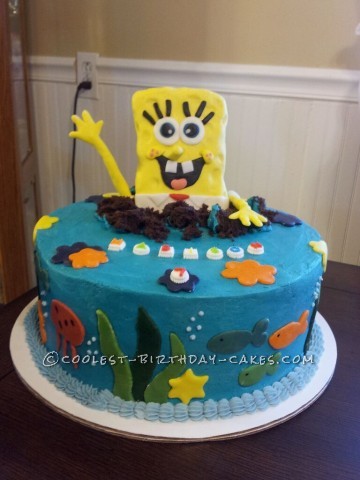
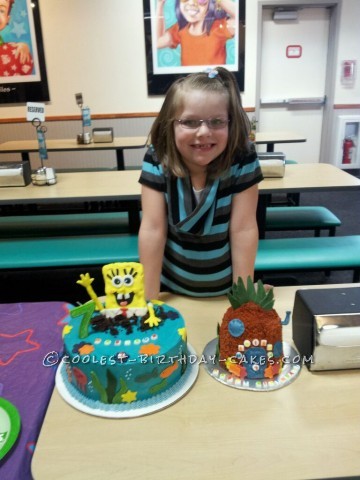
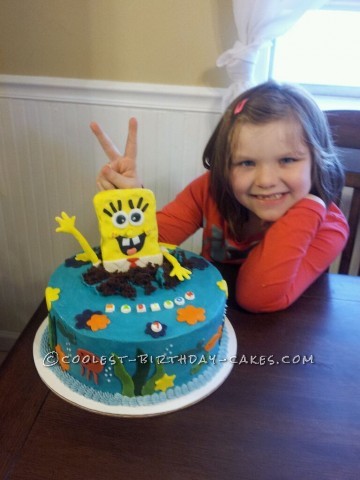
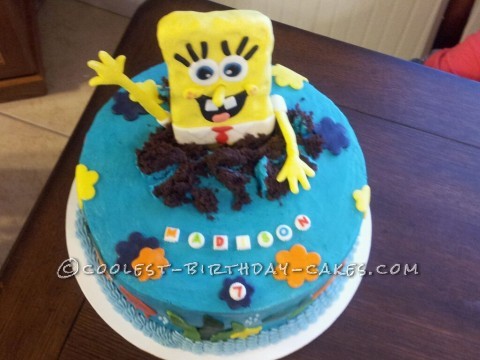
I made this Spongebob cake for my daughter’s 7th birthday. I am not that crazy about Spongebob myself, but since my daughter was having her party at Chuck E Cheeses, and I wouldn’t have to do a whole party in Spongebob theme, I decided I could make the cake!
To start off, I baked 2 10″ round devil’s food cakes. They are stacked and iced using blue butter cream. My daughter helped me mix the icing coloring’s telling me if she wanted it darker or a different shade. I made Spongebob out of Rice Crispy Treats and Marshmallow Fondant (MMF). His arms and nose are attached to the body with toothpicks. The seaweed, fish, and jellyfish are all MMF. I used a lighter blue butter cream icing to make the border and bubbles. Then I painted the fish eyes on with black food coloring. I just used store-bought candy letters and number 7 on the top.
Finally, I used a spoon to dig out a hole in the cake and used a lolli pop stick to secure Spongebob in the middle of the hole, making it appear as though he had just popped out of the cake! My daughter loved this cake, although she had requested I make her her own personal small cake, so I made Spongebob’s Pineapple house in a hurry, using leftovers from the main cake. There was an older lady with developmental delays attending another party at Chuck E Cheese that day and she had talked to my sister-in-law about my cake. When I found out how much she liked it, I took her a piece; that seemed to make her day, which made my day as well.
Coolest Spongebob Cake
Spongebob cake submitted by Heather
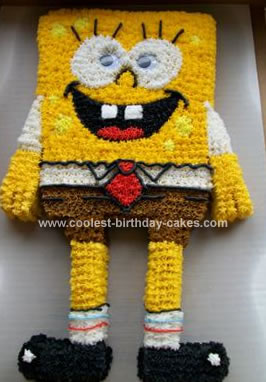
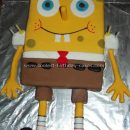
I made this Spongebob cake from a regular rectangle cake pan. First, I cut a piece of paper the same size as the cake and used it as a template to figure out how to cut the cake to make the legs and arms.
I cut off approximately 2 inches from the bottom and used each piece to make the legs. I cut off about 2 inches from each of these piece, turned it sideways, and that was his feet. For his body, he is really more of a square than a rectangle and he angles in at the bottom, so I cut off a triangular piece on each side and used this for his arms.
I covered the entire cake with the star tip using buttercream icing. You can ice him ahead of time, but I would wait until that day to do the final detail – the black icing may bleed on the white. I added the plastic googly eyes as well. TIPS: Make sure you put a dot of icing under his legs and arms to anchor them to the cardboard.
You also need to try to ice the inside of the legs before anchoring them down; otherwise, it will be very difficult to ice the insides of his legs because they are so close together.
More Spongebob Cake Ideas
Spongebob Cake by Kay C., Frankfort, KY
I made this cake for my nephew’s 7 th birthday. He had been to other parties that had Spongebob cakes, but he wanted one that was actually in the shape of Spongebob rather than having a design on top of the cake. It looks a little intimidating at first, but was really easy once you get all the “pieces” prepared for assembly.
This Spongebob cake took several different items to complete: one sheet cake, some large pretzel or breadsticks, Ho-Ho-s, and King-Dongs.
I baked the sheet cake, and after it cooled cut the top and bottom corners off one end. The corners are later used as Spongebob’s hands. Ice the cake and decorate it to resemble Spongebob. I used canned chocolate and vanilla icings, and bought tubes of icing with the plastic tips to fill in the face, shirt, tie, etc.
For the Spongebob cake’s arms and legs: Take two Ho-Ho cakes and cut each in half; ice them with the vanilla icing to make Spongebob’s sleeves. Ice the other two pieces with the same chocolate icing used to ice sheet cake. Also, ice the two corner pieces cut from the sheet cake with the chocolate icing.
Purchase yellow and white candy melts. Melt the yellow candy in a large microwaveable bowl and dip the pretzel sticks to completely coat them. Allow them to dry, and if necessary, re-heat the candy melts and dip pretzel sticks again. Take two of the pretzel sticks and dip ½ way up into the white candy melt to make “socks”. Repeat the white melt after the first layer has had time to cool and set up.
Assemble: Take two pieces of white Ho-Ho’s and place on either side of body. Then take the two solid yellow pretzel sticks and stick one into each of the white Ho-Ho’s. Stick the iced corner sections of the cake onto the other end of the yellow pretzel sticks so they resemble hands. Place the two chocolate-iced Ho-Ho’s and place at bottom of body to resemble pant legs. Stick yellow end of other two pretzel sticks into the Ho-Ho’s. Take the two King-Dongs and cut a “wedge” out of each one; stick onto white end of pretzel sticks so they look like SpongeBob’s shoes.
This Spongebob cake takes up a lot of space, but my nephew and his friends LOVED it! The adults enjoyed snacking on the chocolate-covered pretzels as a change of pace from being served birthday cake.
Spongebob Cake by Debbie A., Deer Lake, NL, Canada
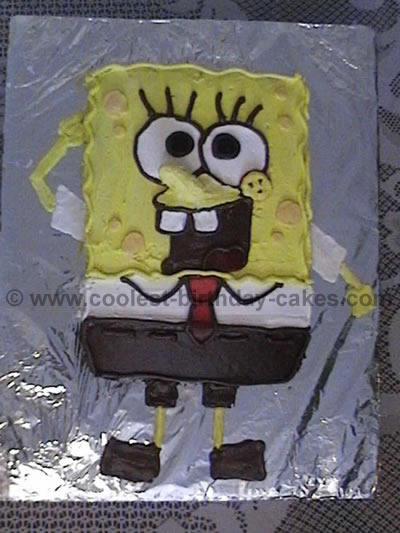
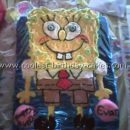
I baked the Spongebob cake in a 9 x 13 pan and when it cooled I divided the cake into three sections. I iced the top section yellow, the mid section (shirt) white and the lower section (pants) brown (chocolate). The legs and arms are just icing piped onto the cake cardboard. His tie is a piece of fruit-by-the-foot cut to resemble a tie.
I used a small drinking glass to outline his eyes and then I piped an outline and filled it in with white icing that I had thinned with a few drops of water. The pupils are black jujubes. The nose is a piece of licorice covered in icing and inserted with a toothpick. His mouth is chocolate icing and his tongue is yet another piece of fruit-by-the-foot.
The sponge holes (spots) are yellow icing tinted a shade darker than the rest of the Spongebob cake. His teeth are made from white icing and then piped around with the brown (chocolate). The same chocolate icing is also used to pipe the collar of his shirt and his eyelashes.
Finally, I piped yellow icing around the perimeter of the upper section to give spongebob his characteristic shape. This cake was a huge hit with the kids!
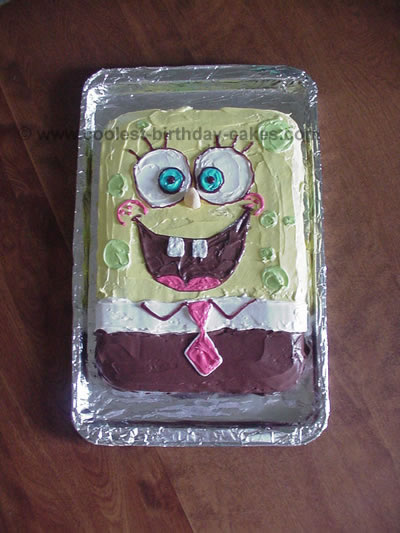
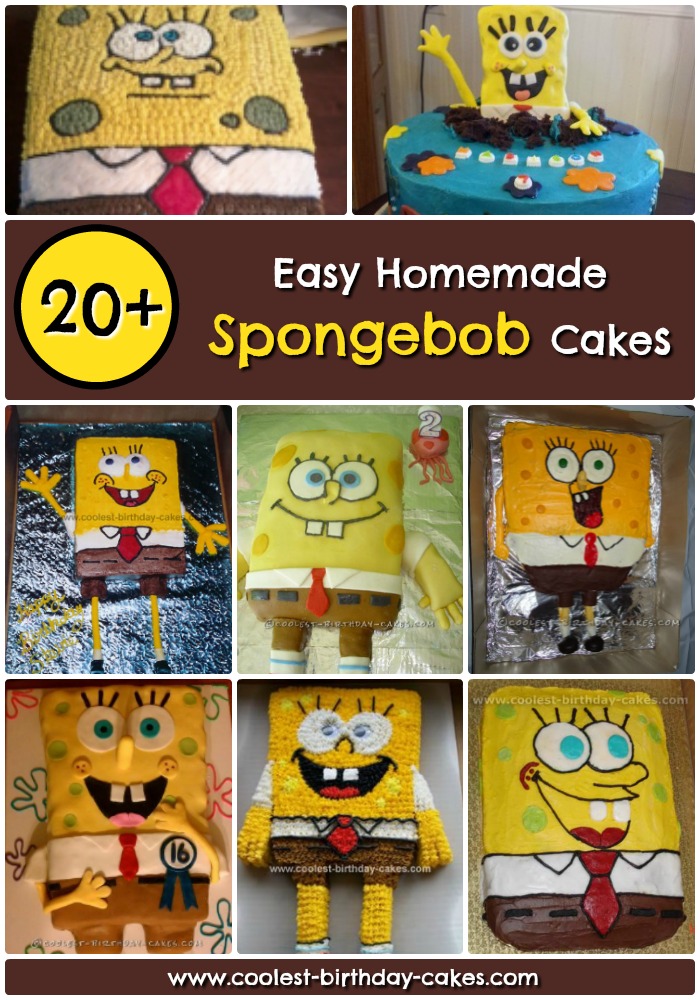
Last year, my 4 years old kid had a SpongeBob craze! She wanted a SpongeBob themed birthday. We found napkins, plates, banner… what about the Spongebob cake. My wife always designs a cake (she doesn’t like the store-made cakes).
First she made a rectangular lemon cake (too bad it wasn’t sponge cake!) and began to draw. Boy it was looking like hell. So we sat and thought. She decided to use big round wafers for the eyes and a candy banana for the nose and greenish spots to make holes in the sponge. That effect was fantastic. The kids just loved this Spongebob cake.
Spongebob Cake by Kim E., Tasmania, Australia
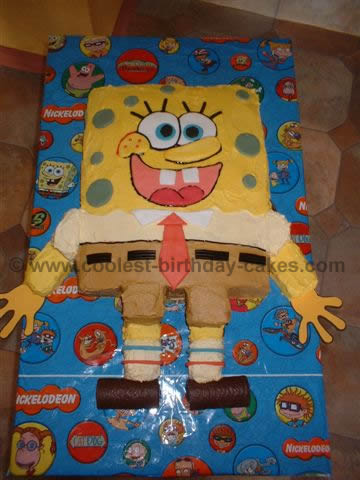
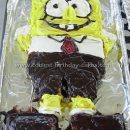
My daughter LOVES Sponge Bob … and wanted a “Spongy” cake for her 8th Birthday…. at the time he wasn’t as well known in Australia as he is in America , so I looked and found pictures of him on the internet… and from there this Spongebob cake idea evolved…
I used a large cake as his main body and with the pieces that I trimmed off, they became his arms and legs. Next I used chocolate rolls for his feet…and for the embellishments I used fondant icing that I colored with food dye. I trimmed around his eyes, nose, mouth and waist with black tubed icing. I used butter icing as the main icing….
My daughter took the Spongebob cake to school to share with her class and all the children thought he was too great to cut and eat…..
Spongebob Cake by Heather W., Pleasant Grove, AL
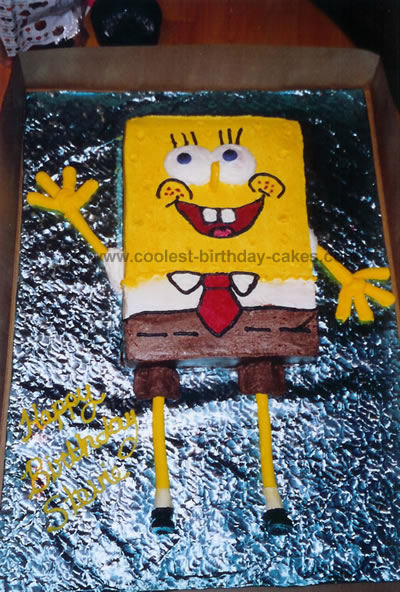
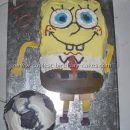
This Spongebob cake was for a 17 year old girl who is crazy about Sponge Bob. I looked on-line to try to find the perfect cake for her, but didn’t like the results I found. So I decided to take Spongebob in my own hands. I always use Betty Crocker cake mix. To me it is the most moist.
I made a 1/4 sheet cake like normal, Iced most of his body yellow, and the bottom half brown (for his pants.) I looked at a picture of him on the computer to make his tie, eyes, mouth. Then I just filled them in with buttercream. Let it crust over and pat i t d own with some cornstarch.
His legs, shoes and arms were made of royal icing. Just piped them out from a tip #12. I also put piping gel on his shoes to make them shiny.
The Spongebob cake was a big hit at the party! It was very simple to make, just time consuming. One tip, to make little “craters” in his head, let the cake crust over and use a clean paint brush in a circle motion. Works great!!!
Spongebob Cake by Dee K., McHenry, IL
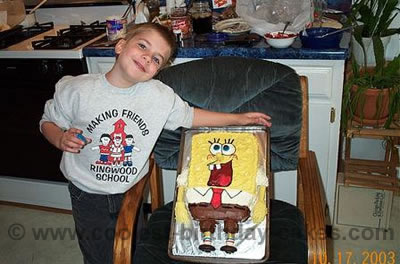
Who knew that some breadsticks, Hoho’s, and marshmallow cookies used together could become Sponge Bob? My son doesn’t like the good old fashioned “plain” cakes as he would say, so we crafted a Spongebob cake out of a 9×13 cake, and used breadsticks for his arms, legs, and nose. Hoho’s made up his hands, shoulders, thighs, and the marshmallow cookies became great shoes!
Spongebob Cake by Barbara B., Medford, OR
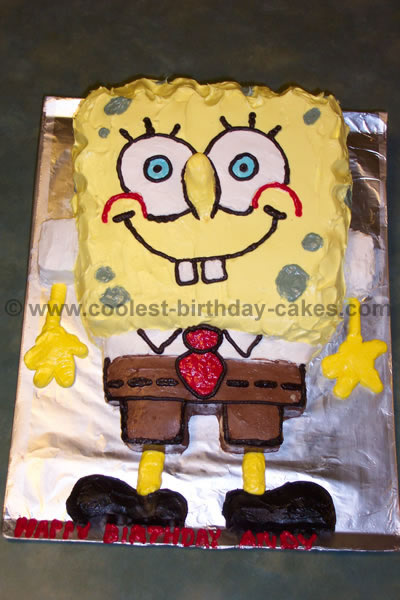
Material needed for this Spongebob cake:
- 13×9 pan
- 1 box white cake mix
- 3 cans fluffy white frosting
- 1 can milk chocolate frosting
Food coloring: red, yellow, blue, black, (you can also purchase colors for accents in the cans). You will definitely need the black unless you have a way of coloring the frosting black and a cake decorator with a small tube end.
Prepare – 13×9 white cake and cool (wrap to keep moist).
Cut 4″ off the end of 13×9 cake and set aside. Cut the remaining 8″ piece on the diagonal (you are making 2 wedge shapes). Take the top piece of the wedge and place it (at the top part of) a cookie sheet or the platter you plan to serve the cake on. Frost the top side (center of Spongebob) with white frosting. Turn the remaining wedge piece and place it on top (SpongeBob’s head made). The top end should be about 4″ high and the smaller end about 2″.
Take the 4″ (4×9) piece and cut 2″ off each side – leaving one piece 4×5, and two pieces 2×4; to be used as follows:
- 4×5 section for the pants. Place at center bottom.
- Cut the two 2×4 pieces, in half. This makes 4 pieces to be used as pant legs (2) and shoulders (2).
- Place all pieces in appropriate places.
Frosting: Empty 1 ½ cans of white fluffy frosting into a bowl and color yellow. Frost upper body portion, making swirls and dips to look like a sponge.
Then frost pants and pants legs with milk chocolate frosting.
Frost shoulder pieces with white frosting.
With black, outline the tie, collar and facial features. Color in eyes and apply red for the tie, and white for the collar and eyes.
The nose is made of yellow frosting filed high and smoothed down by using water on the tip of a knife or your finger. Water works well with the fluffy frosting to make the frosting smooth where you need it.
The arms, hands and legs are made of white frosting (colored a darker shade of yellow than the body) and applied with a cake decorator. The shoes are made from the black canned frosting used for the accenting on the cake.
Finally, mix some yellow and black to get a greenish-yellow color to use as the spots on the sponge.
The face can be made in any form you want. I chose a picture on the back of a cookie box. If you use one that has the mouth open, don’t forget you’ll need a brown color for the inside of the mouth.
This Spongebob cake was such fun to make and the children just loved it. Each one wanted to eat a different part of the cake! The looks on their faces is worth the time it will take to get it just right!!!
Spongebob Cake by Debbie W., Draper, UT
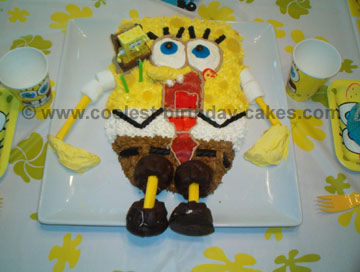
I made this Spongebob cake for my son’s 3rd birthday. He was really into Spongebob so that was the Theme of his party. The Spongebob cake was a lot of fun to do and he loved it.
I used a yellow cake mix and for the frosting I used a butter cream recipe. I used yellow gum drops for the sponge spots, fruit roll-up for the tie, donuts for the feet, and black licorice.
Spongebob Cake by Helena M., Frazer, PA
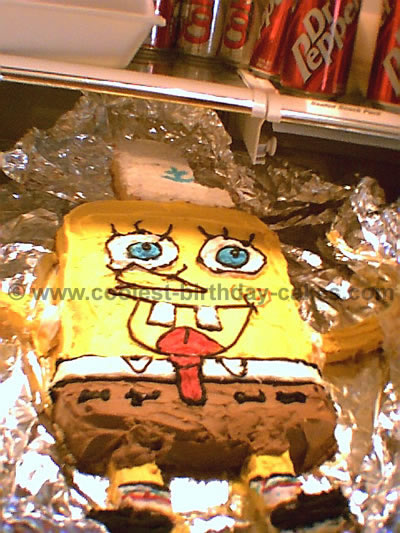
This Spongebob cake was made for a just turned 23 young women who loves Spongebob.
First you bake two 13 x 9 yellow cakes. One you put as Spongebob’s body and you cover it with yellow icing. Then you take the other one and cut out shapes for the rest of his body like his arms, legs, Krusty Krab hat, etc. Then you ice them with the color its supposed to be and put it all together.
Here is a tip: have a picture of Spongebob around while your baking because then its easier to make it look like the original Spongebob.
The Spongebob cake turned out great!
Spongebob Cake by Jenica, Utah, CO
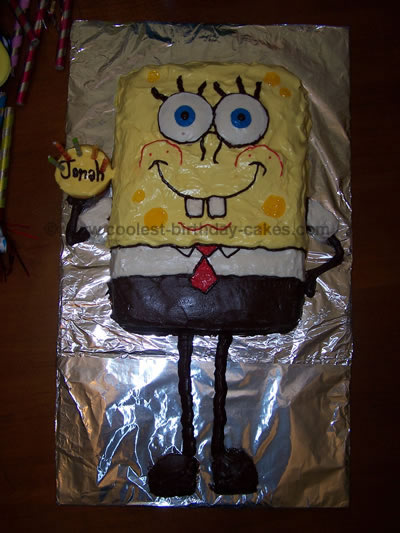
To make this Spongebob cake start with 2 yellow cake mixes (first time I have ever used them) to make 12 cupcakes and a 13 x 9 cake. Then make it a Jell-O cake by poking holes in the cake and pouring 1 ½ c. boiling water mixed with 1 ½ small pkg lemon Jell-O over the cake. Freeze the cake while you make the frosting.
Start by boiling 1 c. water and adding 1 ½ small pkgs of lemon Jell-O. After it dissolves, refrigerate or freeze (stirring often) so that it is cool and just starting to thicken.
Whip 2 c. heavy whipping cream to soft peaks, add 2 c. powdered sugar, then slowly pour in the Jell-O and yellow food coloring while the mixer is on. Refrigerate to the consistency you like to sculpt with.
The picture doesn’t really show the scoopy, soft look of this frosting. But do note that you must refrigerate this cake. The white and brown are just prefab icing from a can, piped from Ziploc bags with the corners cut off. The eyes, shirt sleeves, and shoes are all cupcake parts. The yellow spots are yellow gel frosting.
Spongebob Cake by Jehan P., Richmond Hill, NY
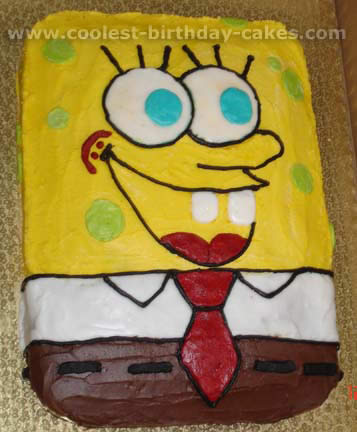
I made this Spongebob cake for a friend’s birthday party, at first I was a little intimidated, but when I came across this website, I realized how easy it was.
Materials: 2 box Betty Crocker cake, 2 and a 1/2 box confectioners sugar, 1 jar chocolate frosting, and 1 tube black frosting. I made buttercream frosting using Crisco flavored with butter, I used this because I wanted the frosting to hold up to the heat and not run.
Then I separated the Spongebob cake into 3 sections, the biggest section I covered in yellow frosting, and then the two smaller sections I covered in chocolate frosting for his pants and royal icing for his shirt. I needed his shirt to be smooth so I used royal icing.
Next I drew on his features with a toothpick and then outlined it with black frosting. When it came to his tie, teeth, eyes, spots and tongue, I made the buttercream a little stiffer; it had the consistency of play dough. So I just simply molded the pieces with my hand and added it in, it looked so cool because it had a 3D effect. His pupil is a brown chocolate M&M. The Spongebob cake was a hit at the party and the frosting was delicious.
Spongebob Cake by Lara R., Winnipeg, MB Canada
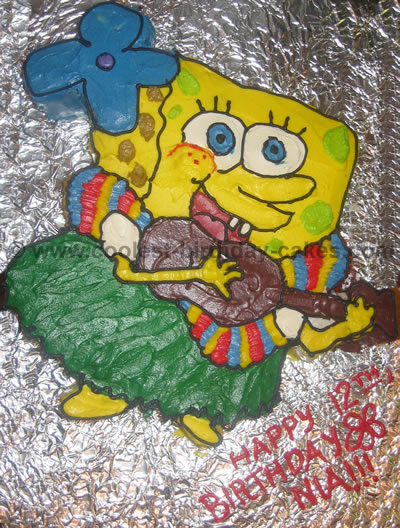
I started with a rectangular cake. I printed the image off on the computer, and placed it on to the cake. Then I carved around the paper to shape the cake. Then, I iced the cake using butter cream icing.
