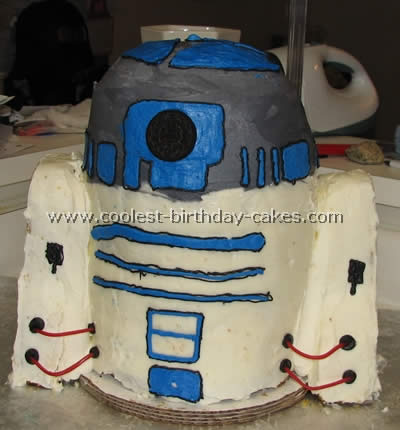
I browsed through quite a few R2-D2 Star Wars cakes for inspiration. This was seven round cakes stacked together and frosted in between each layer. Each layer of this cake was a different flavor as well. I got wooden dowels to hold up the different layers. Then I used buttercream to decorate.
I made this for my sons sixth birthday. It can be done. I have never taken any cake making classes, just saw pictures on this web site for star wars cakes and said I can do that.
More R2-D2 Star Wars Cakes
Cake by Mauri & Cindy L., Phoenix, AZ
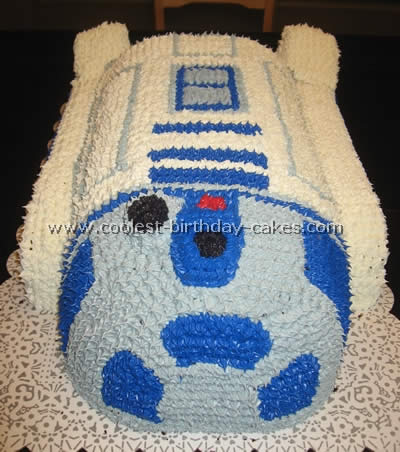
We started by baking three Star wars cakes, three full sheets. It took seven boxes of angel food cake mix. When they were cooled we stacked them on top of each other. I used a sharp bread knife to carve out the shape. Then we mixed the colors. My wife used a small star shaped attachment on the pastry bag to do the whole thing. I used a few toothpicks in the feet to keep them stable but otherwise it was all cake.
The thing was just huge. It must have weighed 40 lbs. Our son loved it and that made it all worth it.

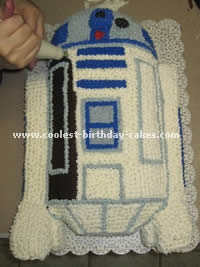
Cake by Kris J., Crown Point, IN
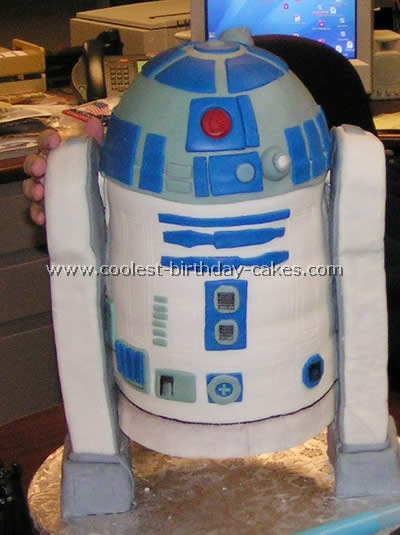
We created this cake for a friend at work. It was constructed with six – 9″ round layer cakes and six batches of Rice Crispy treats. We used our homemade fondant recipe to cover the entire cake and create the design elements. The cake was built on a plastic pipe armature that allowed the center body to “hang” freely from the arms. The cake weighed about 32 lbs. and was 20″ tall.
This was one of the biggest Star Wars cakes we have seen and our friend at work was so surprised!
Cake by Betheny T., Syracuse, UT
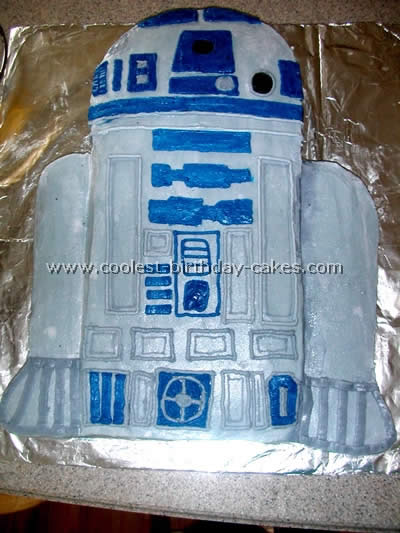
This cake was for my nephew’s Star War’s birthday party. I used two 9X13 cakes (one for the body and one to cut the arms out of). I used a 9 inch cake for the head and just used half of it. I used a cake leveler to make everything the same height.
I then used homemade buttercream icing and piped it on with an icing tip then just evened it out. I had to assemble the second arm on at the party because the cake was too wide to fit in the refrigerator. That’s why it looks different than the good-looking arm that I frosted right along with the cake.
I found a great picture online for Star Wars cakes that I used to look at as I free-handed the piping detail on.
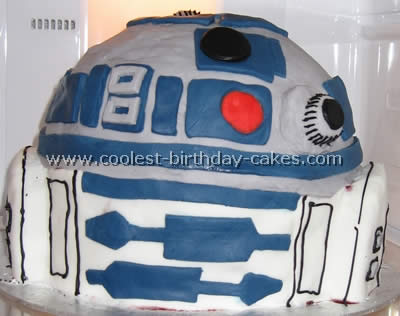
If you’re mad enough to make Star wars cakes like this set aside a few hours! I make the cakes in advance and freeze them, then get them out when I’m ready to ice them, which is usually the night before until the small hours when I can’t be disturbed. The cake is less crumbly when frozen which works quite well for fiddly shapes but it defrosts really quickly so you have to work fast or keep some back in the freezer.
The dome is made in a football cake tin and the rest were cut to fit from two or three huge square cakes. I always think the inside should taste as good as the outside looks so this is chocolate cake with fresh cream and chocolate butter icing alternating inside. And everything is glued with damson jam which is delicious with the chocolate and cream.
I used two pictures of R2D2 front and back and tried to copy the blue shapes as best I could – which is white icing dyed with blue and black food coloring to get the right shade. And then the rest is black ‘writing icing’ squeezable tubes (easy).
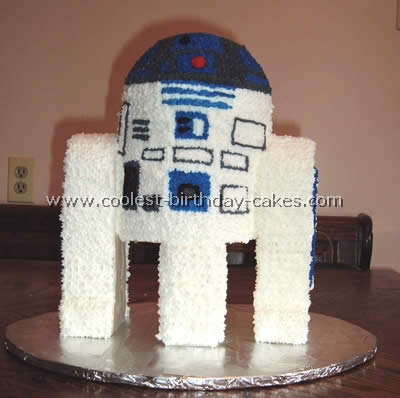
I got the idea for this R2D2 cake from ideas for Star Wars cakes on this website with a few modifications of my own. The base of the cake is actually three Styrofoam blocks (I think they are 2-inches deep) and three (or four) 6-inch Styrofoam circles I got at the craft store.
The middle “leg” goes from the front of the circle to the back for stability. These are all held together with some dowel rods. I covered them all with plastic wrap before I frosted them. It was very sturdy – but hard to transport so keep that in mind.
I only needed a small amount of cake so the top half is two 6-inch diameters by 2-inch deep cakes topped by half of the Wilton Sports ball pan. I frosted the cakes around the legs before placing them on the base. I frosted some areas smooth and some areas with stars using a photo as a guide. My nephew loved it!
Cake by Diane P., Danville, CA
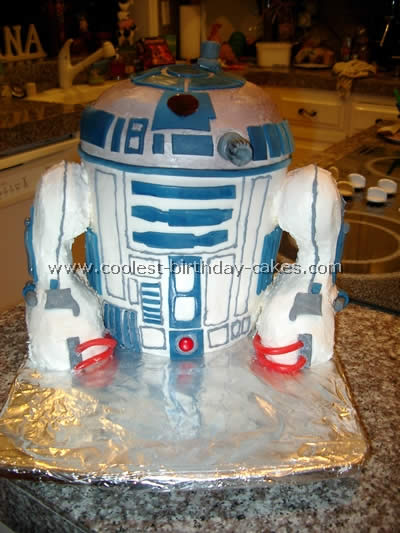
Thank you for posting so many awesome examples of R2-D2 Cakes on your web-site! I was truly inspired by the star wars cakes pictured here and I took it from there!
This cake was for our Cub Scouts’ Pack cake contest which was based on Favorite movie themes. My son has been a Star Wars fan since birth so when I saw the star wars cakes pictured here I thought I would give it a whirl! The only restriction for the scout event is that the cake must be made entirely from edible items! No wooden dowels to hold it together etc…
I baked six 8″ layers with the top-most baked in a Pyrex bowl for the domed shape and then froze them. I stacked five layers and then leveled them both on the circumference and the vertical. I then inserted a very large carrot down the center to stabilize! I added the dome and then proceeded to use 4 cans of butter cream icing.
His arms are made from French bread bagets! I used colored fondant icing and rolled it out and cut out all the blue and grey controls for R2 and grey icing for the details!
We won first place in the Best Looking Cake Category! Thanks again for the inspiration!
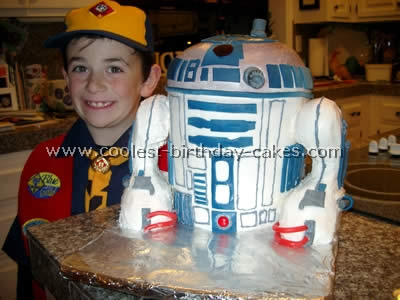
Cake by Kitty V., Anchorage, Alaska
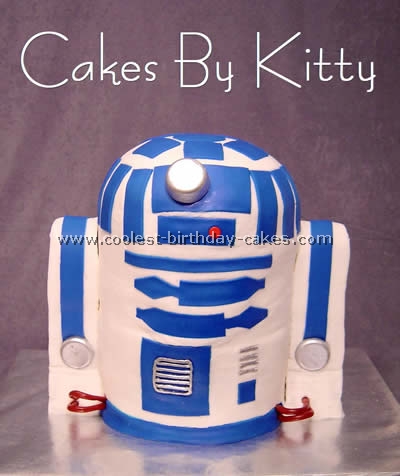
I used this site as my inspiration star war cakes. I stacked 8 inch rounds for the body baked in a Pyrex bowl for the dome and cut the legs from a half sheet cake. It is all dowelled for stability.
The icing is buttercream and the blue is fondant I rolled out and cut to the shape I needed. The fondant is adhered to the buttercream with clear vanilla. The silver details are white candy melts “painted” with silver highlighter dust mixed with pure lemon extract.
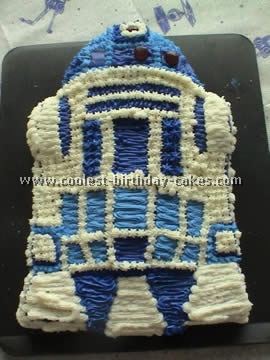
I got the R2-D2 Wilton cake pan off of eBay. Just followed the directions from the Wilton site. This is the first cake I have ever made myself. I love how it turned out! Enjoy making your Star Wars cakes!
Cake by Jeanne F., Yorktown, VA
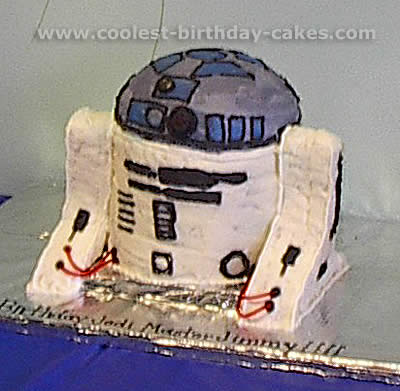
I started making cakes for my children a few years ago. I often go to the computer to get ideas and I got this idea from your site!! Thanks so much! I made the Star Wars cakes the week before and stored them in the freezer. That made them easier to cut and frost when the time came.
I made three batches of buttercream icing and used every drop (this I also did beforehand so I could spend one night assembling). I used a Pyrex bowl for the top of the cake, since I don’t own a pan like that. It worked great. To smooth the white icing on R2’s body I just kept dipping my spatula in hot water, drying it, then going over the icing so it smoothed out.
I used the new spray icing (it’s supposed to be an inexpensive alternative to airbrush) for the squares on top, then outlined them in black icing. I prepped the cake board by sinking two dowels through the cardboard and hot gluing the underside.
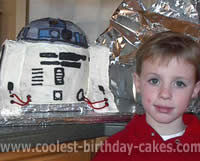
I put foil over the dowels afterward since I don’t know if hot glue is non-toxic! The tricky part was threading the rounds over the dowels one on top of another so I didn’t have to trim too much to make it even from top to bottom. When I put the small board with R2’s body on the larger board, I put hot glue on the larger board first; to make sure it didn’t end up shifting around.
The cake had to travel about 20 miles to the party and made it intact. If I did it again I would cut the smaller board to the exact width of R2’s body so that the board didn’t end up getting in the way when his arms are attached. You’ll see one leans a bit and I think that would have prevented that.
All in all it was great fun and I’m sooo glad I had seen one done before me on this site— It gave me the courage to try!! By the way—my son was delighted with his Star Wars cakes!
Cake by Kathy M., Philadelphia, NY
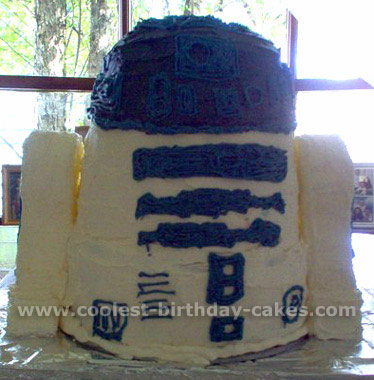
Star Wars Episode III- Revenge of the Cake. My husband Steve and I actually got this idea from this website. We did a few things differently- thought I would share our Star Wars cakes experience.
We used 9-inch round cake pans, baked 3 cakes, used a large round Pyrex bowl to create 1/2 of the dome and used a smaller metal pan to create the top of dome.
We tried layering the Star Wars cakes up to 6 layers, but that collapsed. My solution was to take a large soup pot, turn it upside down and frost the entire pot. That gave great stability! We then continued stacking and frosting in between the other layers up to 3 cakes. We did use the wooden dowels in between the 3 layers.
I used the larger dome shape, frosted in between and put the smaller dome on. We used Styrofoam for the legs; Steve cut them out and we frosted over them (this was the last thing we added to the Star War theme cake). I like John R.’s idea of airbrushing (that would have turned out nicer) but I don’t have that equipment (I used the cake decorating kit).
I did the best I could with the Star Wars cakes and here is what we came out with!
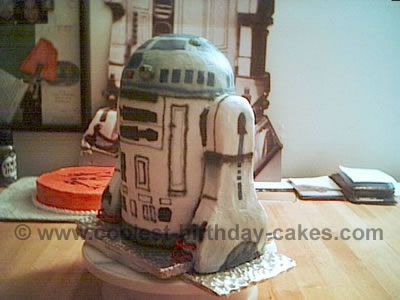
For this Star War cake, I baked four 6″ round cakes for the body, half of the ball cake pan for the head and a 1/4 sheet cake for the arms.
This idea came from the first cake I ever decorated, as a kid. It was close to my birthday and I saw a foil cake pan of R2D2 and wanted it for my birthday cake. So once I started looking at it, I decided I wanted to try and do it. That was at the young age of 12 and now I’m 33. So I thought of how I could sort of dedicate a cake to the first cake I ever decorated and ending up with this.
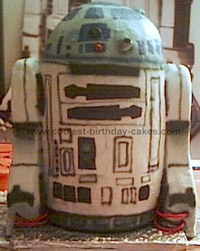
After baking the Star Wars cakes, stack the 6″ round cakes – use dowel rods and a cardboard halfway up.
Add the head. Cut out the arms from the 1/4 sheet cake and attach. Smooth the icing to prepare for the design. I airbrushed the design, which I think it gives it a more realistic look.
I hope whoever tries these sort of Star Wars cakes will enjoy it, I know their kids will!
