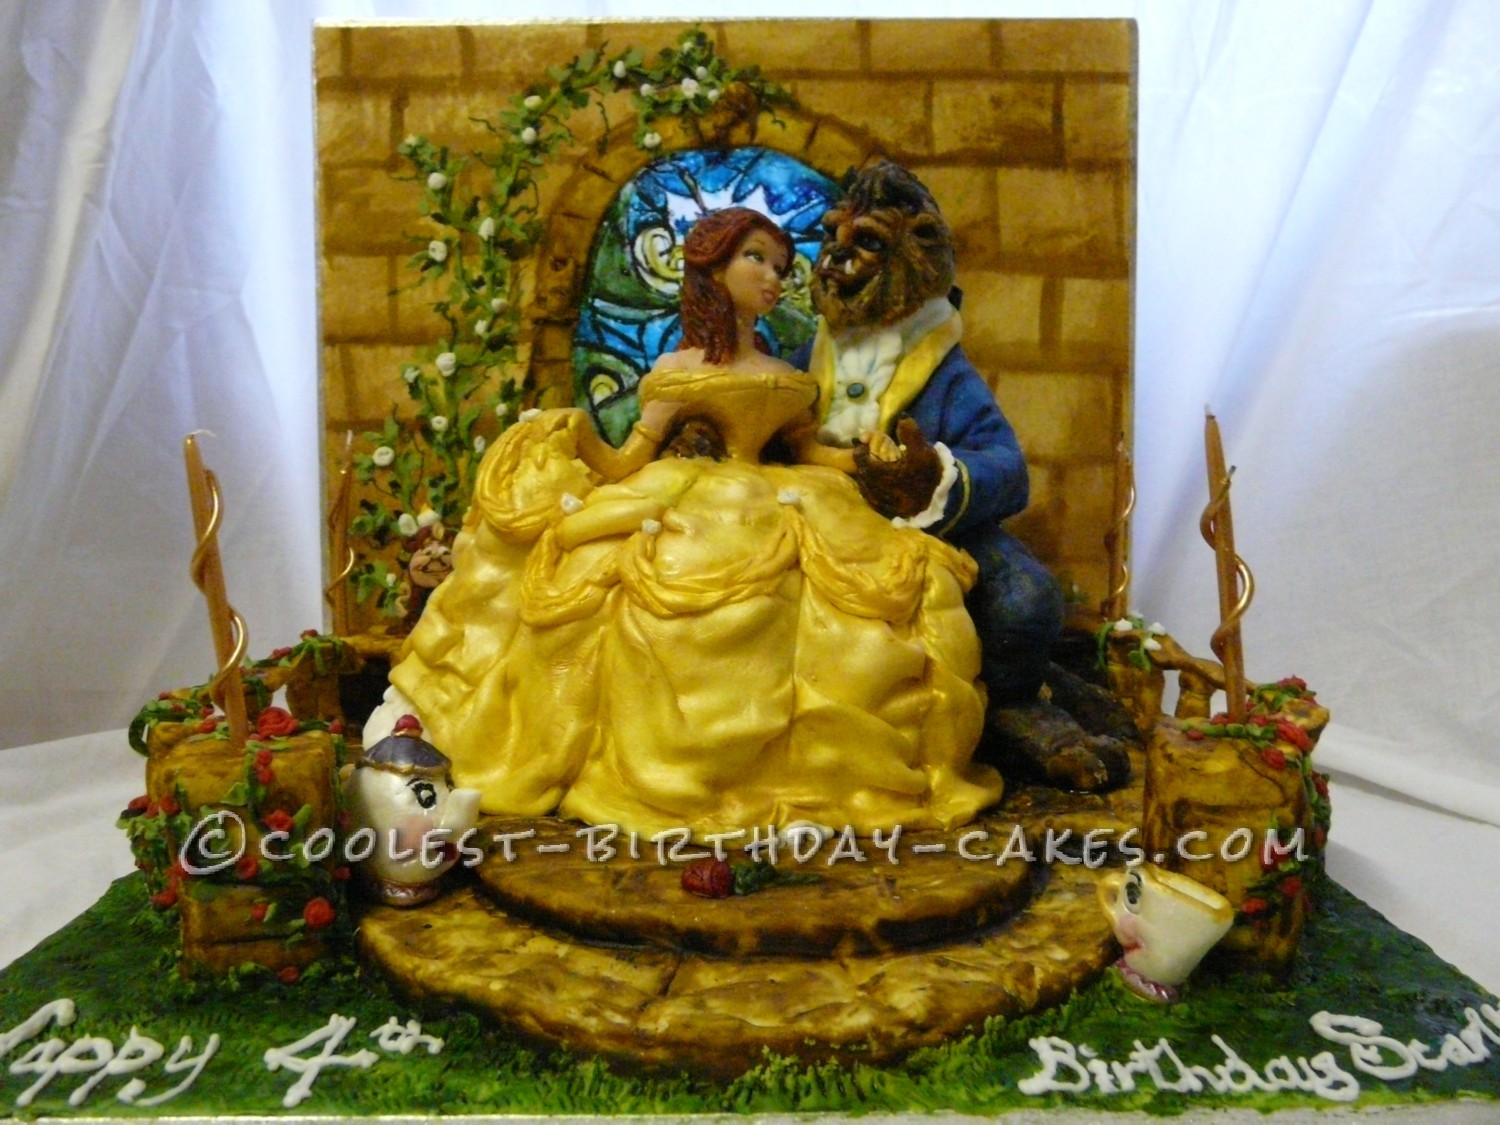
I made this cake for my daughter’s birthday. I knew it was going to take me along time so I made it from fruitcake so I didn’t have to rush and I’m so glad I did because it took forever. But it was worth it just to see the look of disbelief on my daughter’s face when I told her it was her cake. She kept looking at it every day and telling me the new things or characters she had discovered. This went on for about a week until we eventually had her party.
My daughter and her friends absolutely loved this cake and I managed to even salvage some of the figures for keepsakes when she is older.
Cake base:
Firstly I laid out 4 7×7 inch fruitcake and using a round desert bowl and a small starter bowl as guides I cut out the rounded steps for the patio area. I used the cut outs to build up the back of the patio area and then I covered with marmalade and fondant (usual method). Make sure you do this roughly as you want the paving to look real and uneven. I then marked the paving stones using a long wooden skewer to make the imprint. This will be the base of cake. I then paint with food gel to make it look like stone work.
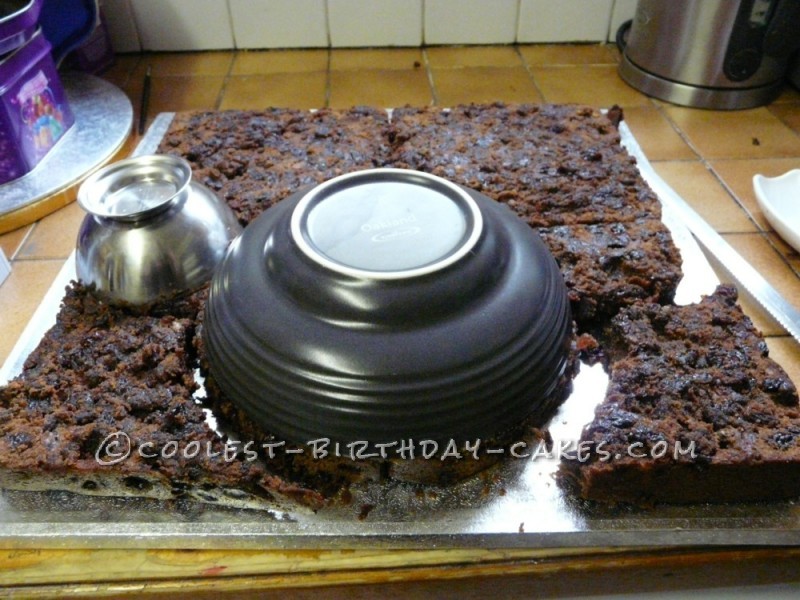
Base of cake
base of cake
Making the figures:
Mean while I had been using rice krispie treats covered in Mexican modelling paste to start sculpting my figures. I get lots of photos, mags etc anything with the subject I want on it. I use these for reference and then using fingers, cocktail sticks, modelling tools I start to make the figures. I prefer to use a lolly stick ( or wooden coffee stirrers) for the support as they seem to give more stability when inserted in the cake.
I’m sorry I have no easy way to do this part, its trial and error so to speak.
starting figures
Building up the cake figures:
Once I am happy with main figures heads I start to layer up more cake on to the patio to start building up the body and skirt. I position the heads just to make sure the proportions are right. I then start to carve into the cake the main body shapes and some skirt detailing ready for covering with fondant.
I add final details as im covering with fondant and also apply food gel colours as I am going along. This helps me see if it’s looking right.
building up cake figures
Background and details:
For this particular cake I used another board with an arch cut out and attached via screws to the base of the first board. This was covered in fondant and painted with food gel to look like castle walls. I made a stained glass window using clear isomalt (just follow instructions on packet can get from some online cake decorating companies) in the shape of the arch and then also painted this with food gel to match the Beauty and the Beast window in the film. I attached this using more fondant and also edible glue.
I used fondant mixed with gum tracanth (this makes it stronger and able to hold its shape better) to make the pillars and railings for the stone walls. I added all the other little characters I had made and then added any details I had missed. All that was left was message.
If you try this cake please give yourself at least a week to complete, preferably more.
Good luck and thanks for looking.
Background


absolutely amazing job