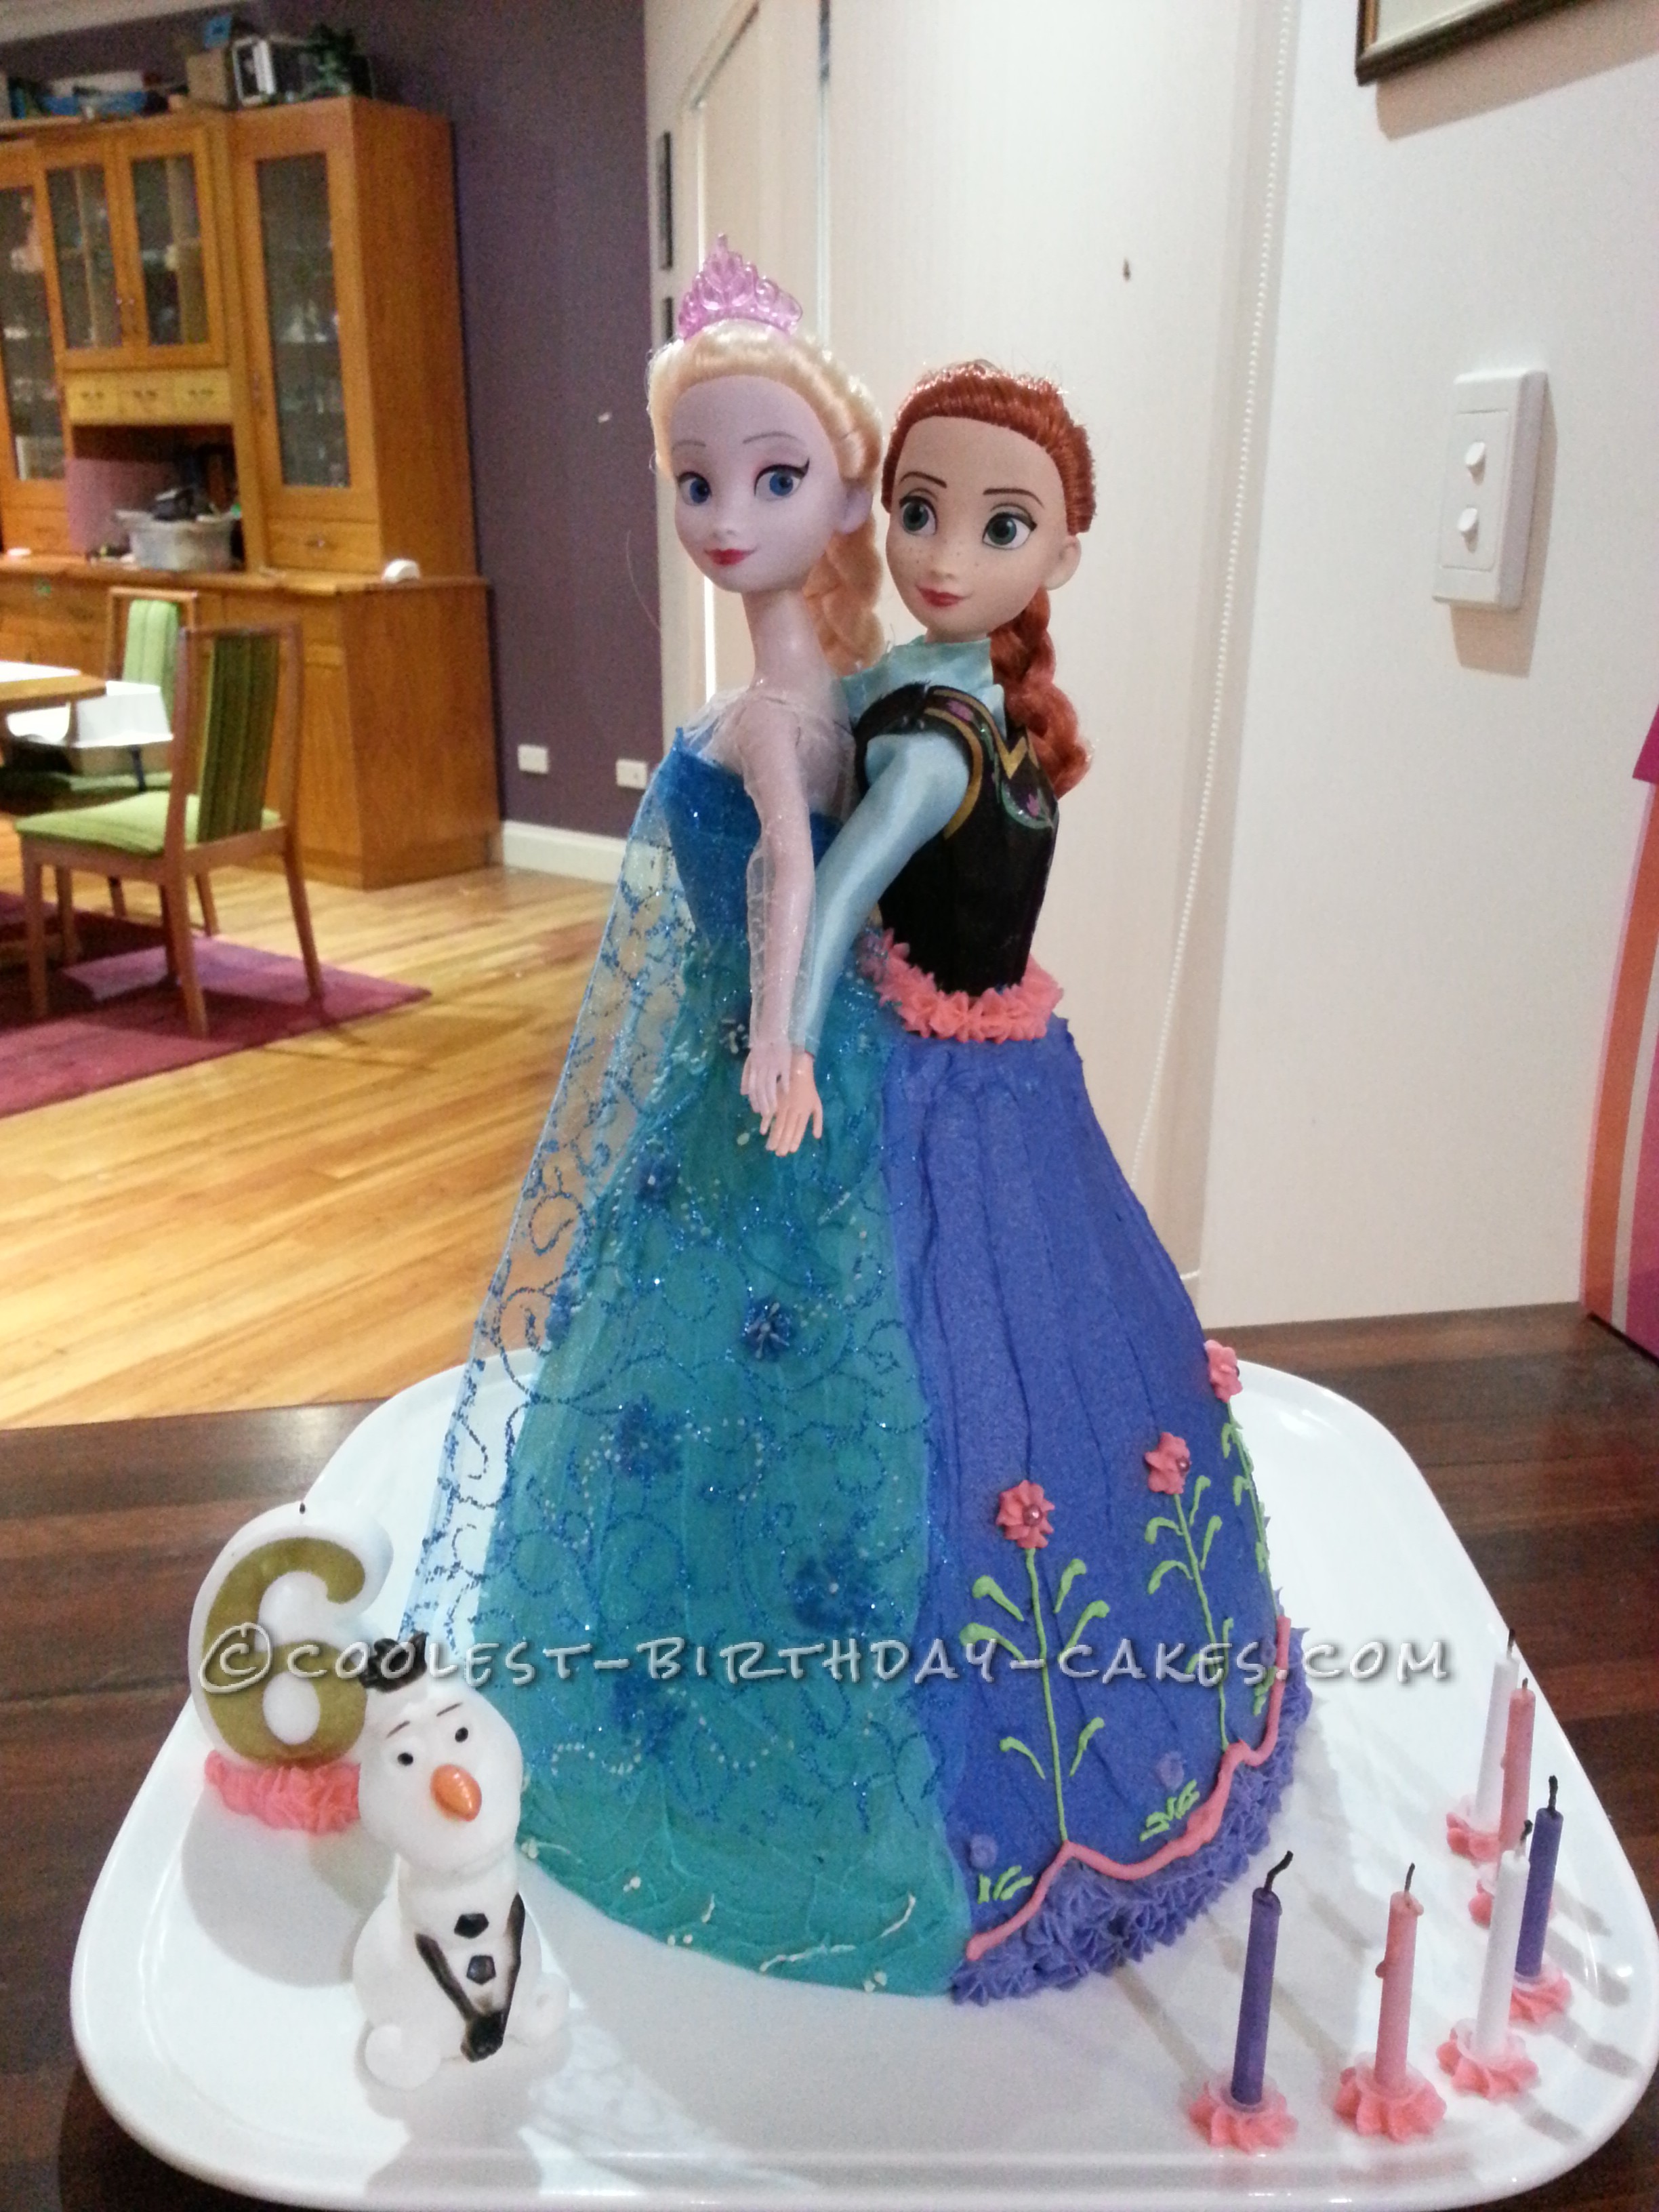
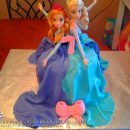
As with almost every little girl on this planet, my soon to be six year old daughter is “Frozen” smitten, and so for her birthday she requested a “Frozen” party. As usual, I let her choose what type of cake she wanted. Looking through my copy of Women’s Weekly birthday cakes, she pointed out the dolly varden cake, but it had to be Anna and Elsa. Not wanting to make 2 doll cakes for a party of 7 little girls, I decided to join the sisters in one cake, similar to many of the images of them from the movie, standing back to back.
All the elements
I began by wrapping the dolls in cling wrap – in 2 sections – one over their legs up to their waist to go inside the cake, and the top half with arms and hair up to keep it clean while decorating.
I used Betty Crocker Devils Food chocolate cake (requested by birthday girl) and baked in the varden tin, plus a round cake for the base, as I needed the dolls to go in with their legs on, so required the height.
Once cakes were cooled I assembled using buttercream & white chocolate icing on the base to hold it firm, and in-between the layers. I cut a hole all the way through the cake wide enough for the dolls to stand in, then using some icing in the bottom and top of the hole, secured the girls in place. I crumb coated and left to set as I tinted the various bowls of icing for each element of the dresses. I used Americolor gel paste colours and mixed drop by drop with an assortment of colours – including teal and royal blue to achieve the shades of aqua for Elsa’s dress.
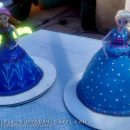
Elsa’s dress
I iced Elsa’s dress first (as I figured I could use leftover aqua icing in the blue icing for Anna’s dress), tinting the icing darker as I did different sections. I wanted a frosty effect, so did the icy peaks around the waist section. My daughter wanted snowflakes on the dress, so I did some with a star tip, and a flexible stencil. I used some white icing in a small zip lock bag with a tiny tip cut off, to ice the finer details.
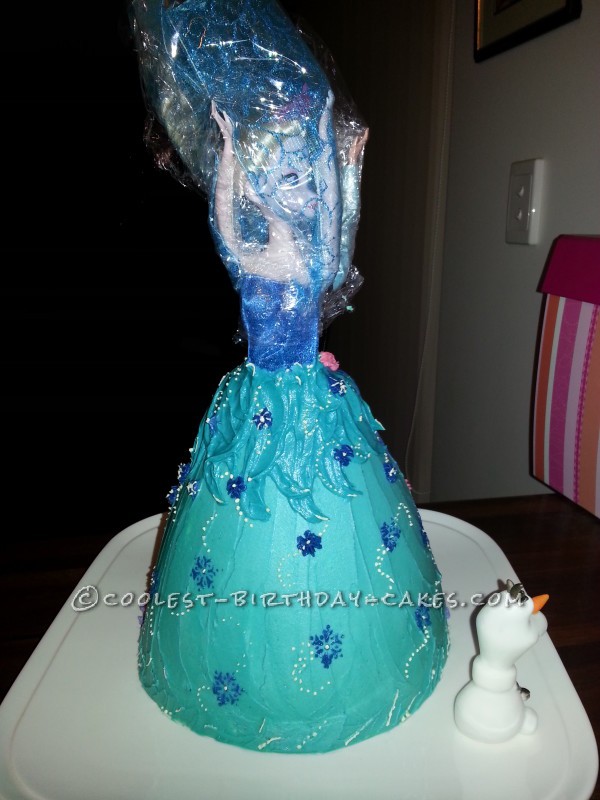
Elsa’s dress
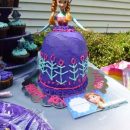
Anna’s dress
Anna’s was a little more complicated. I measured the skirt base, then worked out (by drawing it on paper first) how large each floral section would be, and therefore how many I could fit, and their placement on the skirt. After icing with a dark blue, I used a toothpick to mark out placing measurements. I used a small zip lock bags with small tips cut, to pipe on the floral elements, and a star tip for the large flower, the lower section of the dress and around the waist.
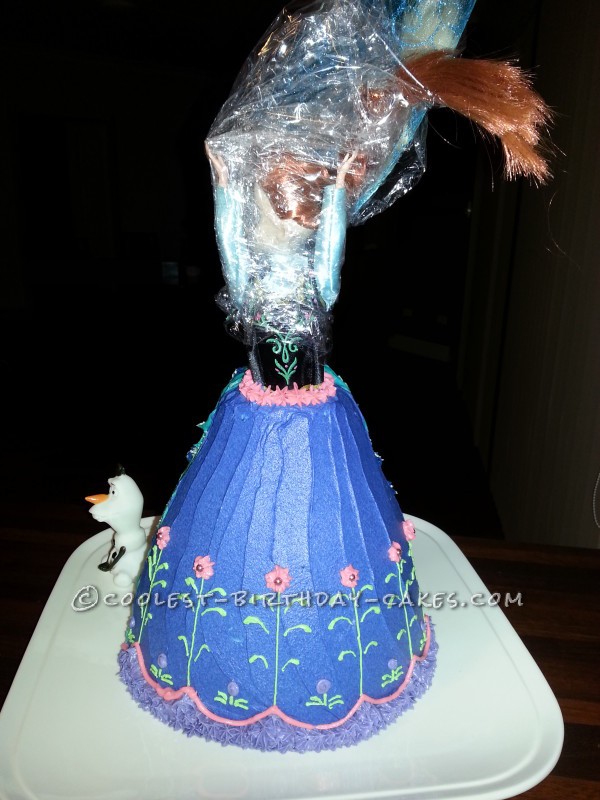
Anna’s dress
The big reveal
After leaving to set in the fridge overnight, I undid the upper section of cling wrap on each doll, placing Elsa’s cape delicately over the icing, and positioning the heads and hands.
My daughter was uncharacteristically speechless upon reveal.
The party guests were overjoyed to eat a piece of their preferred characters dress, or in most cases, a bit of both.
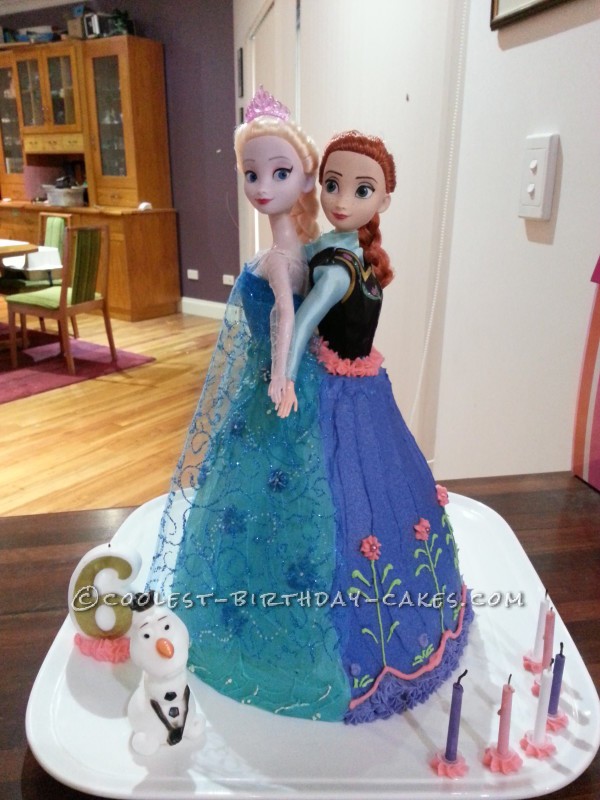
Completed cake


This is amazing. Thank you for the inspiration, and sharing very clear directions
This is amazing. Thank you for the inspiration, and sharing very clear directions
This is perfect for our daughter’s birthday! Where did you get the dolls? Thanks.
This is perfect for our daughter’s birthday! Where did you get the dolls? Thanks.