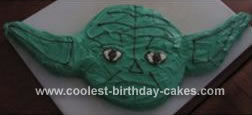
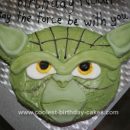
When my son was turning 7, he informed me that he would be having a Yoda cake for his birthday. So I found a picture of him in one of his books and used it as a guide. First, I took two 8-inch round pans and traced them on paper. I left one as a circle for the main part of the face, the other I cut into the shape of pointy ears. I put them together and made another cut so that the ears would line up to the circle neatly.
Next I baked a cake out of red Velvet cake mix (for the bloody effect) in my two round 8 inch pans. I trimmed it and it barely fit on my cutting board, you will need a large one if you want the ears to stick straight out.
For the frosting, I used cream cheese frosting just out of a jar and died it. First I set aside a small amount of white in two zip lock bags. One remained white, the other bag got a few drops of every color I had in an attempt to have black die, (I attained gray). The rest of the jar got approx. 20 drops a green. The green went on first. Don’t be stingy here, you have cut cake getting frosting, and you don’t want little pieces of cake showing. I used every drop to cover this cake. Next I snipped a hole in the corner of my zip lock bag with white and applied whites of the eyes.
Finally, it is useful to have a picture of Yoda handy for the black as there are a lot of wrinkles in the old guys face. I used a very small hole in the corner of the black bag.
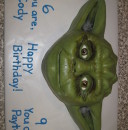
A note about Yoda’s mouth. When we were kids Yoda was smiling, however the new episodes has Yoda frowning almost exclusively. Keep this in mind, and ask your child his preference. You know what happens when you Assume.
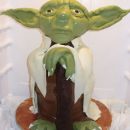
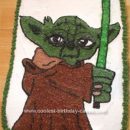
This homemade Yoda’s face cake is not hard, but you do need to be a bit adventurous. May the force be with you.
Your comment has been sent successfully.