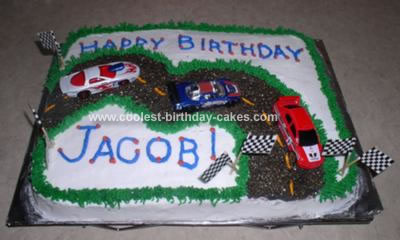
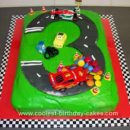
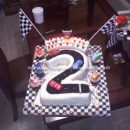
I absolutely love this site so I wanted to share my finished cake with everyone! I spent many hours looking for ideas on the internet and combined a few that I saw to make this race track cake.
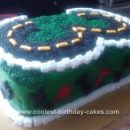
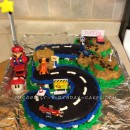
Start with a standard rectangular cake pan. Crumb coat the cake and when it dries, you can draw the basic outline of the road on the cake. Frost the cake in one direction (white, black, white) to keep your lines clean. I used the black under the “gravel” so you don’t see white under the road. Since my little guy was turning 3, I loved the shape of the road.
Add writing if desired. (Again, use a tooth pick to trace first so you can smooth it out if you make a mistake.)
I bought colored sugar crystals to use for the gravel. But I found this tip on coloring sugar yourself.
*Place sugar on a piece of waxed paper.
*Add a drop of food coloring and mix until the color is evenly distributed throughout the sugar.
*Continue to add food coloring one drop at a time until you are satisfied with the color. (One drop of food coloring will color 1 or 2 tablespoons sugar a pastel shade. Add more coloring for a darker shade.) If your sugar comes out darker than you’d like it to be, simply add more sugar to the mix.
*Use immediately, or allow the sugar to dry and store in an air-tight container.
*You can also use this technique to color coconut.
Add the sugar to the road.
For the lines on the road, I had to remove the sugar so the frosting would stick. Just use the tip of you knife to clear a little line for the yellow frosting.
The grass was next. I used tip #133 for this and outlined the road to cover the imperfections of the transition colors and then used the same tip for a boarder.
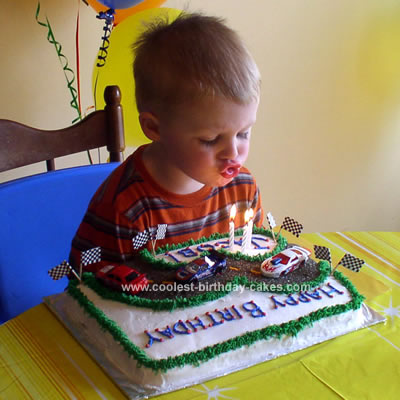
The day of the party, I added the three Hot Wheel race cars and checkered flag tooth picks. (Gently place the cars on the cake and don’t push down. This way the frosting won’t get stuck in wheels.)
My son absolutely loved the cake and the three new cars that he got to keep.
Your comment has been sent successfully.