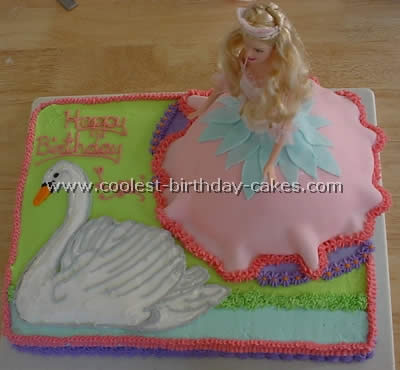
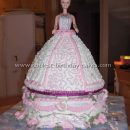
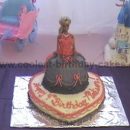
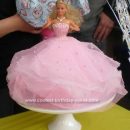
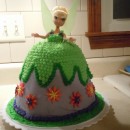
I used a real Barbie in the middle of this Barbie doll cake with the old fashioned Barbie cake pan on top of a sheet cake. I traced the swan and freehanded the rest.
I piped the basic areas that are higher rather than to try and meticulously add frosting little by little with a knife. She loved her birthday cake.
More Barbie Doll Cakes
Barbie Doll cake by Jenn S., Wallingford, CT
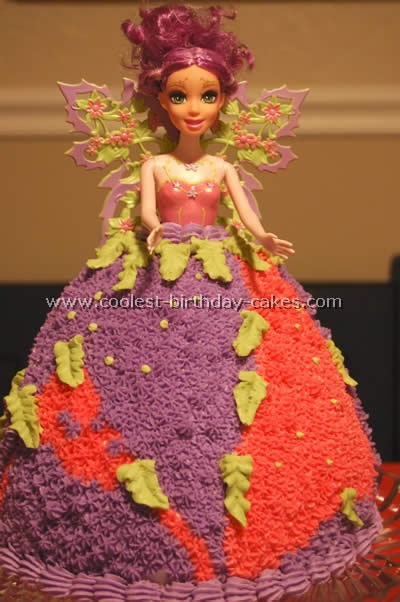
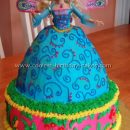
I used one of my daughters Barbie’s from the new movie Fairytopia…this Barbie’s name is Glee and is her favorite. I decided to cover most of the Barbie doll cake with a star tip in tinted colors to match her hair and wings. I also used the leaf tip to form designs on the back of the cake.
I made my frosting too stiff and couldn’t star tip the whole cake in as originally planned so I decided to try and get creative with the back. The cake consists of two pieces…the bottom was made from a 9″ round and the top was made with the Wilton Wonder mold.
I found that when using a traditional Barbie (as most girls want) vs. the doll pick that comes with the Wonder mold you need to have some more height…reason for adding the 9″ on the bottom. I have made several of these cakes and they come out great!
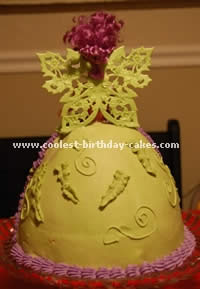
I used a buttercream icing and it lasts for many days, still staying fresh so it gives you time to really be creative. There are so many colors available…just use your imagination…that’s all the fun!
Barbie Doll cake by Sonya D., Columbus, OH
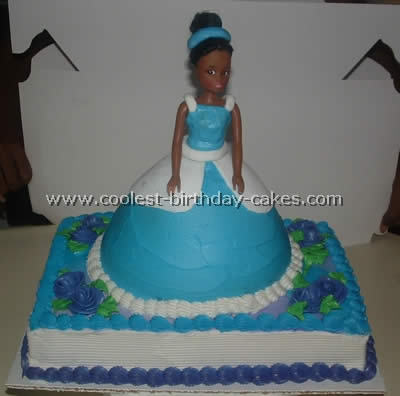
I made this Barbie doll cake for a little girl’s first birthday. I baked the cake in the Wilton doll cake pan. I used regular butter cream icing which I tinted blue. The apron is made from fondant and so is her headpiece. I sat this cake on top of a quarter sheet cake. This is a very easy cake to make that was decorated in less than an hour.
Barbie Doll cake by Tina W., Hot Springs, SD
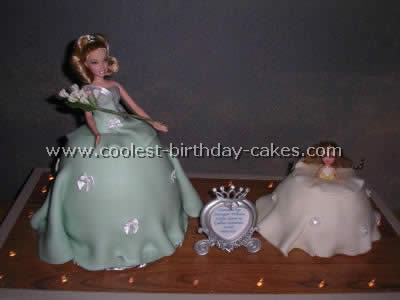
I was asked to bake a cake for a state pageant fundraiser that my daughter was the “little sister” to the winner in 2006 so my husband and I came up with the idea of the traditional Barbie doll cake and the little sister to portray the actual winner and our daughter.
I found a website that gave me a recipe for marshmallow fondant and easy directions for using fondant.
I used the Pampered Chef large batter bowl for baking and then two additional 9″ rounds for the standard size Barbie doll cake. I used the same batter bowl for the small doll and after freezing shaved it down a bit for scale.
The fondant has to rest overnight in the refrigerator and I made the cakes the day before I needed them. I rolled the fondant to 1/8″ and carefully transferred to the cakes and then made the bodice and trim. I used non-edible bows to decorate the dress. My husband built the stage with lights and all and it was a hit at the fundraiser!
I was scared of fondant but it was not that bad and I would definitely recommend the recipe I used as it was easy and very inexpensive. I had a great time and made two more cakes the same day for my niece’s birthday!
Barbie Doll cake by Kris P., Kansas City, MO
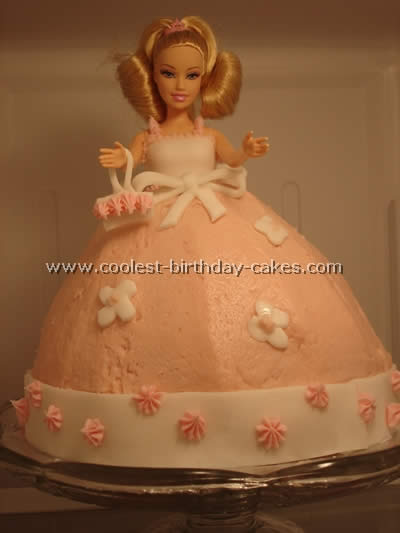
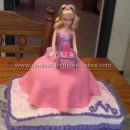
This Barbie doll cake was for my daughter’s 5th Birthday – I used the Wilton wonder mold pan for the dress and purchased a Barbie. Once the cake was baked I took off the Barbie legs and cut a hole in the top for Barbie. I iced the base of the cake with butter cream icing tinted pink. Then I used pre made fondant for the bodice bows and purse. I placed a strip around the bottom of the cake. Then I just filled in with icing. My daughter was very pleased.
Barbie Doll cake by Ashley B., Winnipeg, Manitoba
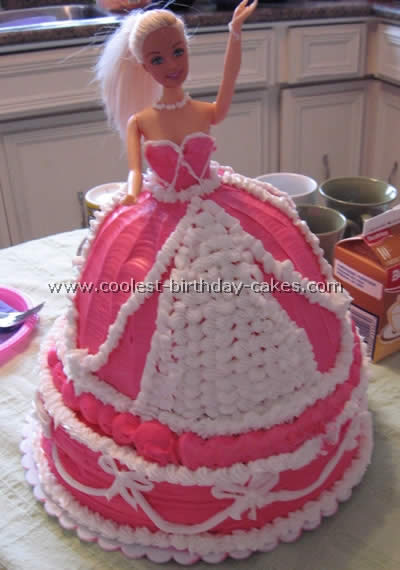
This Barbie doll cake was for my boyfriend’s little girl’s 5th birthday. I used a Wilton Doll Cake kit but substituted the doll pick’s head with one from an actual Barbie (which I have since put back on!).
The directions called for one to two boxed two-layer cake mixes. The first time I used one and it only rose about 3/4 of the way up the pan.
I used two mixes the next time (I highly recommend) and it raised enough, I was able to level it off with a knife. Make sure you cook the cake at least one hour; I baked mine for about an hour and ten minutes.
The cake stayed surprisingly moist.
The bottom layer was two chocolate rounds that supported the upper Barbie doll cake by dowels. I bought about four pounds of icing from my local bakery which I tined pink with Wilton coloring gel. I used Royal icing for the white detailing.
Barbie Doll cake by Marcia S., Gaia, Portugal
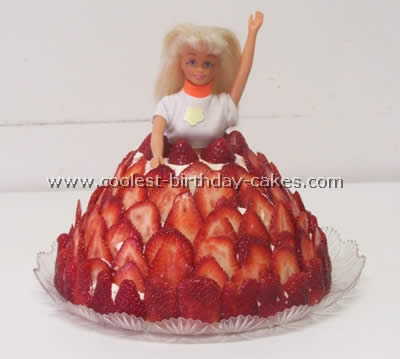
I have a store only with Barbie products (dolls, accessories, clothes, computers…) and a client said I should try to learn how to make Barbie cakes to sell to the costumers.
So I looked on the internet for a Barbie doll cake and I found this wonderful site with so many ideas! So this is my first Barbie doll cake ever!
I bought a Wilton mold pan for the cake as it’s easier to work. And as my daughter loves strawberries I thought I could make the skirt with it. The cake is a ‘white cake’ made like this: Preheat the oven to 200 degrees Celsius. Butter and flour the Barbie cake mold pan. In an electric mixer beat five big egg yolks with 10 tablespoons of water. Add two cups of sugar (keep the mixer working) then two cups of all purpose flour, one dessertspoon of baking soda and beat until its well mixed up. Now in another bowl beat with the electric mixer the five egg whites left until they’re completely white and smooth (if you turn the bowl upside down the egg whites don’t fall down!).
With a wooden spoon gently mix the egg whites to the cream prepared before. The cream will show bubbles coming up the surface when it’s done. Pour in the prepared pan and bake for about one hour and ten minutes (use the toothpick to see when it’s done). Let it cool outside the oven.
Meanwhile prepare a whipped cream: beat on the electric mixer 400 ml of heavy whipping cream with four tablespoons of sugar until stiff peaks form. Keep in the refrigerator while the cake cools down. Wash up about 800 grams of strawberries and slice them longitudinally (see photo). When the Barbie doll cake is cooled put it on a serving plate and cut it in three slices. On the downer slice top put strawberry jam or jelly and cover with a little whipping cream. Put the other slice on and repeat. Put the top of the cake on. Open a hole to place the doll (I took off the legs of the doll). Now cover the hole skirt with the whipping cream and cover the cream with the sliced strawberries starting from top to down the skirt (use only the slices of the middle of the strawberry- they’re bigger- and leave the tips for the bottom of the skirt- see photo). Place the doll on the top hole and add some strawberry tips around her.
To keep the good looking of the strawberries for a longer time you can use apricot preserves: warm it in a sauce pan until its a little liquid to use and with a pastry brush glaze the strawberries very carefully so they don’t go out of place.
Barbie Doll cake by Sabrina V., Richmond, TX
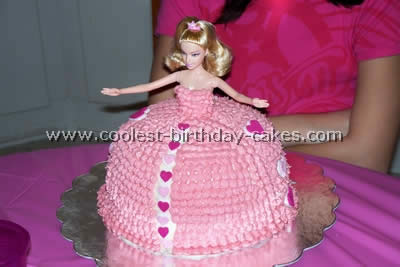
This was my first attempt at making a Barbie doll cake. My daughter was turning 11 and she wanted something special. I wouldn’t call myself a very creative person and I wasn’t sure if I could pull it off. I searched the web for tips and came across this website.
I was very inspired by all the photos and thought I’d give it a shot. I used two cake mixes. One mix was used in two round 9 inch cake pans for the base and one mix was used in a 2 1/2 quart Pyrex mixing bowl for the top portion of the cake. Barbie was still a little to tall so I had to remover the legs. I wrapped saran wrap around the body before I placed it into the cake so as not to ruin the doll. I used a butter cream frosting and decorating tool with a star tip. Happy Baking!
Barbie Doll cake by Melissa P., Hamilton, OH
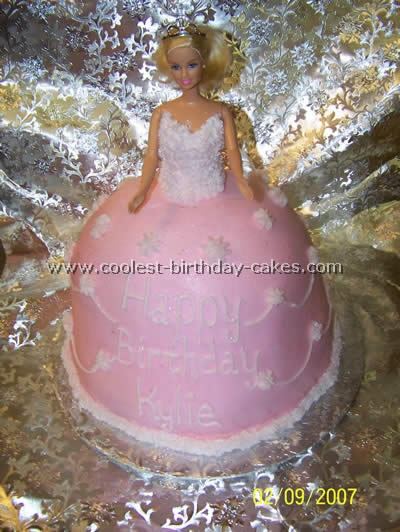
After viewing all of the wonderful Barbie doll cake pictures already on this sight I attempted my own. It was actually easier than I thought. I used the Wilton Soccer Ball pan for the domed part of the dress and then used a 9inch pan and a 10 inch pan for the base. It was a huge hit at my 7 year old niece’s birthday party! All the little girls there want there own now!
Barbie Doll cake by Jennifer B., Toronto ON, Canada
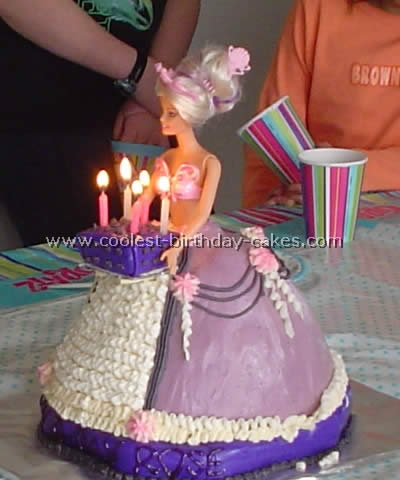
My friend needed a Barbie doll cake for her 5 year old’s party. I just bought my first Doll cake kit and wanted to try it out so I offered to make the cake for her. I saw an idea on a Doll cake web site with a Barbie holding a small birthday cake so I attached a mini-cake with two small white dowels blended into the skirt.
I used a real Barbie as part of the birthday present! I pre-made the rosettes and white ribbons running throughout the front of the skirt and stored them in the fridge overnight (so they could harden and not droop when I attached them to the skirt). I loved making the cake so much that everyone that year received a theme birthday cake.
Barbie Doll cake by Tonya S., Sylvania, OH
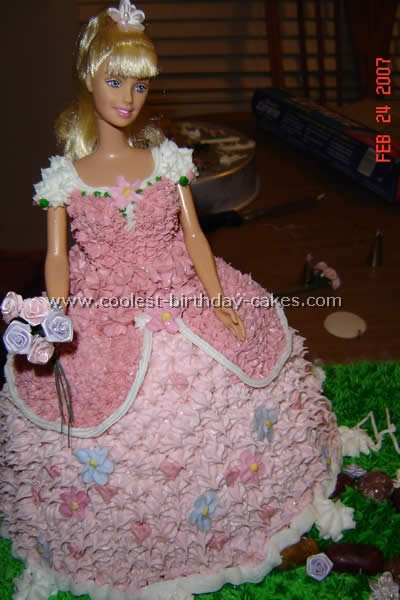
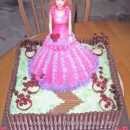
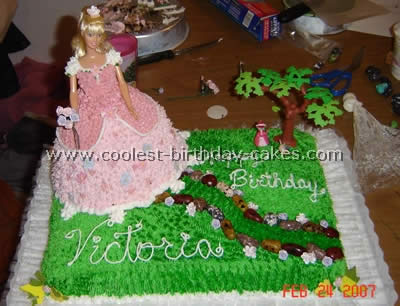
I made this Barbie Doll cake using a Pampered Chef bowl for the dress out of cherry chip cake mix. The Barbie doll was bought at Cake Arts Supply store and she was placed in a pink tube to protect her body also purchased there. There is one round cake under the dress to make it longer.
The entire Barbie cake was placed onto a chocolate sheet cake that was decorated to go along with the Sleeping Beauty story. The dress was decorated to match the gown of the little girl whose birthday was celebrated. I used green frosting purchased at the cake supply store and the dresses frosting was Wilton’s brand.
The edible rocks were jelly beans purchased at the cake supply store as were the edible flowers on the body of the dress. I bought imitation flowers that were not edible to make the bouquet she was holding. I had a wonderful time making this masterpiece and the birthday girl thought it was “beautiful”.
Barbie Doll cake by Melissa R., Sarnia, Ontario, Canada
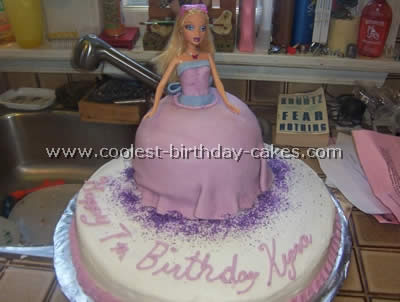
This was my very first Barbie doll cake I had made and I was nervous that it was going to be a flop but I was surprised to see that I did it and this site was a great help with tips.
I found that using the Wilton ready made rolled fondant was the best for the dress and to color the fondant I used the Wilton concentrated colors as I found it made the color that was on the label.
The cake part of the dress was done with a stainless steel bowl and three 8 in. rounds I did not use butter cream icing to put the pieces together but just placed the 8 in. rounds under the bowl part, froze them then cut them to shape then I put butter cream icing over the thawed cake before placing the rolled out fondant over it. I put wrap around the Barbie’s legs, put the top part of fondant on the Barbie then cut a small crease in the top and pushed the Barbie in the cake.
For the ribbon and bow it stuck to the fondant with a small paint brush and water on the area to be placed. I used butter cream icing on the bottom cake then with preparing the Barbie on a plate I used a large pancake flipper and holding the cake so it didn’t fall off I slid it into place on the bottom cake using little bits of butter cream icing to fill in any exposed cake. Then I used sprinkles of white and purple to put around the dress and decorated the edge and put in the writing. I placed a baggie over the Barbie’s hair so hair didn’t end up in the butter cream icing or icing in the Barbie’s hair. When finished I removed the baggie. The bottom size cake was 16 in. round. This size can be bought or rented at cake stores. Hope I helped and my daughter loved this cake.
