Take a look at these cool homemade Dora cakes shared with us by cake decorators from around the world. Along with the birthday cakes here, you’ll also find loads DIY birthday cake-making ideas and how-to tips to inspire your next birthday cake project. Enjoy!
And don’t forget… if you end up with a cool cake, have great tips to share or pictures of awesome birthday cakes you’ve made in the past, share them here and be a part of our coolest birthday cake community.
Latest Dora Cakes
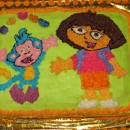
- 12 Cool Homemade Dora the Explorer Cake IdeasI made this Dora the explorer cake for my daughters second birthday. She is a mad Dora fan. I drew … Read more
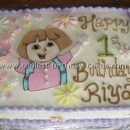
- Coolest Dora the Explorer Birthday Cake IdeasThis Dora the explorer birthday cake was for a friend’s daughter’s first birthday. It is made up of three layers … Read more
- Coolest Dora the Explorer Cake Ideas and Dora Cake InspirationFor my daughter’s 2nd birthday I made this Dora the Explorer cake using a Wilton Dora cake pan. It was … Read more
- Cool Homemade Dora Birthday Cake Ideas and Decorating TipsHere’s the story behind making this Dora birthday cake. Last year we made a beautiful Sponge Bob cake (you can … Read more
- Coolest Last Minute Dora Birthday Cake | Hobby Baker Becomes “Go-To Mum” for Birthday CakesI had a friend come to me and ask if I could do her daughter’s Dora birthday cake. The cake … Read more
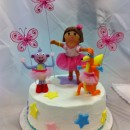
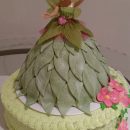
- Dreamy Dora Ballerina CakeI let my grandchildren choose their birthday cake theme. At first my granddaughter wanted a ballerina cake because she had … Read more
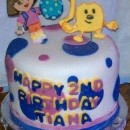
- Coolest Wow Wow Wubbzy and Dora 2nd Birthday Fondant CakeMaking this Wow Wow Wubbzy and Dora cake was pretty simple until I started making Dora and Wubbzy. The fondant kept … Read more
- Coolest Dora and Boots Birthday CakeMy granddaughter loves the Dora & Boots DVD’s and asked me to bake her a Dora & Boots birthday cake … Read more
- Coolest Homemade Dora the Explorer Birthday Cake for my 3 Year Old SonI made this Dora the Explorer birthday cake for my 3 year old Dora mad son. I tried to make … Read more
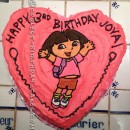
- Heart-Shaped Dora Birthday CakeWhen we asked my two-year old daughter what she wanted for her third birthday, she replied, “A pink cake.” Pause. … Read more
- Yummy Ice Cream Dora CakeMy 3 year old absolutely loved this Dora cake. The only thing was making an ice cream cake in the … Read more
- Simple Homemade Dora Birthday CakeThis Dora birthday cake was my first time using fondant. I didn’t know how to cover it with one sheet so … Read more
Featured Cakes
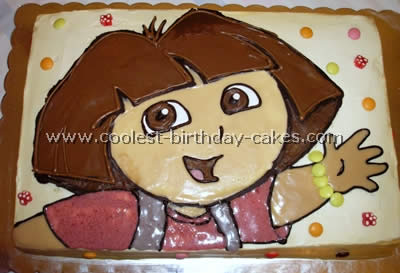
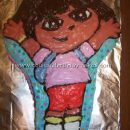
I made this cake for my six years old daughter’s birthday party who is a great Dora the Explorer fan. I baked my favorite chocolate Genoise cake using a 16″x11″ size cake pan and then cut it into three layers. I used homemade caramel pudding for the first layer, chocolate pudding for the second one and caramel pudding mixed with whipped double cream for the topping.
To decorate the cake I used a Dora face cake template from a site on the internet for Dora cakes (www.nickjr.com) and draw the hands and part of the body myself. I traced the picture on waxed paper piped melted chocolate on the lines and before it was completely set I reversed it on the cake, let it set and pulled the paper off. Then I filled in the gaps with dark chocolate ganache for the hair, white and milk chocolate ganache for the face and hands, white chocolate with raspberry jam(no food coloring added) for the clothes. The eyes and mouth were made in advance with thick royal icing and melted dark chocolate.
Eventually it was not the most impressive birthday cake I ever made but surely one of the most delicious ones. Everyone loved it and the children were thrilled with the “ready to talk” Dora on the cake!
Cake by Paula A,, Chubbuck, ID
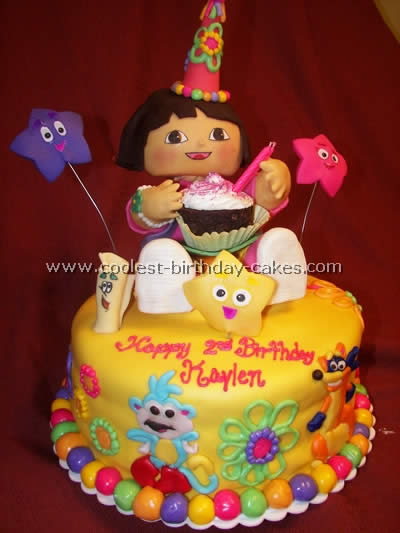
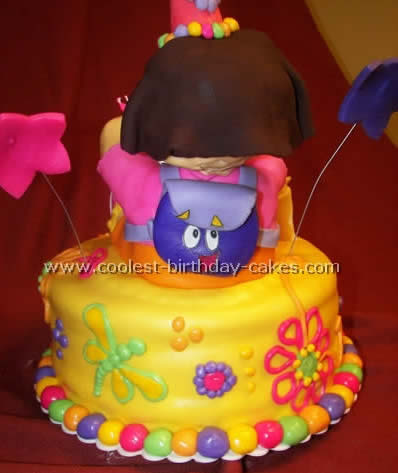
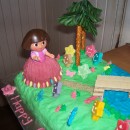
This was for my friend’s daughter. She wanted a 3d Dora cake. This was my first try at Dora cakes. I molded rice cereal treats around a heavy duty wire in the shape of a stick person then after it dried I covered it in all white gum paste. Then I let that dry and covered it with fondant.
Her hands are gum paste not cereal. Also her head was a separate piece. Her face and the faces of the characters were colored on an icing sheet and cut out and glued on with water.
Be sure to use edible markers for that. All the other decorations are fondant.
I printed the characters and then covered them with wax paper, colored the fondant and filled it in to copy the print. Let dry then peel off the paper and glue to the cake.
Cake by Kristie K., Empire Bay, New South Wales
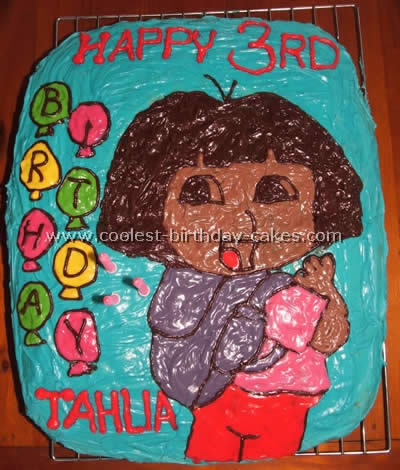
This Dora cake was relatively easy to make but quite time consuming in compared to other Dora cakes that I have seen. I started with a rectangle cake which I just made from a packet mix. Once cooled, I iced the entire cake and cooled in the fridge. I then found a picture of Dora in a coloring book and cut it out.
I traced the outline of the picture on to rice paper (purchased in the Asian grocery section of the supermarket) and cut it out. Positioning the rice paper on the cake using the piping bag and ready made icing which I just colored myself I outlined the rice paper which gave me the Dora shape. From there it’s just free hand copying the picture I’d taken from the coloring book and coloring it.
Make sure you cool the icing after you’ve done the outline before you fill it with colour; it sometimes tends to want to run. All in all it was a blast to make and the memory of her face lighting up when she saw it is a memory that will last forever!
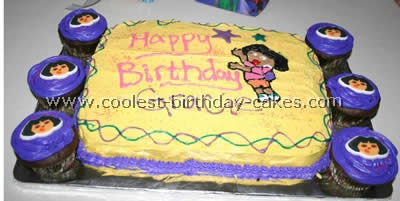
I made this cake for my daughter’s second birthday party. Dora is the only character she’s ever shown interest in. The cake is a normal 9×11 cake pan. I iced the cake yellow and then piped around the bottom for some extra detail. To make Dora I cut one of the pictures of her out of the dessert plates I had bought to go with the theme of the cake. With black icing I piped her onto a piece of wax paper. As I did it I dipped my fingers in some warm water and retouched the areas that I had already piped. This is very important because the first Dora I piped cracked into a thousand pieces upon transferring from the wax paper to the cake itself.
The mouth is a red hot and the eyes are just piped on with black icing. I took milk chocolate frosting and watered it down a bit to thin it and piped in her arms, face and legs, same with the shirt and shorts. The rest is pretty simple, just drew a few stars and then took some gel icing and made a sort of ribbon along the edge of the cake.
I made cupcakes for the kids and just used those little candy cake toppers to tie them into the rest of the cake. The Dora cakes were a huge hit as was the party. Hope you enjoy.
Cake by Jessie H., New Philadelphia
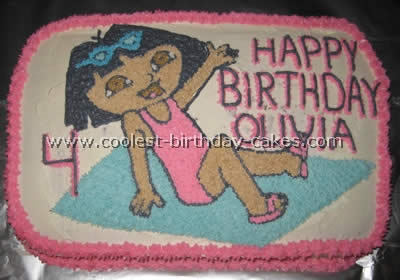
I prepared this cake for my daughter at her request. I did see other Dora Cakes on this site but I preferred to scan a picture out of a Dora book and used it as my guide for colors etc. I make the cake in a large rectangular cake pan that will take two mixes. I used a double batch of buttercream icing and tinted the desired color by trial and error to get the desired color.
I used various tips and having multiple cake decorating tips and bags are a must unless you have the time and patience to wash and dry between colors.
Cake by Charlene H., Plumpton, Australia
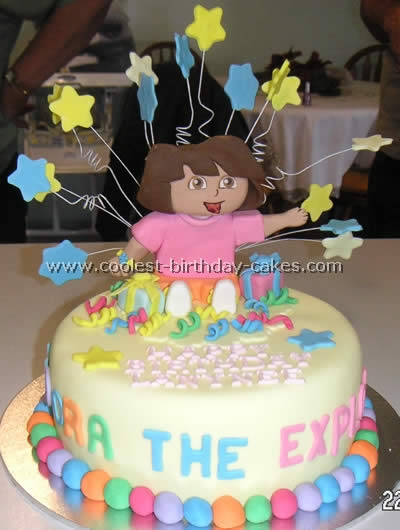
I was asked by a friend to make a Dora the Explorer cake for his little girl. I have seen a lot of Dora Cakes and they are usually the whole body or her head so I decided to make a figurine and put it on the cake., , I made the figurine by coping a picture from other Dora cakes. It was made of fondant., , I baked an 8″ round cake and covered it in lemon yellow fondant also. I then placed the figurine on the cake and made little streamers and presents to put around Dora. I also put some stars on wires and placed them behind Dora. This cake was easy to make it was just like using play doh.
Cake by Kellyanne W., Victoria, Australia
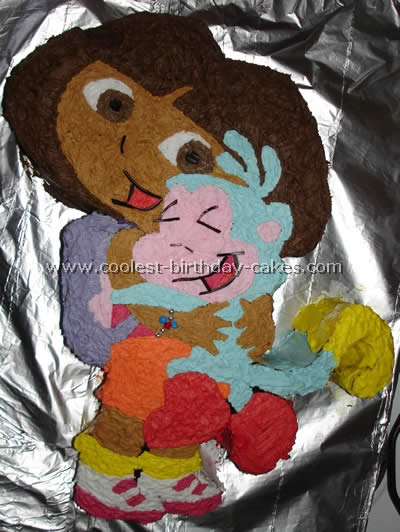
My daughter is a Dora freak. Everything is Dora so no need to say I had to come up with a Dora cake for her birthday. The first thing I did was to find a picture of one of the many other Dora cakes which I could blow up to be roughly the size of a roasting tray. Three Packets of cake mix was used, any flavor you like cook as to per instructions. For the icing I choose a solite and icing mixture. I used the same colors that were on the Dora picture.
When the cake was cool, roughly eight hours, I traced the picture on to the baking paper, cut it out then placed it on the cake held by toothpicks. I used a tooth pick to trace the design on the cake by pricking the lines of the design then I cut the main picture away from the rest of the cake. Then remove the toothpicks used to keep picture on the cake. I used different shaped paint brushes from very fine to average sized to apply the frosting.
It did take a while but I think it was worth it when you see the results. Everybody loved the cake.
Cake by Lori C., Ontario, Canada
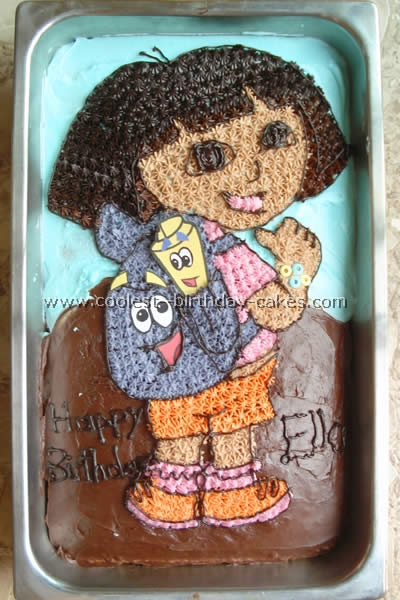
I browsed the other Dora cakes on this site and decided to try and make one for my daughter’s second birthday. She adored it and I thought I would share it with you. I used a template made from a black and white line drawing coloring page which I enlarged on the photocopier to the exact size I wanted. I cut it out and cut the pieces apart and certain features out (such as the eyes mouth etc).
I laid the template on the iced cake and traced around the main parts using a toothpick to get the general idea and then removed the template and iced the cake following my etched design in the icing. I used some features such as the map and backpack’s face made out of construction paper and laminated which I placed on the cake just before serving.
Cake by Nataly G., Melbourne, Australia
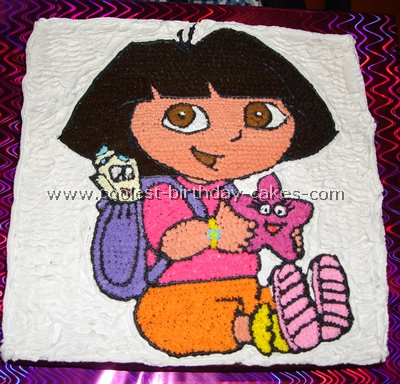
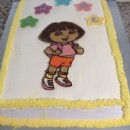
This is my daughter’s second birthday cake – simple large square chocolate cake made from Cadbury cake mix. I copied the Dora picture from a sticker, not from the usual Dora cakes and changed it a little to make Dora hold the star instead of the book as in the sticker. I used butter icing to decorate colored it using Wilton paste then applied using Wilton tips.
I baked the cake the morning before the party then wrapped it up once it cools with glad wrap until it’s time to decorate in the evening. I whipped up the pure white butter icing purchased from the cake shop then colored it with the Wilton paste until I got nearly the right colour then I cover all bowls of colored icing and placed in the fridge where I know they will get darker. Once I finished decorating, the cake goes in the fridge overnight until the party the next day.
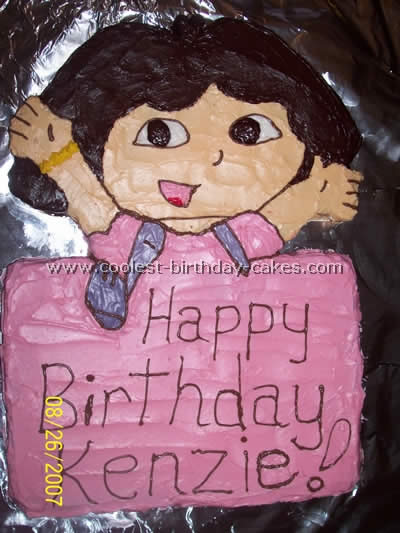
I made this cake for my daughter’s second birthday. She is crazy about Dora so I knew that I had to make her some kind of Dora cakes for her birthday. I used two 9″x13″ strawberry cakes, one can of white icing, one can strawberry icing and one can of chocolate icing. I used a coloring book picture to cut Dora’s shape out of one cake and used the other cake to write on.
Cake by Nora R., Scarborough, Ontario
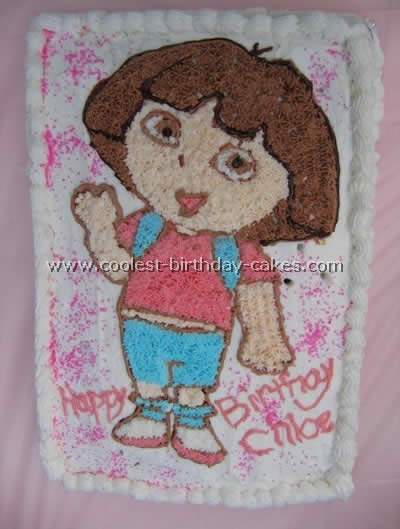
I used a deep dark chocolate cake recipe. The cake I copied from Dora cakes on this site. For the colored icing I used Wilton color paste.
I blew up the Dora picture to the size I wanted on the photocopier. I put wax paper on top of the picture, traced Dora with chocolate gel (Cakemate brand) and flipped it over and gently pressed on the iced cake. Then I piped in the outline with #2 piping tip then filled in the image with #16 star tip. It was fun!
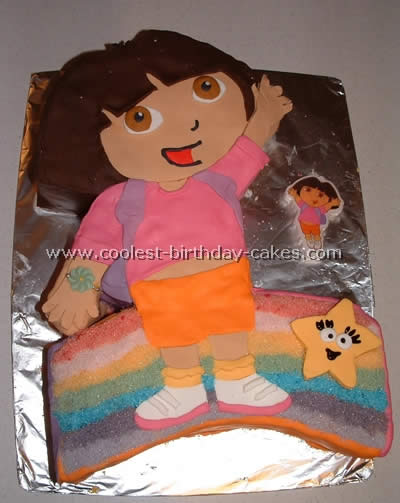
I made this cake for a friend’s little girl. She couldn’t decide between Dora and a rainbow so I combined the two. I cooked a large square cake, enlarged a picture of Dora from other Dora cakes to cut around and used a rectangular cake for the rainbow.
I colored all the sugar paste and covered the sides. Then I cut out all the smaller shapes for Dora’s clothes, face etc and put them on. For the rainbow I colored some sugar by putting a couple of drops of food coloring in a plastic bag with sugar and shook it. It was a bit fiddly but I had a great time making it.
Your comment has been sent successfully.