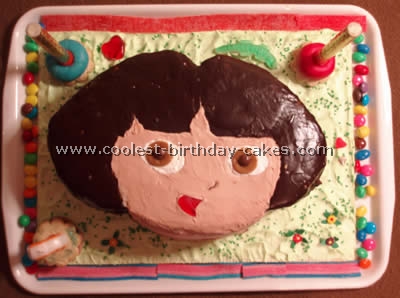
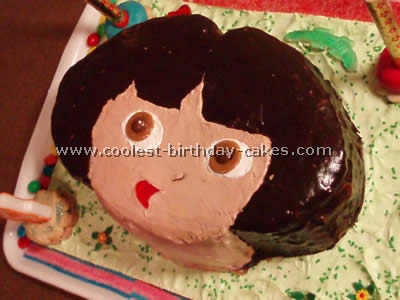
Here’s the story behind making this Dora birthday cake. Last year we made a beautiful Sponge Bob cake (you can find a picture of this cake on this site named Nikola’s cake) so this year my nephew was eager to see his cake in the shape of his latest favorite cartoon character – Dora the Explorer (that is or in translation to Serbian – Dora istrazivac).
The idea was to make a cake in the shape of her face. First we made a chocolate cake in the form of ellipse which was a little bit difficult because we couldn’t find a pan shaped like that. We improvised a lot with aluminum foil.
Then we enlarged one photo of Dora’s face and cut the cake where needed. With toothpicks we made little holes on the cake which would be guidelines for hair line eyes nose as well as Dora’s mouth. We made the hair of molten chocolate (you can add texture with a fork when it hardens).
Face is made of colored cream eyes of white cream pupils of chocolate candy. Lips are made of red gummy candy. The surrounding of the Dora birthday cake is made of colored cram sugar flowers Turkish delight and M&M’s of course.
In the end it was a very happy 4th birthday for Nikola!
More Dora Birthday Cake Ideas
Dora Birthday Cake by Melissa T., Ulysses, KS.
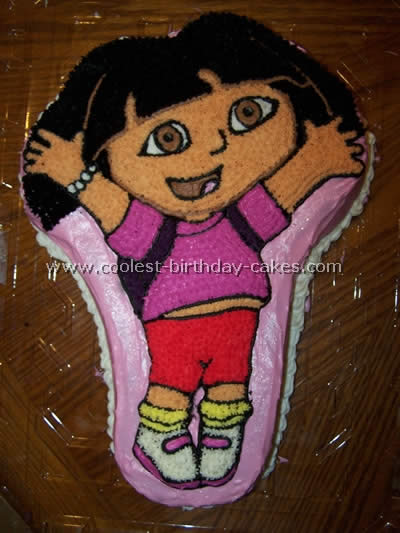
My two year old LOVES Dora so we had a Dora the Explorer cake for her party. I used the cake pan for this cake but I didn’t like the way her eyes were supposed to be. I did it their way on the first cake I made and she looked cross-eyed. So this is actually the second cake (it’s a good thing I made two because both were gone). These cakes were a huge hit at the party!
Dora Birthday Cake by Trina C., Penticton, Canada
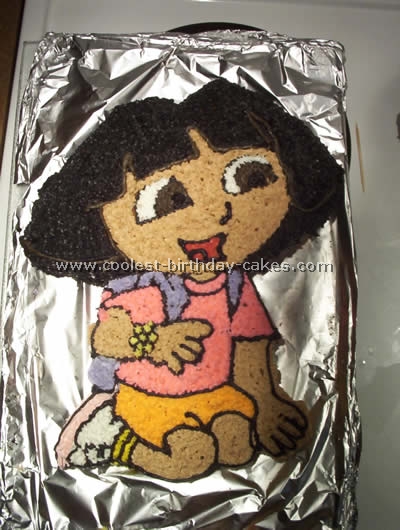
I made Dora and Boots for my twins 3rd birthday. I just used a large coloring book picture and cut out Dora. I made the Dora birthday cake out of a box cake and used butter cream icing to frost. It was fun and they loved them.
Dora Birthday Cake by Kim G., Woodinville, WA
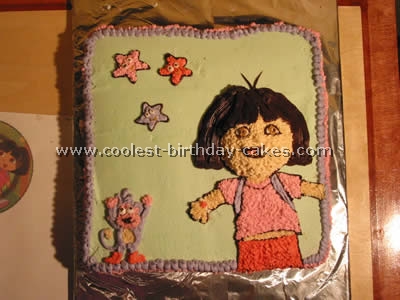
I made this Dora birthday cake for a friend’s daughter. She loves Dora (and boots). I was inspired by the decorations (see plate next to cake) that were chosen so we decided to have Dora Boots and some stars.
I used a half-round (cupcake size) pan to make Dora’s head so it would be raised. I found some kiddy instructions on “How to draw Dora” on the web which made it fairly easy to free-hand the image then just “colored it in”.
I just used box cake mixes (Party mix for the bottom cake so it would look like stars inside) and a double-fudge “pudding in the mix” cake for Dora’s head (it is my cake mix of choice for anything 3-D).
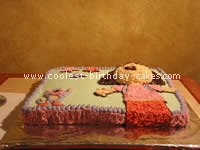
For the frosting I just followed the recipe in the Wilton yearbook for Buttercream and we used canned chocolate frosting for her hair (I don’t see the point in trying to color brown frosting when chocolate works so well). Enjoy my Dora birthday cake.
Dora Birthday Cake by Angela R., Indiana
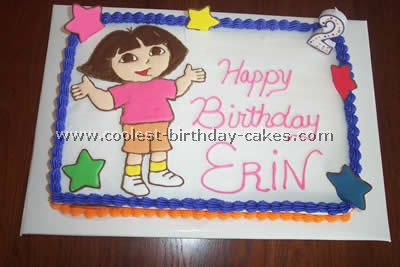
I was inspired by another cake on this website. I used buttercream icing to cover the Dora birthday cake and for the borders and writing.
I used Color Flow icing for Dora. To make Dora and the stars I used a picture from a coloring book. I covered it with wax paper and used full strength Color Flow for the outline and then thinned it down for the fill in.
Dora Birthday Cake by Angie I., Slidell, LA
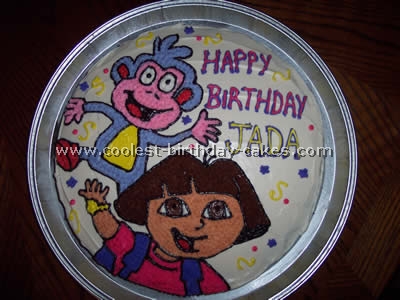
This Dora birthday cake is for my daughter’s 2nd birthday. It’s a 12″ yellow cake with sprinkles baked in (like fun-fête).
I hand drew Dora and Boots on the cake and used a basic star tip-16 to fill in the design and finished with a tip 3 to pipe details.
Dora Birthday Cake by Rebecca P., Melbourne
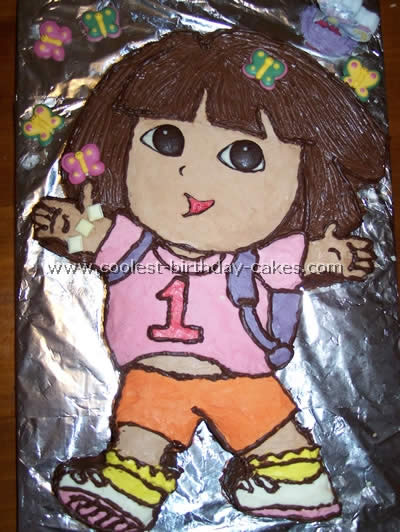
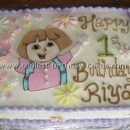
I got inspired to make this Dora birthday cake for my daughter’s first birthday after seeing all of the other Dora cakes on this site. I bought four round sponge cakes from the store and cut the shape of Dora out from them using a picture that I drew from a smaller picture as a guide. I drew one picture and then traced the outline on to baking paper for a guide on where to place all of the cake pieces.
I used a ganache type dark chocolate icing to cover the entire cake first and then drew some guides into the icing to where I needed to put all of the colored icing. Dora’s hair is just the main icing with lines drawn in with a child’s plastic fork. The colored icing was made with a white ganache with food coloring added.
Once all icing in place I piped on the outlines with left over icing beating in melted dark chocolate placed in a zip lock bag and snip corner off for icing to come out! The eyes, nose and mouth are made from melting white and dark chocolate and painting onto a piece of baking paper. Place in freezer until set and pop on top of cake!
The butterflies were bought from the shop in the cake decorating section. For Dora’s bracelet I used small lollies! Everyone was really impressed as was I!
Dora Birthday Cake by Allison W., DeKalb, IL
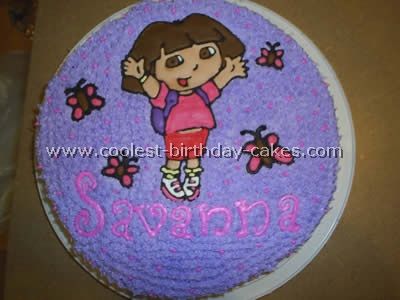
I made this Dora birthday cake for my niece Savanna’s 2nd birthday. I made a marble cake in a 16-inch circle pan. I frosted with Violet Wilton’s tint and added pink dots after frosting.
For the Dora and butterflies I used Color Flo; it is critical to follow the directions exactly or the dried piece will bleed colors and crack very easily. I used icing color purchased at a craft store that came with the Dora colors included.
Dora Birthday Cake by Kimberly M., Renton, WA
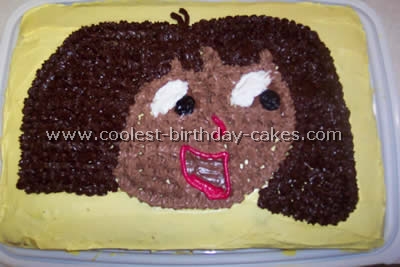
My daughter decided she wanted a Dora party and I didn’t want to just buy a decorated cake. I used a picture of Dora and drew the outline on the frosted 9×13 cake using a toothpick. Then I used chocolate frosting for the hair.
For Dora’s face I added white frosting to the chocolate until I got a light brown. Her nose and mouth are white frosting turned red with food coloring. Her eyes are black pre-packaged decorating frosting topped with white frosting.
This Dora birthday cake really turned out to be easier than I expected and the kids loved it.
Cake by Maria M., River Vale, NJ
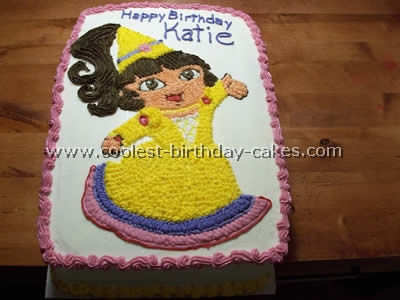
This Dora birthday cake was for a Dora party. I downloaded the picture off the computer then cut it out and traced it on the iced cake with a toothpick. Then filled it in. The cookies are sugar cookies iced in royal icing with fondant eyes and food markers to color.
Cake by Trina C., Penticton, BC Canada
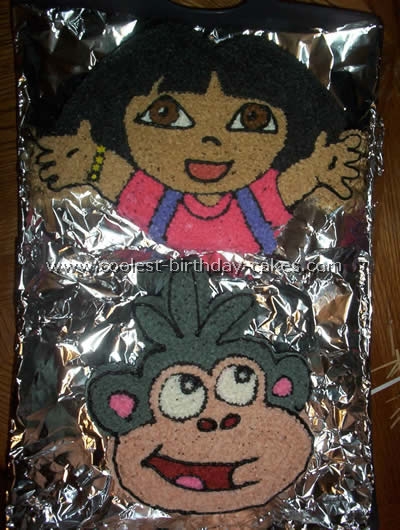
I made this Dora birthday cake for my best friend’s little girl turning 3. I used buttercream icing and Wilton colors for the icing. I used two box mixes for the cake. I used coloring pages for the design, cut them out and blew them up on the photocopier. Then I took the cut outs and punched holes around the design. I put cocoa on the picture and then put it on the Dora birthday cake to transfer the design.
It was fun and was worth all the work.
Dora Birthday Cake by Sarwat A., Plainfield, IL
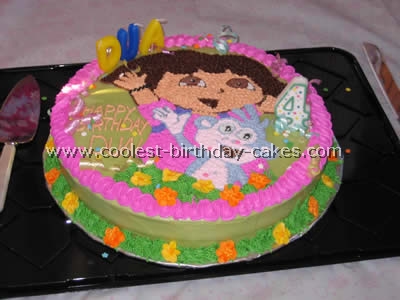
This chocolate cake was baked in a 12 x 2 inch round pan. It was split into two layers and filled with a chocolate frosting (also homemade). The icing I used was the Wilton Decorator icing because I needed something to hold up in the heat (over 90 degrees!). It tastes pretty good although I like my homemade frostings the best.
I printed a Dora the Explorer coloring page off the internet, blew it up to the size I needed and then traced it onto parchment paper. Then I used piping gel to transfer it onto the Dora birthday cake. I used Dora stickers as reference for colors.
I made the flowers a day before on wax paper on a flower nail and put it in the fridge. I used tip 3 for outlining, tip 16 for the star fill-in, tip 21 for the border, and the grass tip for the grass. I then finished it off by sprinkling those store bought little cake decorations and cutting pieces of gift-wrap ribbon and placing around the border.
My niece loved her cake and it tasted amazing.
Your comment has been sent successfully.