Take a look at these cool homemade Panda Bear picture cakes shared with us by cake decorators from around the world. Along with the birthday cakes here, you’ll also find loads DIY birthday cake-making ideas and how-to tips to inspire your next birthday cake project. Enjoy!
And don’t forget… if you end up with a cool cake, have great tips to share or pictures of awesome birthday cakes you’ve made in the past, share them here and be a part of our coolest birthday cake community.
Latest Panda Bear Cakes
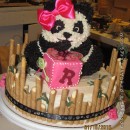
- Awesome 3D Panda Cake for a Baby ShowerI made this Panda cake for a baby shower. It was so much fun and it came out better than I expected! … Read more
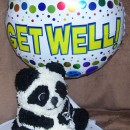
- Get Well Panda Bear CakeI made this Panda bear cake for the mother of a friend of mine. She was in a nursing home … Read more
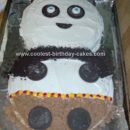
- Coolest Kung Fu Panda Bear CakeMy son wanted to have a Kung Fu Panda themed birthday party. So this Kung Fu Panda bear cake is … Read more
- Coolest Homemade Panda Bear Picture Cakes and Tips 0I had seen similar cakes that had star piping all over for the fur but I didnt have the patience … Read more
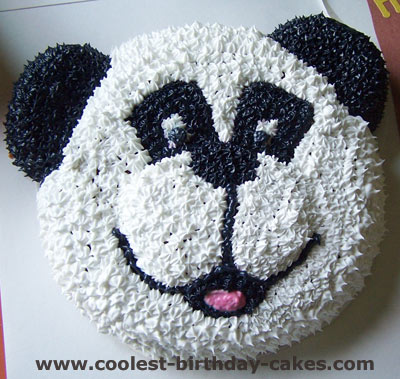
- Coolest Homemade Panda Bear Picture Cakes and Tips 1The stars were piped all over with a butter cream and chocolate butter cream (took a while). I left the … Read more
- Coolest Homemade Panda Bear Picture Cakes and Tips 2I used an 8″ round for the head and a 9″ pan for the body. I placed the two together … Read more
- Coolest Homemade Panda Bear Picture Cakes and Tips 3As you can see from the Panda bear picture cake, the head is the 8 inch pan and the body … Read more
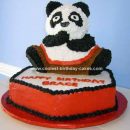
- Panda Bear CakeThis Panda bear cake was made for a little girl’s birthday party. She really likes Kung Fu Panda so her … Read more
- Coolest Homemade Panda Bear Picture Cakes and Tips 4Each animal was made of different cake mixes (they were boxed cake mixes like Duncan Hines) and different icings. I … Read more
- Coolest Panda Bear CakeI used the Wilton bear pan, but switched up the colors to match basic panda colors. I shaped fondant to … Read more
- Coolest Panda Bear Party CakeFor our daughter’s 1st birthday, we decided that we wanted to have a panda party (she loves pandas). I found … Read more
- Coolest Panda Bear CakeI made this homemade Panda bear cake for my sister in law’s graduation from college. She loves Panda Bears, so … Read more
More Panda Cakes
Cake by Leanne C, Melbourne, Australia
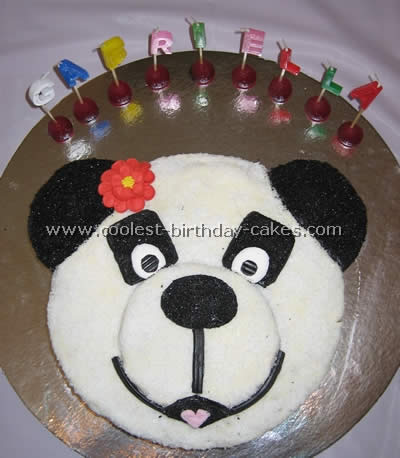
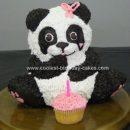
My daughter loved pandas and as I had come across some adorable ‘Panda Party’ invitations we decided to run with this theme for her second birthday. I didn’t want to buy a bear cake tin that I would probably never use again so to get the shape I copied a panda bear picture. I baked two round cakes (one large and one extra small) and leveled them. I carefully trimmed the excess from the large cake into a smaller round piece which I used for the panda’s muzzle and then cut the small cake in half and attached the two halves onto the large cake for the ears.
I had seen similar cakes that had star piping all over for the fur but I didn’t have the patience for that. Instead I spread white buttercream icing over the face and sprinkled it with desiccated coconut for a ‘furry’ look. I did the same on the ears with black icing and black sugar (purchased from a cake decorating shop). For the eyes, nose and diamond shape of the mouth I cut some licorice strap to the correct shape, iced them with black icing and sprinkled them with the black sugar before gently attaching them to the face with some extra icing. The white of the eyes was made with a slice of white marshmallow and the tongue with a slice of pink marshmallow. I used more licorice for the pupils of the eyes and the lines on the nose and mouth.
An edible flower (also bought from the cake shop) gave it a lovely ‘girly’ look. In keeping with the theme we decorated with black, white and hot pink balloons and ate dim sum. All the children came dressed in Chinese or panda inspired outfits.
Cake by Ala B., Adelaide, Australia
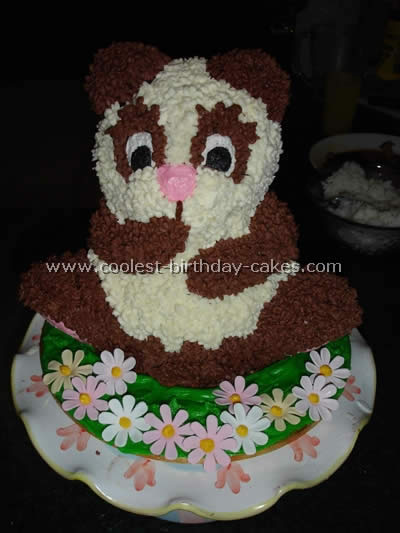
For my daughter’s 12th birthday I used a Wilton 3D teddy cake pan, a panda bear picture for reference, and two mud cakes bought from the supermarket.
The stars were piped all over with a butter cream and chocolate butter cream (took a while). I left the cone insert to support the cake. The round cake board was covered in green icing and decorated with icing flowers cut out with a daisy shaped cutter. Those daisies disappeared quick as a flash!
The girls all loved the cake and it tasted great! A fool proof recipe! If using a 3D pan make sure it is coated really well first with butter and then with a mixture of fine sugar and corn flour so cake comes out without any dramas.
Panda Bear picture cake by Bev P., Powell River, BC
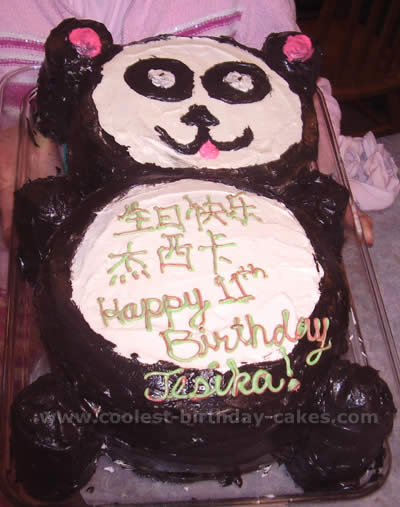
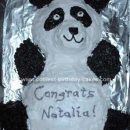
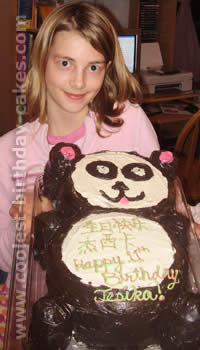
For my daughter’s 11th birthday party she chose a Chinese theme and that’s why we decided on the panda bear cake. It was very easy.
I used an 8″ round for the head and a 9″ pan for the body. I placed the two together and cut a little bit out of the body so the two would fit snugly. I used cupcakes for the ears and paws. This cake had several layers to make it larger but one layer would work just as well.
To complete the theme we wrote Happy Birthday Jesika in Chinese (which we looked up on the Internet). It worked very well
Panda Bear picture cake by Theresa V., Ayer, MA
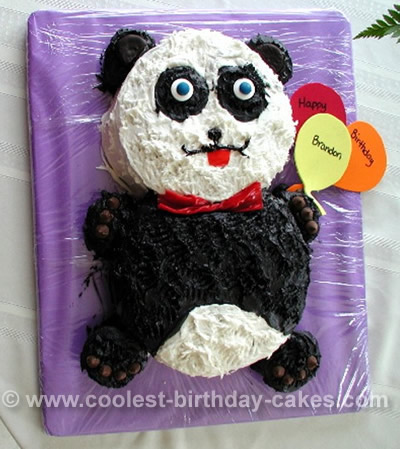
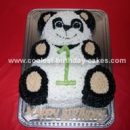
For this Panda bear picture cake, I started with an 8 inch and 9 inch round cake. I baked one vanilla and one chocolate. I ended up frosting the chocolate cake with the black and the vanilla with the white. I would reverse this next time because of the fact that the chocolate with the black frosting did not look very appetizing but still tasted fine. I did not think about it when I did it.
As you can see from the Panda bear picture cake, the head is the 8 inch pan and the body is the 9 inch one. I cut out a small section of the body so the two fit together.
The black frosting I made with chocolate and colored black so that I’d be using less color. The black does taste bitter if you use too much. I used 2 small covers to lay over to leave room for the black eyes when frosting the head white. The inside of the eyes are made with a life saver and an M&M candy stuck in with a dab of frosting.
I drew the mouth and used a fruit roll-up for the tongue. I also used a fruit roll-up for the bow tie. I left it as a roll and twisted in the middle as best I could to make the tie.
The ears, paws and feet are made with cupcakes. Use 2 cut in half for the ears and paws and 2 full ones for the feet. I used chocolate kisses for the nails and peppermint patties cut in half in the ears. At the end I used a fork to fluff the frosting on the finished cake to make it look more like fur. This worked great.
I was surprised at how easy this cake was to make. The balloons, I cut out of foam board and attached to a wooden skewer cut in half and stuck into the paw.
Hope you like this panda bear picture cake. Enjoy.
Panda Bear picture cake by Nicole S., York, PA
When I found the animal cracker cake mold at Michael’s craft store I thought how perfect that would be for my son’s 2nd birthday party. The theme we chose was jungle animals.
Each animal was made of different cake mixes (they were boxed cake mixes like Duncan Hines) and different icings. I wanted people to have a variety to choose from. The panda bear was iced with white icing.
I had lots of compliments on the panda bear picture cake and I was very pleased with the way they turned out.
Some tips to give are:
*Keep the icing in the fridge until you are ready to use it, if not the stars will not look like stars but like blobs and the icing will run and not look nice. I learned the hard way.
*Do not use the pour and frost icings by Betty Crocker. It was more liquidy and the stars looked like blobs. As you are making the stars the heat from your hands melt the icing.
*Grease the cake mold REALLY well or when you flip the cake out it will stick. I also bought a decorating bag with the size tips that are listed in the animal cracker cake mold instructions.
I’ve never used a cake mold to make a cake before; this was all new to me.
