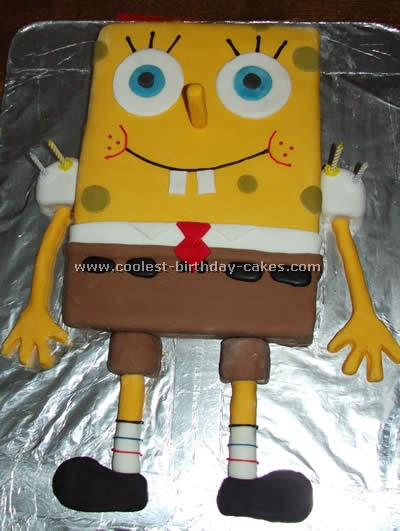
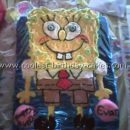
My four year old son is SpongeBob mad so my wife and I decided to make him a SpongeBob birthday cake. We started out with an 18″x12″ sponge cut and filled with jam and buttercream, and then it was stuck to a blackboard covered in foil. It was the only thing big enough to hold it.
The icing was made up and put on the cake. We added the cut outs, i.e. the tie, eyes, teeth etc. then my wife added the icing detail while I molded the arms, legs and the nose (a cocktail stick was pushed into the nose so it would stand up). in all it took us about seven hours to complete. it was our first attempt at a cake together and my son was really excited seeing his idol made into a cake.
More SpongeBob Birthday Cake Ideas
Cake by Andie E., Florissant, MO
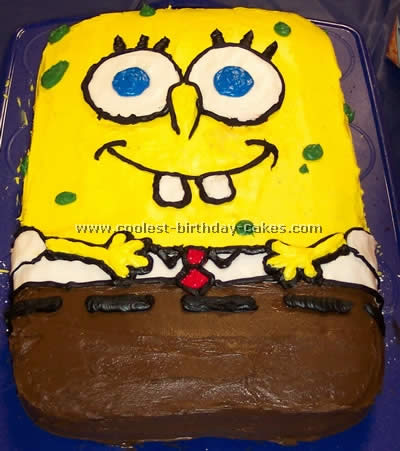
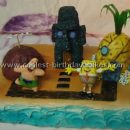
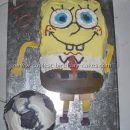
I found a picture of this SpongeBob birthday cake on the web. I decorated the cake going off of the picture using decorator’s icing and food coloring. The picture did have a life preserver which would be even cuter! My daughter really enjoyed the cake and it was a lot of fun to create.
Cake by Erika K., Ann Arbor, MI
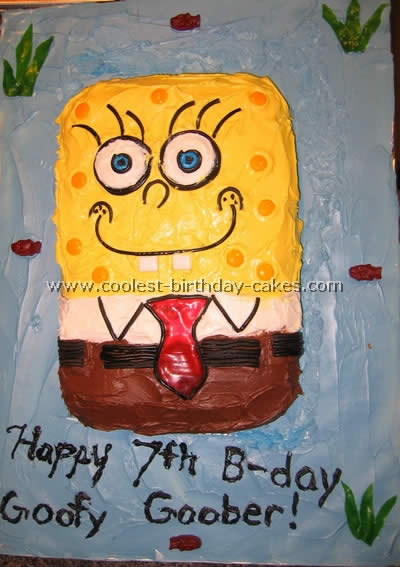
For this SpongeBob birthday cake I made a French vanilla cake in a 9 X 13 cake pan following the instructions on the box. While that was baking I took a large piece of cardboard and covered it with aluminum foil. I then dyed some white frosting blue and covered the aluminum foil. I measured a 9 X 13 area to place “SpongeBob” and then decorated the rest with gummy sharks’ seaweed and a message. This way the icing acts as a glue to hold everything in place.
Next I took two Oreo cookies and opened them up. I added a little extra icing to go all the way to the edges. Then I wrapped a piece of black licorice around the outside edges. I cut two small pieces of licorice and put them inside the eyes (press them down and the circles will stay). Then I filled them with blue icing and one dot of black icing for the pupils. Once the cake cooled on a cooling rack I dyed more white icing yellow and covered about 3/4 of the cake with it (while still on the cooling rack). Then I put white icing under that on about 1/8 of the cake and milk chocolate icing under the white icing on the remainder of the icing. If you do all of this on the cooling rack it won’t make a mess on your background.
I then slid two large spatulas under the cake and placed it on my background. I placed the eyes on with licorice, eyelashes, a licorice nose and a licorice smile (with Dentyne Ice gum for teeth). Then I cut out a piece of red fruit roll up into the shape of a tie and set it on the cake. I outlined it with black licorice and also used black licorice for the belt and shirt. Then I used yellow sprees (the hard candies) on his face to add dimension. I didn’t think I could do this SpongeBob birthday cake but it ended up being easier than I thought! Good Luck!
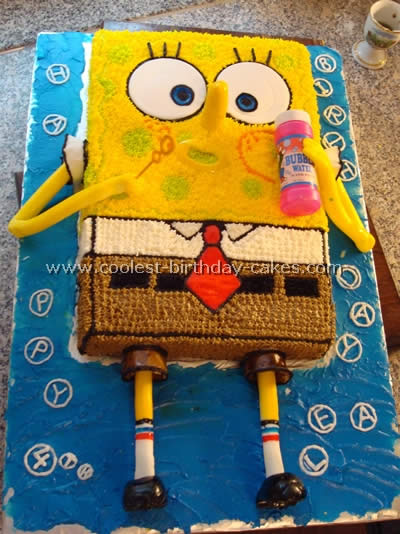
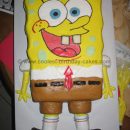
My daughter wanted to play with fondant so we decided to try it out on this SpongeBob birthday cake. The eyes, arms, legs, shoes, nose and mouth are fondant. This was extremely fun to make and now all the neighborhood kids want this exact cake for their birthday.
Cool Spongebob Birthday Cake
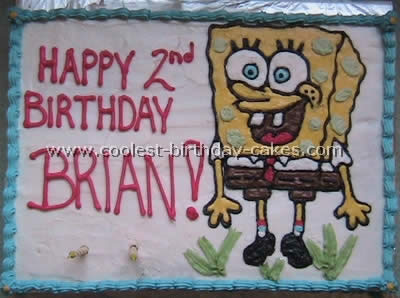
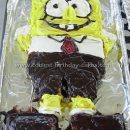
I made this SpongeBob birthday cake for my son’s second birthday. He absolutely loves SpongeBob (or “Pongebop” as he calls him). I made the cake using two boxes of Pillsbury yellow cake mix and a Wiltons 9×13 cake pan. I made a classic buttercream frosting and used Wiltons color paste for my colors. Always, I apply a crumb catcher using thinned out icing and let it dry before fully frosting my cakes.
I used a printed out color book page for my SpongeBob template and I laid a piece of parchment paper over the picture, traced the pattern in a thinned out black frosting and flipped it over onto the frosted cake (after the frosting dried) to transfer the outline. Then I just redid the outline in black and filled in the colors using a round writing tip #5.
I added some seaweed under SpongeBob with a leaf tip. For my border I just used a basic star tip and made a shell/rope type pattern. I browsed this site for some ideas for a SpongeBob birthday cake (such as the tracing idea which works excellent) and then went for my own design.
