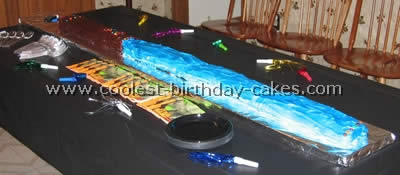
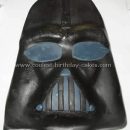
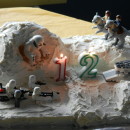
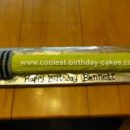
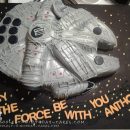
In a galaxy far far away we planned a Star Wars party for a five year old. We wanted a fun Star Wars birthday cake for the kids. My son thought a light saber cake would be cool and my husband thought it would be even cooler if it were six feet long. So I baked two 13×9 sheet cakes, one chocolate and one vanilla.
After baking I froze them solid in the freezer. Once frozen I cut each into three strips lengthwise (3″ each). I covered a 6.5′ board with aluminum foil then placed each strip end to end to make the cake about 6’long. I then frosted the “handle” of the light saber in chocolate icing (about 1.5′) and the rest with vanilla. I placed copy paper along the sides of the white icing (to keep the aluminum foil from getting blue color on it) and took it outside and sprayed the icing with blue icing spray. (Blue is Luke’s color but you could do red for Darth Vader or green for Yoda)
This gave us the basic light saber. At the party later I had the kids decorate the light saber handle with red licorice (Pull and Peel) and M&M’s. This gave the light saber controls. I also gave each child their own candle along the saber to blow out, with the Birthday Boy’s #5 candle on the end. They loved it!
Another Lightsaber Star Wars Birthday Cakes
Star Wars birthday cake by Julie E., Blackpool, England
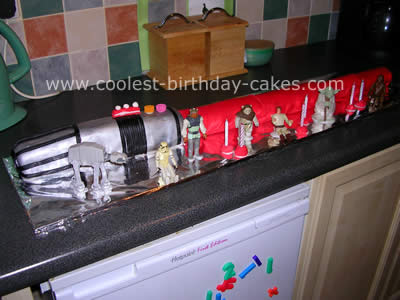
My son is very much in to Star Wars so I had to come up with one of the coolest Star Wars birthday cakes. For something different I decided to make a Light Saber from Star Wars.
The light saber is basically five cake rolls of different sizes. I baked five different fatless sponges of different flavors (chocolate and vanilla), spread buttercream on each sheet of sponge and then rolled. For the handle I used ready to roll white icing that I rolled around the cake and then ‘painted’ silver using edible silver food coloring.
For the black parts of the handle I used liquorice strips that I cut and stuck on with icing. For the buttons I used ‘spogs’ but M&M’s would work as well. For the light saber part I rolled each cake in red ready to roll icing making each one thinner than the last to get the layered effect. I placed up against each other making sure there were no gaps.
The cake was made on a long piece of plastic board that I covered with foil. I used some of my son’s figures to decorate around the edges. This is really simple to make and if you can’t bake very well you can buy ‘Swiss rolls’ in the supermarkets that would work just as well. This took me about two hours decorate plus the time it took to bake the sponge.
