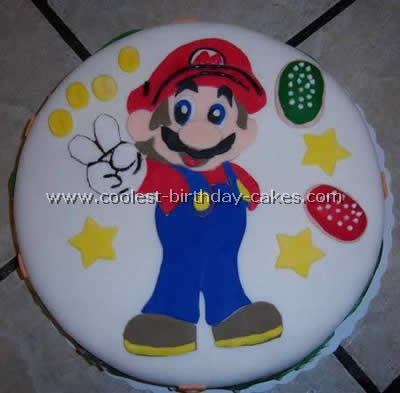
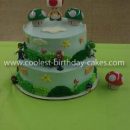
My nephew is a huge Super Mario brother fan! He wanted one for his birthday and we did research looking at cakes online for ideas for weeks! We found one that was made out of icing that we liked and we transformed it into a fondant cake (which my mom and I are learning to work with!)
We found a cool Mario picture and we blew it up on the copy machine. We cut out the pieces and we used them as stencils to cut out the colored fondant. We put it together like a puzzle! It took us over four hours just to decorate it but it was worth it! I can’t wait for my nephew to see it!
More Super Mario Brothers Cakes
Mario Bros. cake by Debbie S., Guelph, Ontario
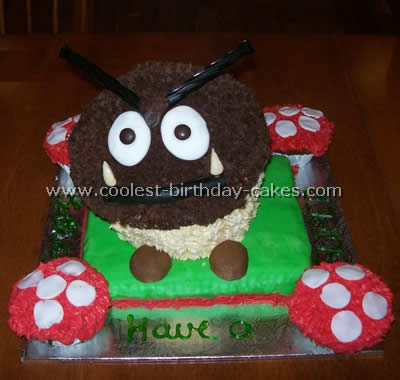
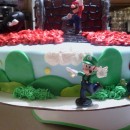
My son wanted a Super Mario brother themed cake for his birthday so we decided on a Goomba cake, the angry mushroom that always chases Mario. We placed him on a block based on Super Mario Party 8.
I started with a square block which I iced with green rolled fondant icing. Goomba was made using the Wilton Dimensions Large Cupcake pan. The pan makes a cake sized cupcake and I figured that I would get a lot of use out of this pan over the years. Using Star Tip #22 I iced his “pants” with buttercream icing tinted ivory. His head is iced with chocolate buttercream icing tinted brown. His eyes are ovals made from rolled fondant icing; his pupils are brown M&Ms; his eyebrows are made from a piece of black licorice cut into two; his mouth is a licorice cigar. The cigar wasn’t as flexible as regular licorice so I secured it to the cake by inserting two toothpicks on the underside of the licorice.
His teeth are made from blanched almonds whittled into fangs. They looked really cool close up – just like real teeth. The large cupcake pan takes about one and a half cake mixes so I used the remainder of the batter to make Power Up Mushrooms. I baked the cupcakes without liners and simply iced the bottom smooth with white and used Star Tip #22 for the red top. I used rolled fondant and the top of the decorator tip as a cookie cutter for the circles. The eyes of the mushroom are little cut pieces of black licorice laces.
The kids loved the Super Mario brother cake and it got rave reviews from the family. It took about three hours to decorate but would have been closer to two – I had some challenges with the consistency of the icing.
Mario Bros. cake by Izabel F., Quebec, Canada
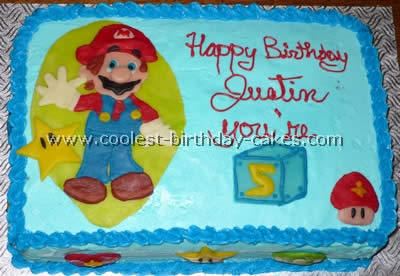
I did this Super Mario brother cake for my son. He is #1 fan of Mario. All the decorations are made with store (supermarket) bought almond paste. I took a drawing of Mario and I reproduced the drawing. I separated each part of the body separately. I colored the almond paste with food coloring and worked it out like play dough and with a dough roller made it flat, 1 to 2 cm thick. then cut your parts, pass you finger gently to round the edges . If you see that the paste sticks to the roller put it back a bit in the fridge.
Work you dough on a surface covered by wax paper. When you have finished all you parts, assemble like a puzzle. Put back in fridge until you are ready do decorate your cake. To do skin color, mix food coloring (two drops of green, two blue and one red). Take your almond paste and barely put some on it. If the color is too beige and want it a bit more pink, put a needle size of red after mixing the brown. Have fun!
Mario Bros. cake by Chelsy L., Goshen, IN
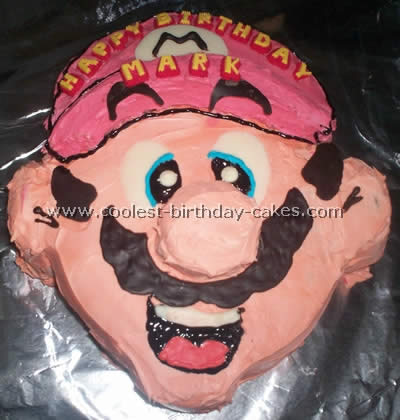
I made two 8″ rounds and stacked them for the head of this Super Mario brother. I made another 8″, cut it in half and then cut out an oval shape from the bottom to make the top of the hat. I used the left over middle to make the brim of the hat.
I then cut up cupcakes and glued them on with icing to make the ears, chin and nose. The cake was for my boyfriend who is a good artist and I had him draw out a Mario on wax paper then used the template to pipe melted chocolate for all the hair, the white Mario emblem, the white of the eyes and the teeth (then straight to the freezer). My red hat looked more pink (I used reg. food coloring) but found out with the tongue I could go a little bit darker if I added some yellow too.
I made the light blue icing for the eyes and used store bought black gel to outline. And finally the actual pupils where leftover white chocolate chips! The only problem I had was that my chocolate melted very quickly when I tried to place it on the cake. I ended up keeping the chocolate pieces in the freezer and the cake in the fridge and then just stood with both doors open and transferred them fast. I recommend keeping the cake in the fridge until time to serve!
Mario Bros. cake by Mary B., Hinckley, IL
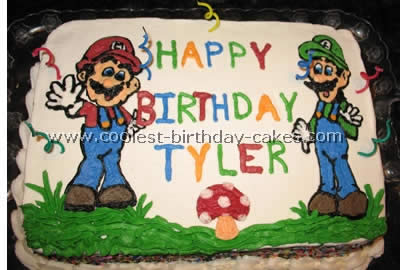
This Super Mario brother cake is just your basic Duncan Hines cake iced with Wilton’s buttercream frosting recipe. To get the image onto the cake I searched the internet for these drawings of Mario & Luigi. I then saved them to a file and flipped the image and printed it out. After printing the image out lay wax paper over the image and use some frosting to trace the lines. Once you have the image traced carefully put the waxed paper into the freezer to get the outline very hard.
Frost your cake as usual and then allow your cake frosting to crust (this usually takes one to two hours). When the cake has crusted remove wax paper image from freezer and place wax paper frosting side down onto your cake where you want your image. Gently press the frosting outline into the cake rubbing the back side of the wax paper to make sure your frozen frosting is making an impression in the frosting. Remove the wax paper. The frozen frosting will still be attached to the wax paper but will have left an outline in the cake for you to work with. Now take your black colored frosting and outline the indentations in the cake and then fill in with your other colors.
Mario Bros. cake by Sara W., Virginia Beach, VA
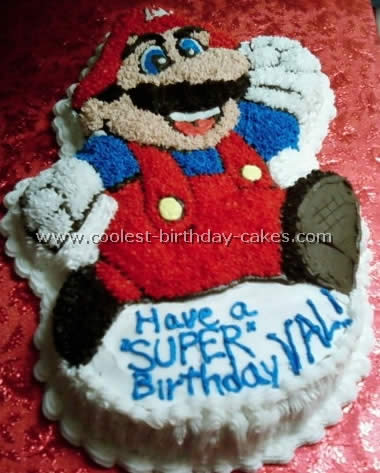
I made this Super Maria brother cake for a co-worker’s son’s birthday using the Wilton pan that I purchased on EBay. It was my first character cake so I was a little worried about how it would turn out. It was actually quite simple, just difficult to get the right colors. Of course my boyfriend was very concerned about Mario looking pink instead of red so I had to add lots of red. The peach color I had was a little to peachy for skin tone so I added just a drop of brown and got a few compliments on his skin tone.
I didn’t bother trying to smooth the icing around the sides like the directions said instead I used the #16 tip and made continuous straight lines to fill in that area.
Mario Bros. cake by Connie T., Shreveport, LA
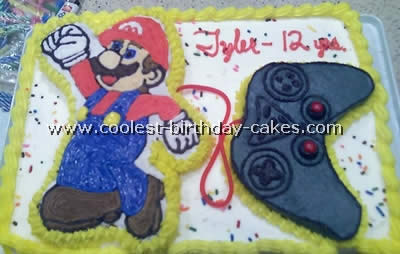
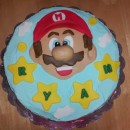
This Super Mario Brother cake was made for my nephew. He loves Mario but we could not find a character pan. So I printed out a Mario cartoon I found on the internet. I enlarged the print to be slightly smaller than the base cake. I cut out the photo and laid it on a 1 to 1-1/2″ thick cake and cut out the shape of Mario and the shape of a controller.
Ice the base cake was pre-frosted before placing the Mario and controller cake cutouts on top. Frost the Mario in white and the controller in a color of your choice (black blue green). Using the paper cutout of Mario outline the whole picturing with a black marker.
Then mix black food coloring and icing gel (about 1/4 c) and trace the Mario picture. Invert the picture on top of the iced Mario cake so the colored gel adheres to the white icing. Carefully lift the paper from the cutout. Now trace the outline with black icing. Fill in the colors to match Mario actual colors (from online picture).
Using black icing add outline details of the remote control. Use M&M’s for the buttons. Using a star tip fill in the outside of the Mario cake to make it stand out and outline the bottom of the remote.
Connect the remote to Mario using string licorice (red or black). Decorate remainder of the Super Mario Brother cake to your desire. Be creative!
Mario Bros. cake by Karen B., Agawam, MA
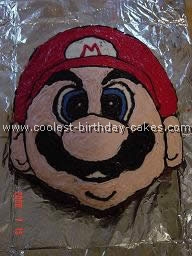
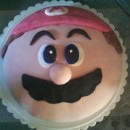
I cut the shape out of an 11×15 cake, and then cut out the Super Mario Brother eyes, nose, and mustache. I froze the cake and then put the pieces that I cut out back on the cake, traced them with a toothpick, and slowly filled in my shapes. I frosted the Super Mario Brother face in white.
Mario Bros. cake by Courtney R., Union, MO
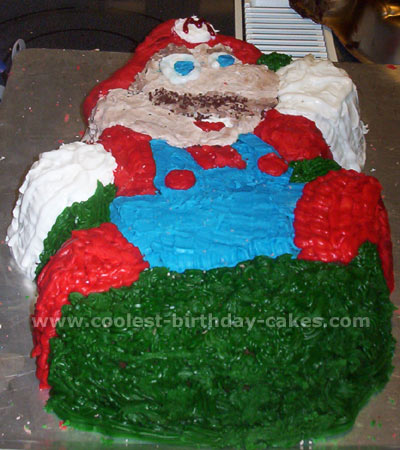
My son loves Mario from all of the popular Super Mario brother video games. I found an old Mario Bros. shaped pan on Ebay.
He is allergic to store-bought frosting so this is a little different and doesn’t go through an icing bag with tips. So I had to spread it with a knife as best as I could.
The cake pan didn’t have the insert to tell you what colors to use so I had to find and print one from the internet. All the kids at his party loved the cake.
Cake by Courtney R., Union, MO
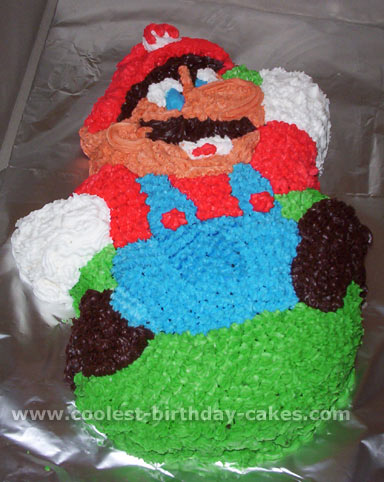
I created this cake using all Wilton colors and homemade butter cream frosting.
