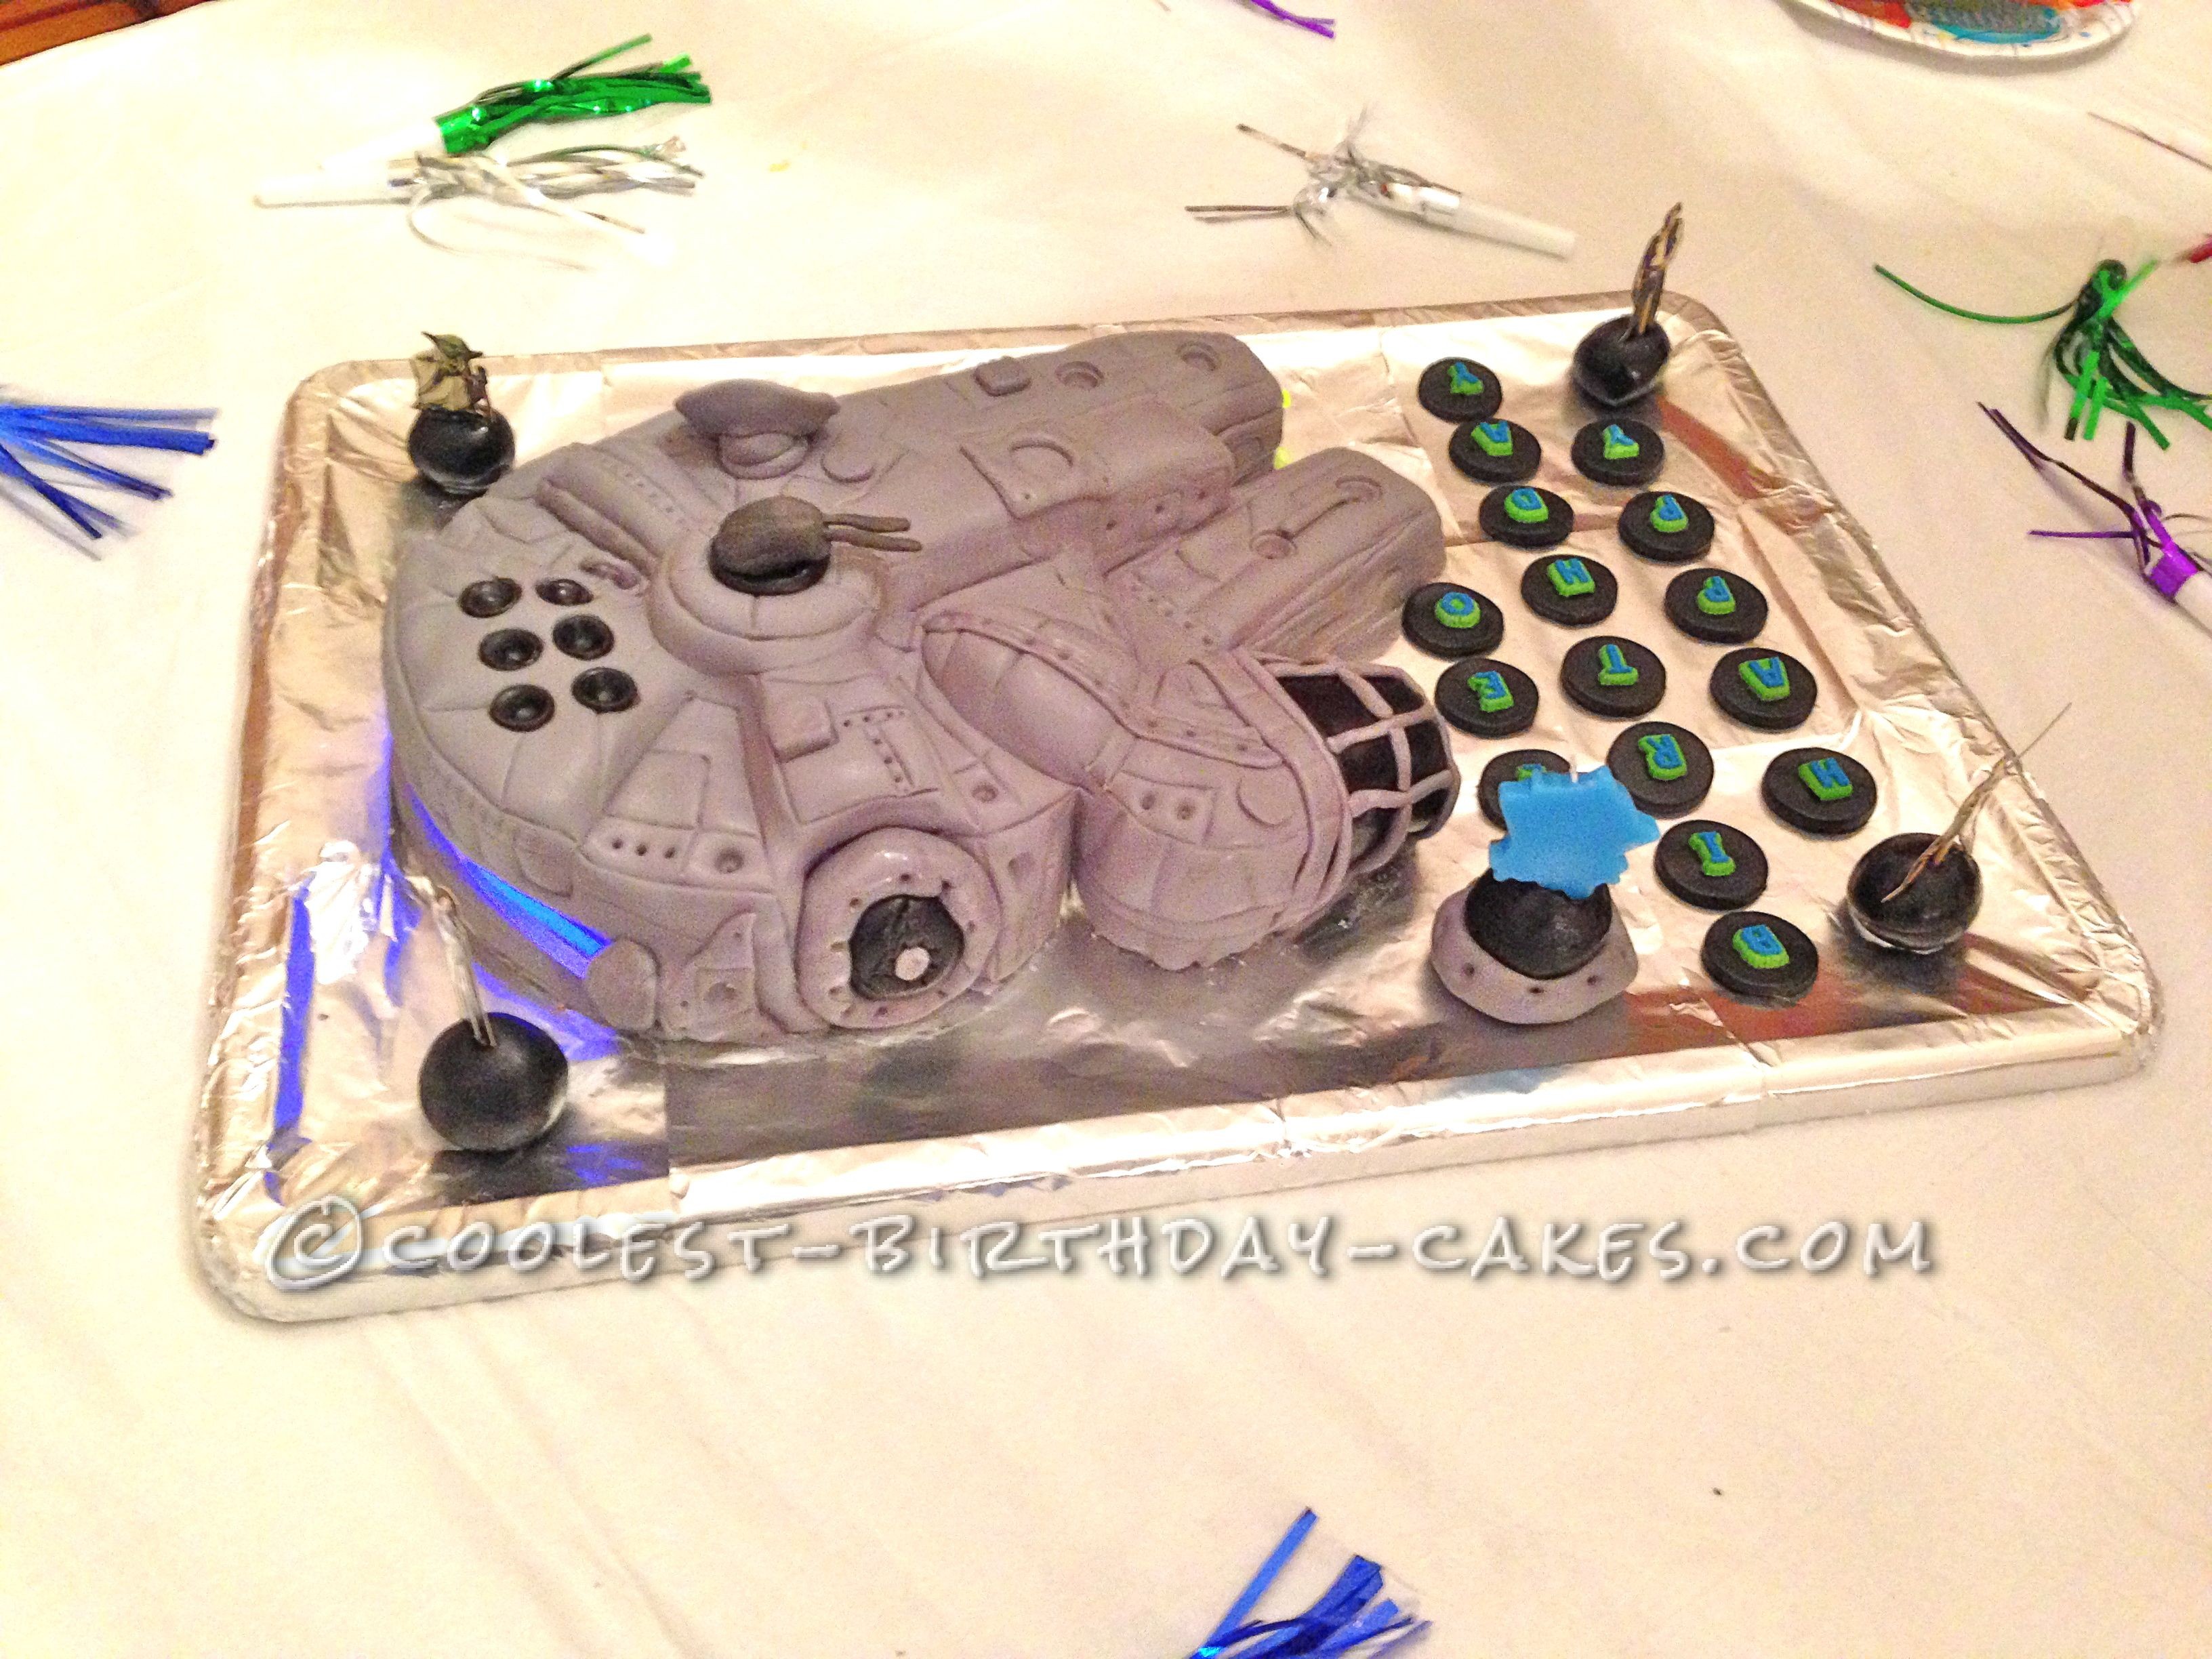
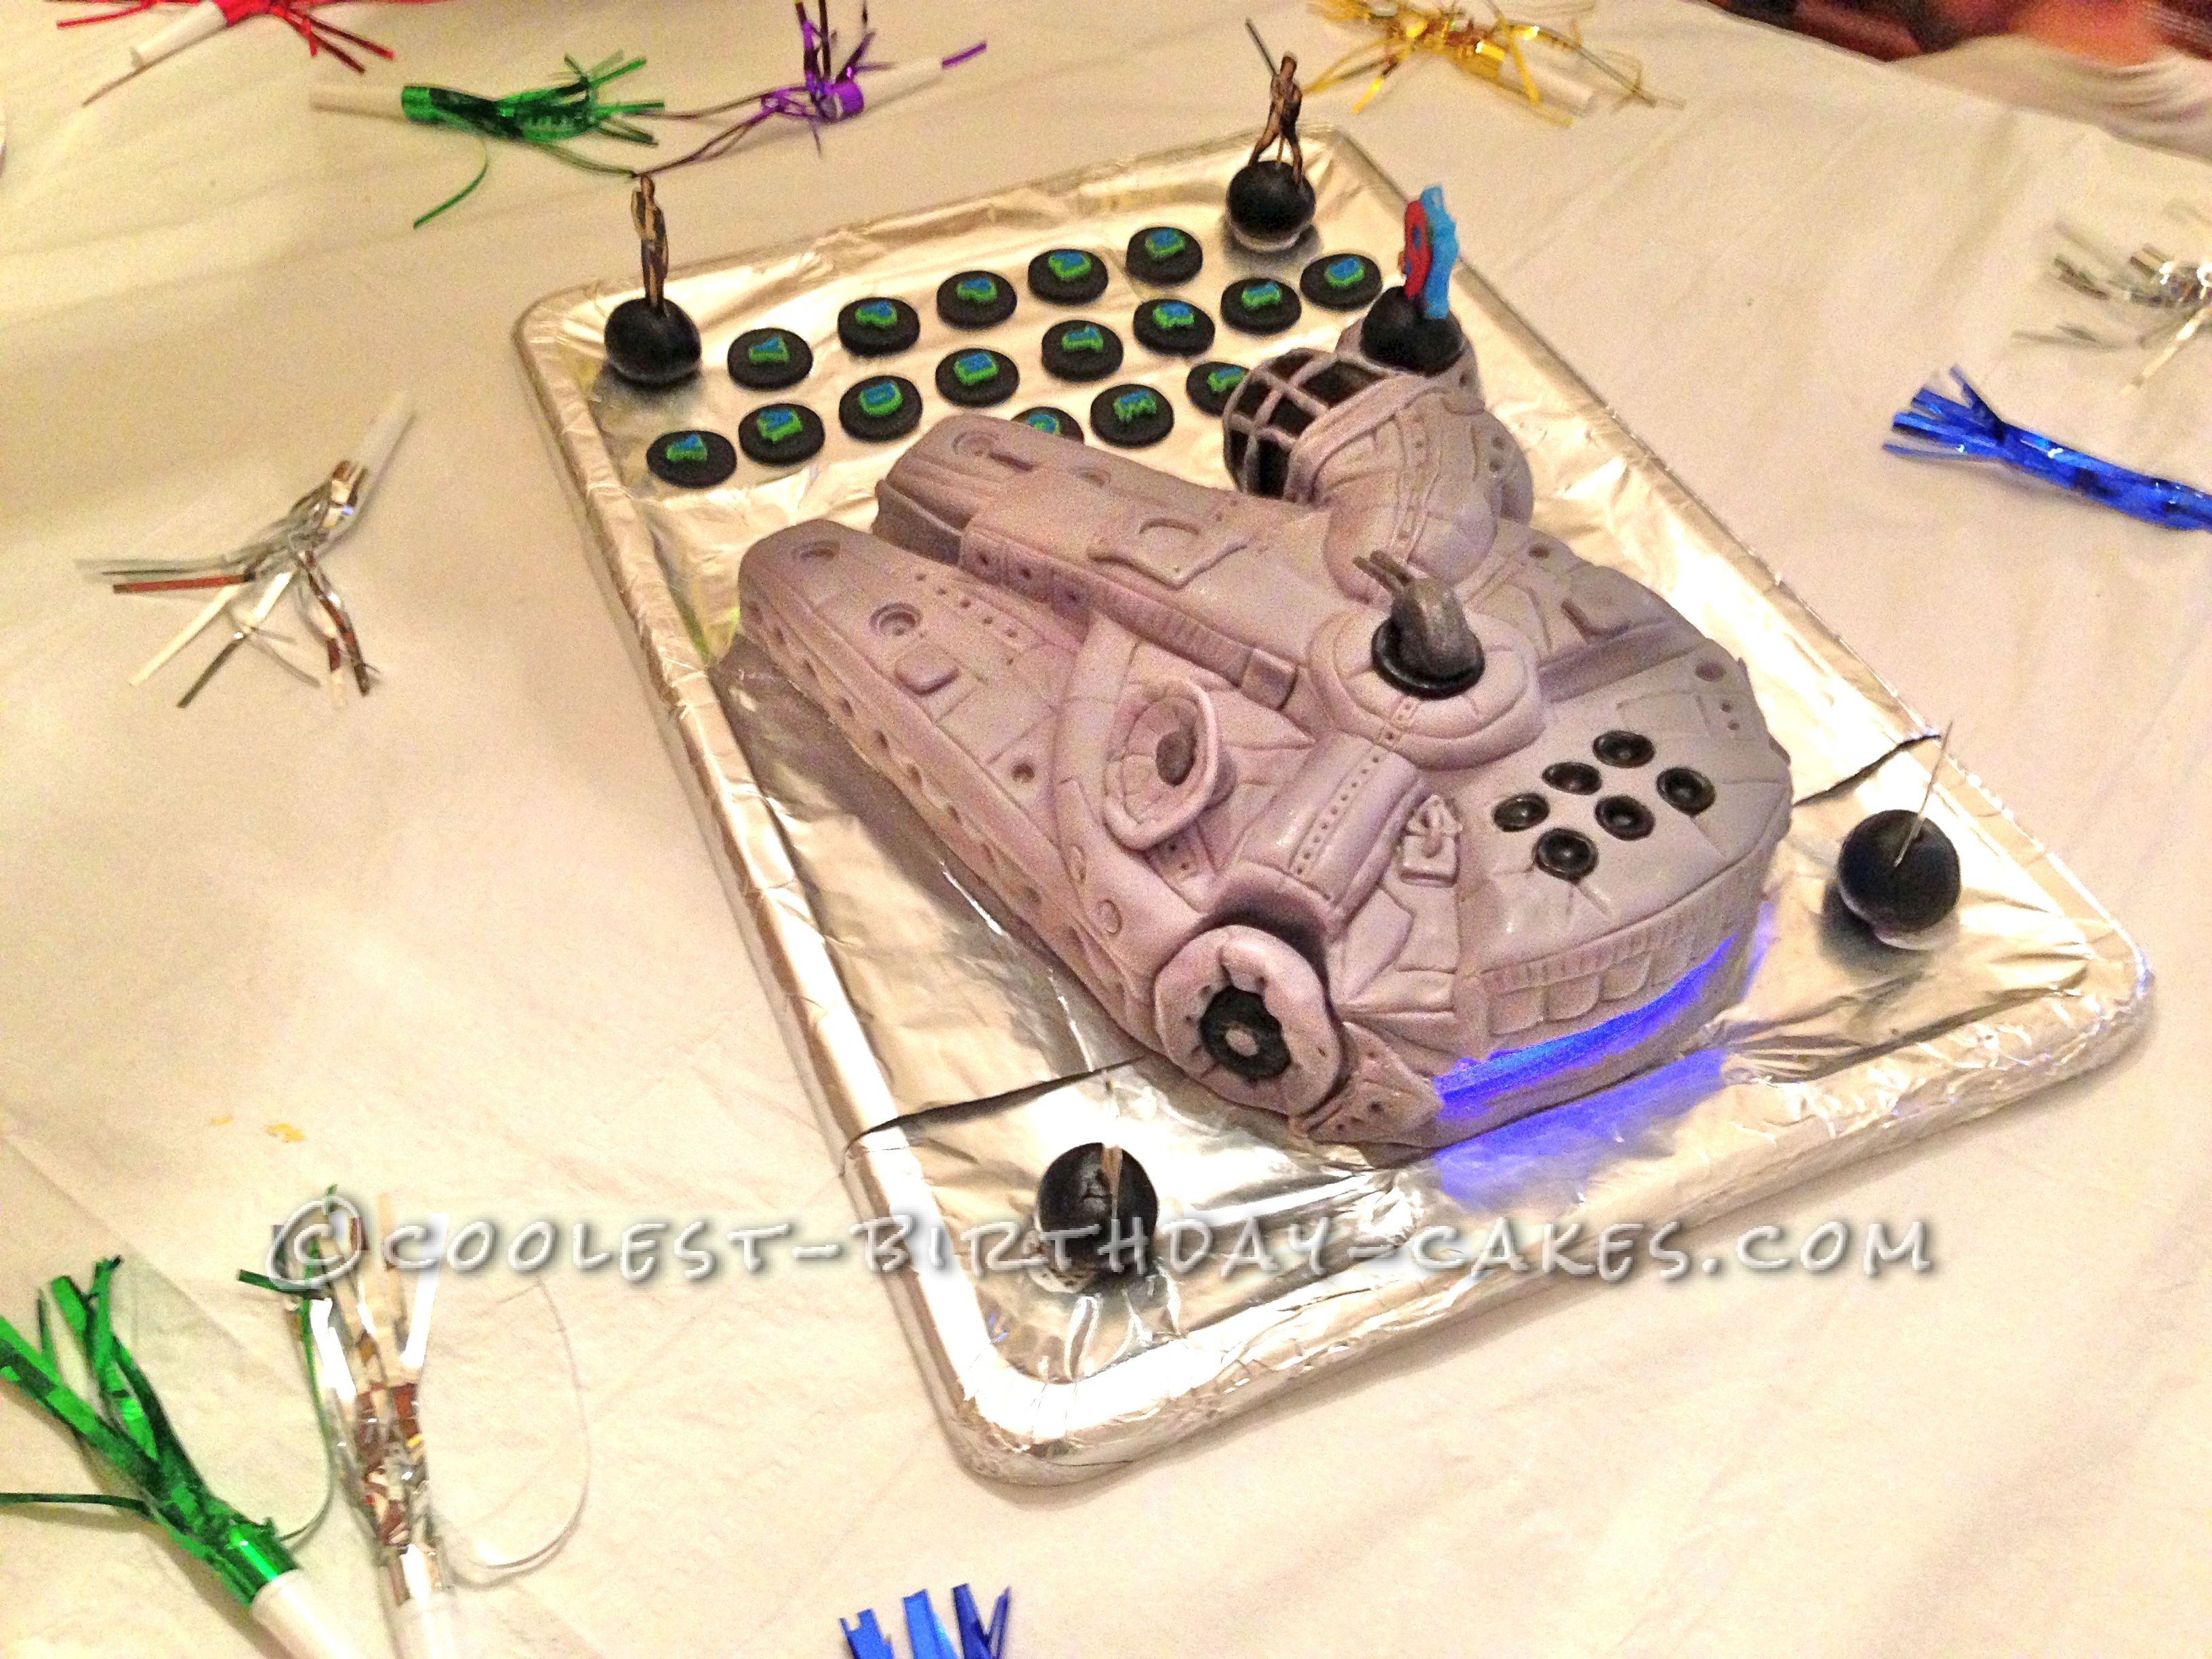
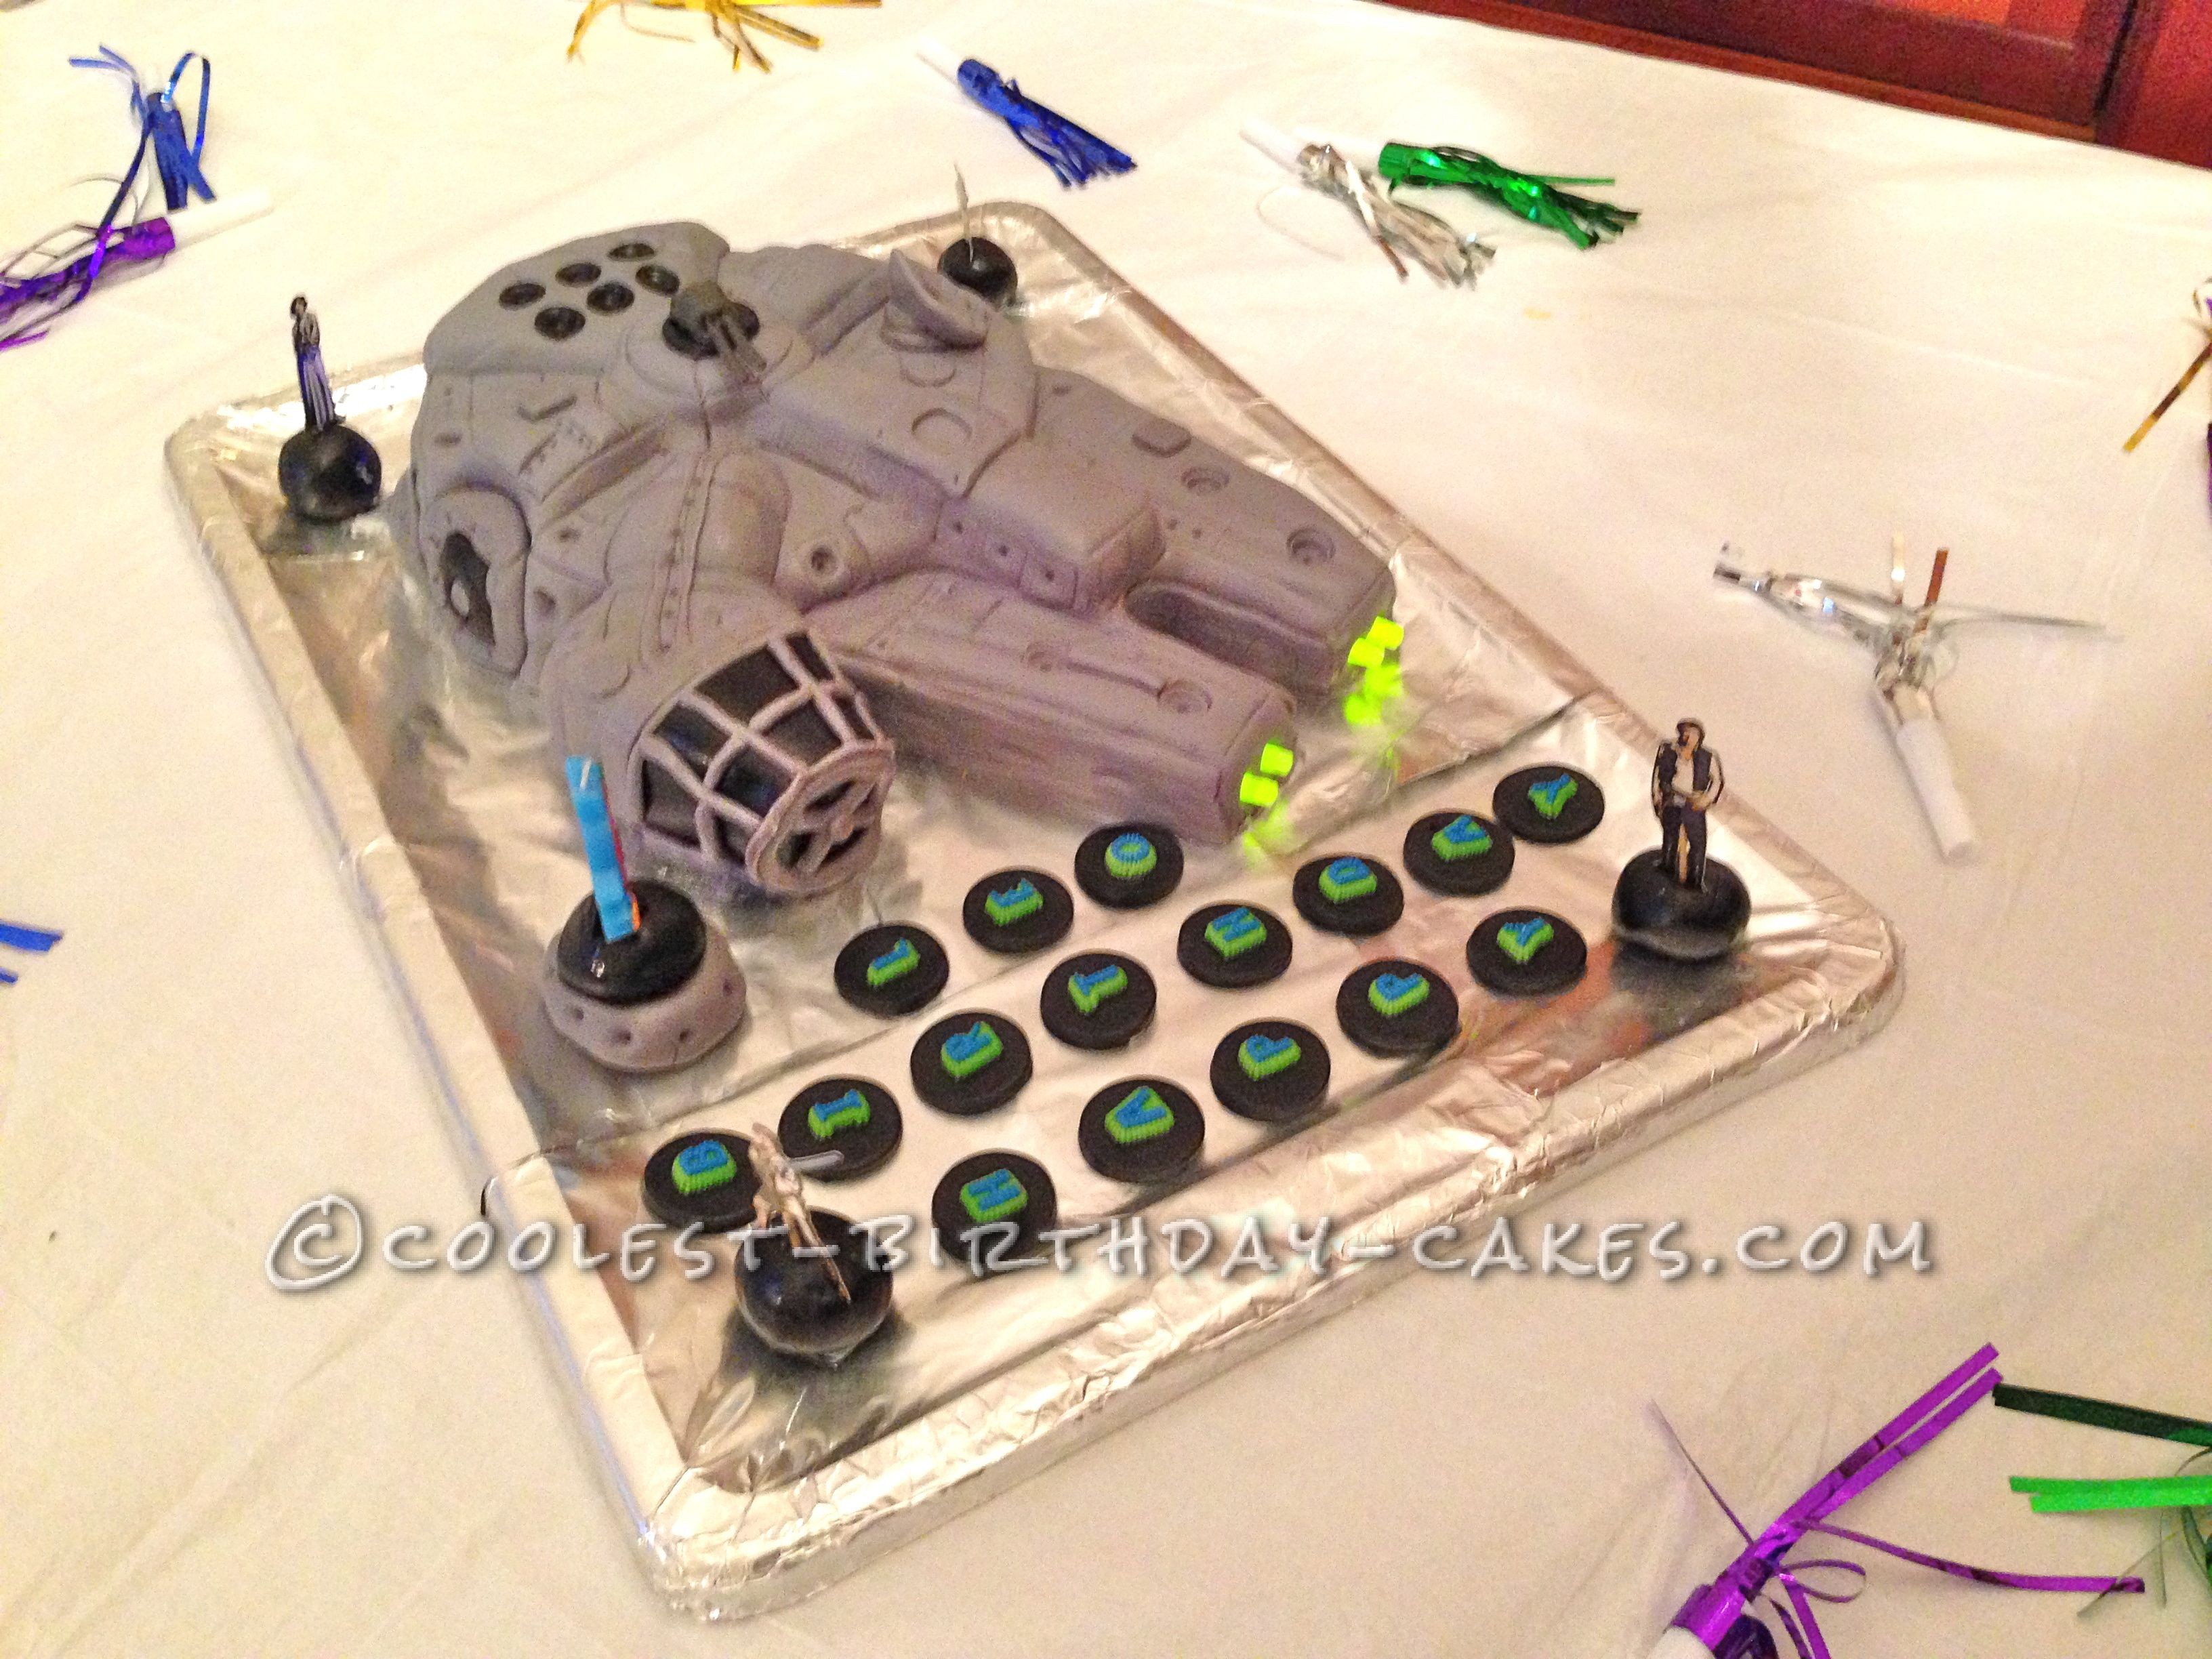
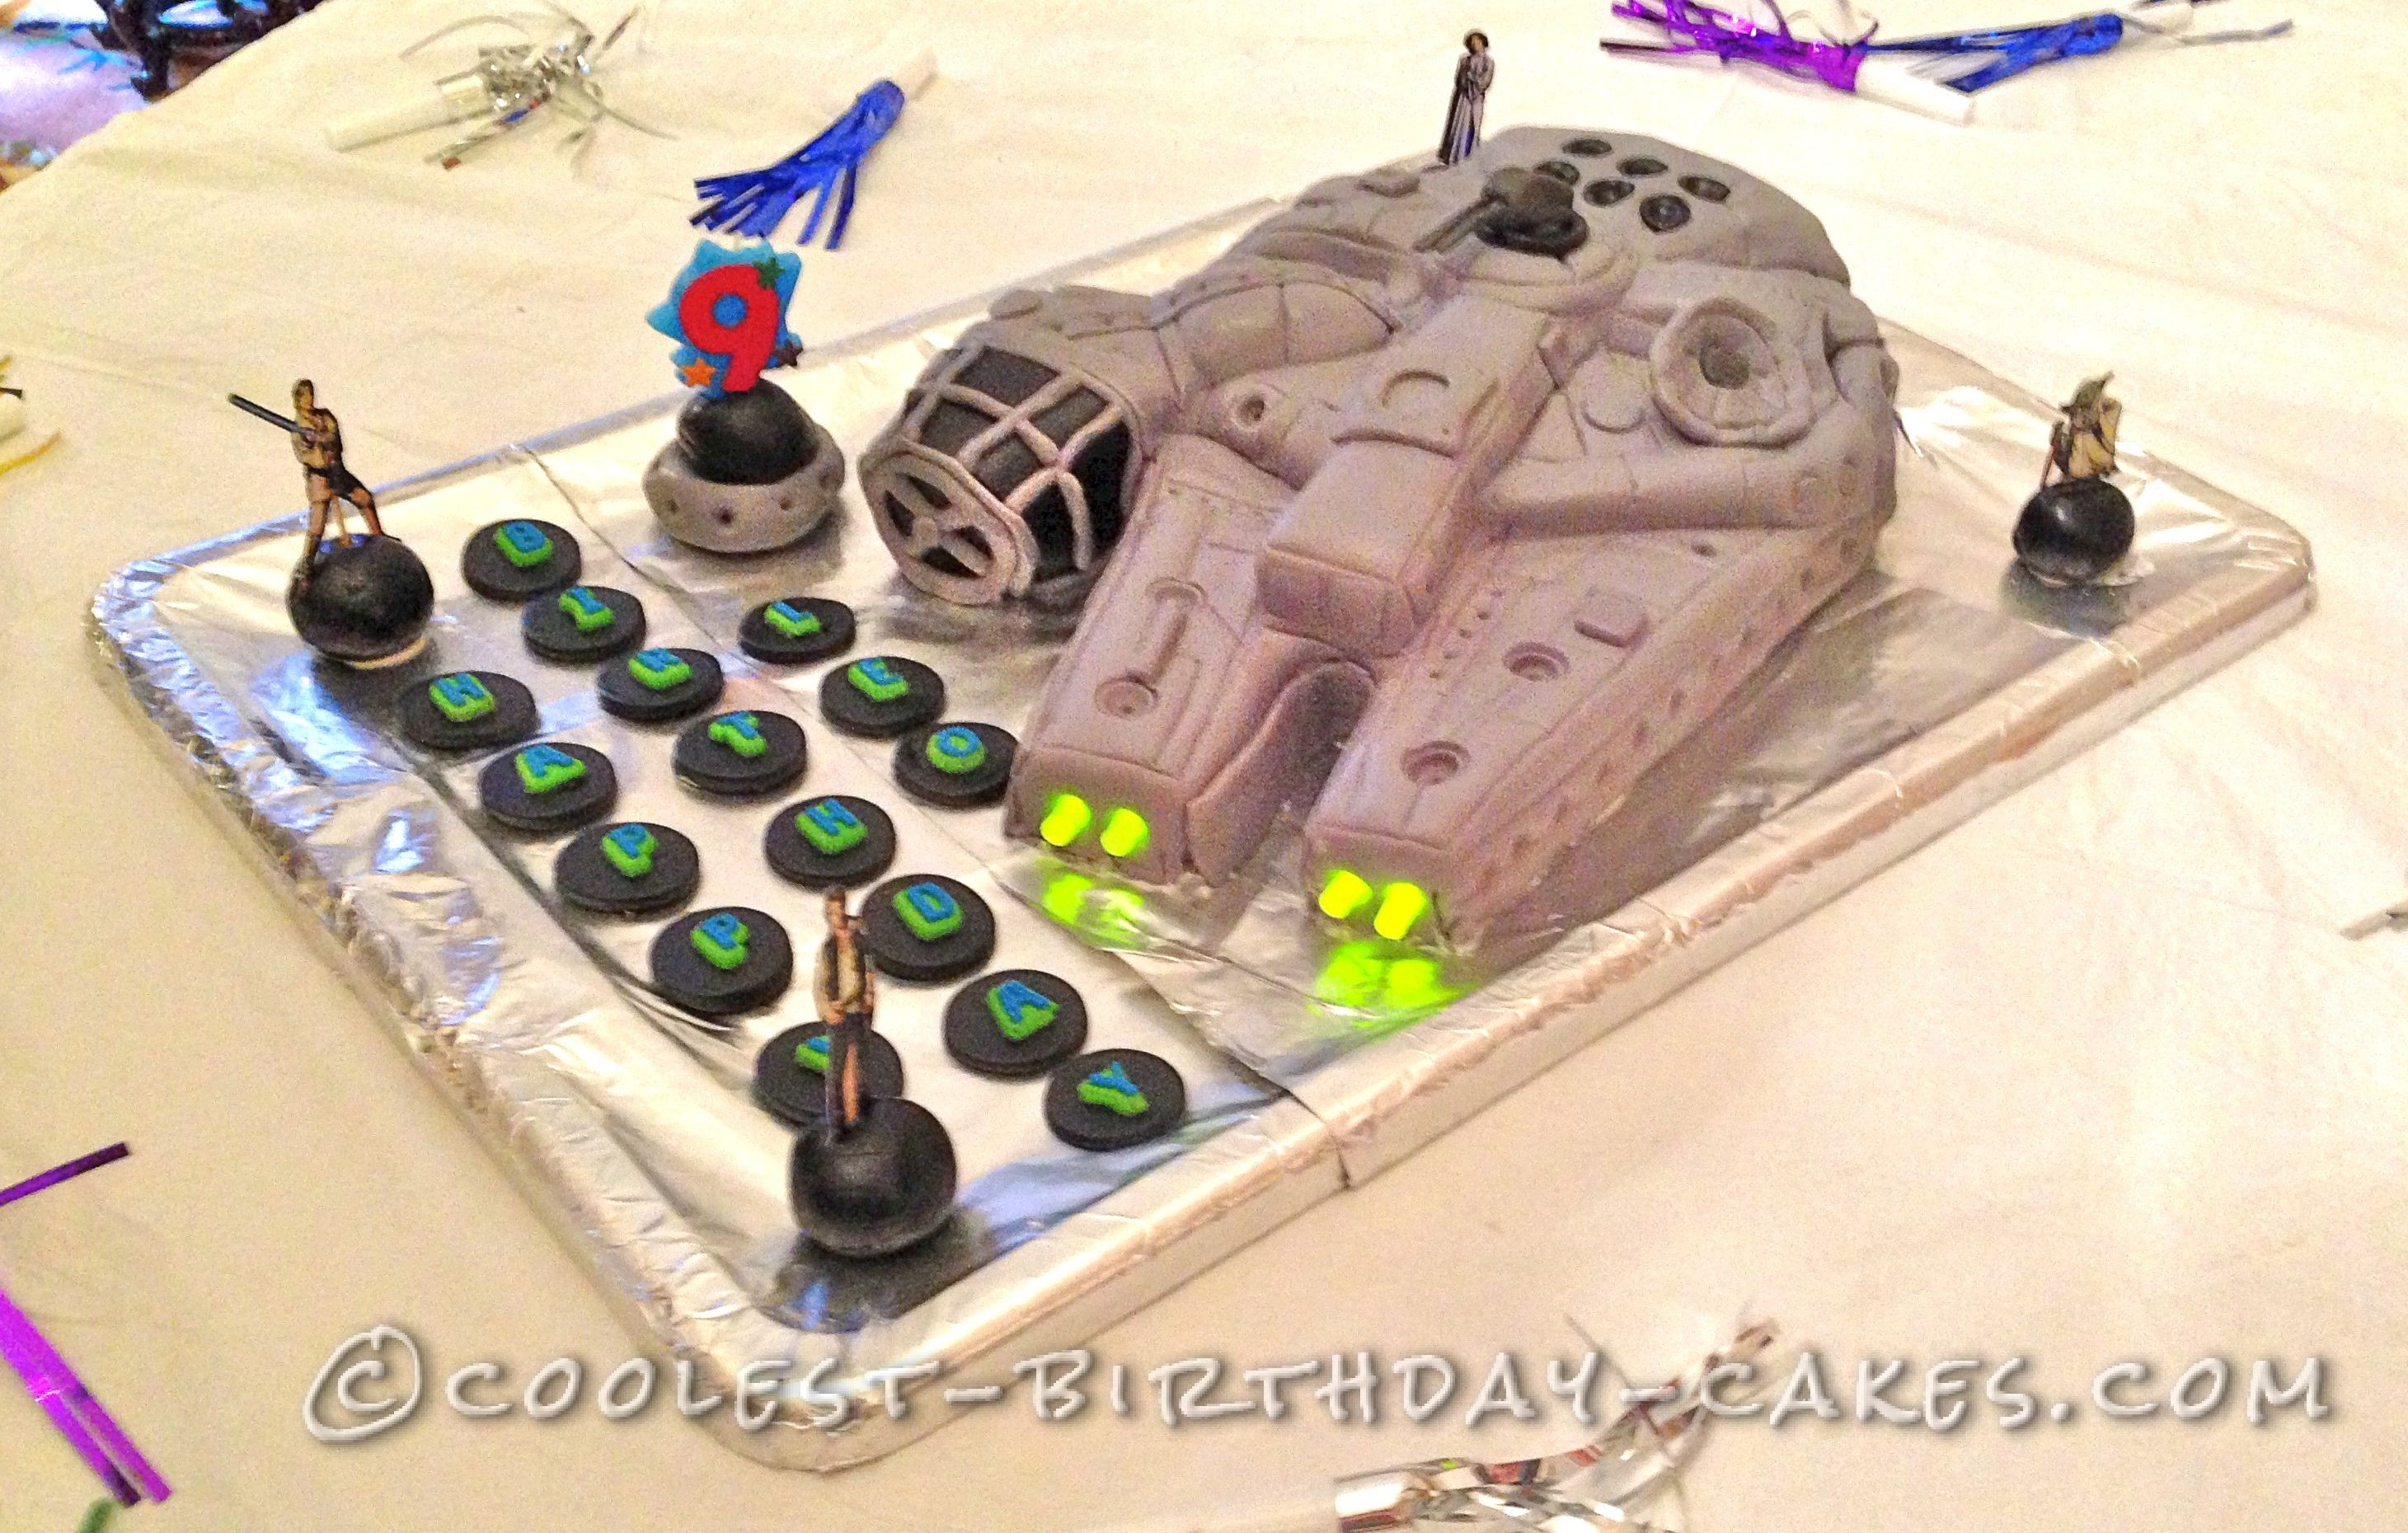
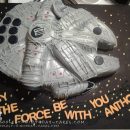
I am NOT a baker but, I do enjoy making cakes three times a year for my nephew and two boys. It is my creative outlet – I enjoy the challenge! When my 9 year old nephew told me he wanted a Millennium Falcon cake I have to admit I did NOT think I could pull it off! In fact, I even told my sister to buy cupcakes with Star Wars toppers as back-up!! After searching the internet for pics and idea I finally decided I would have to attempt a cake completely covered in fondant for the first time. In a stroke of genius, I decided I should make the cake light up – as a distraction – so, people wouldn’t notice as much if the cake came out not so good.
In the end, it turned out AMAZING – everyone LOVED it and my nephew was thrilled!! Only problem is my 5 year old now wants the same cake for his birthday in November!! Hope you enjoy it too! Here is how I made the cake:
1) Bake: 2 – 9″ round cakes & 1 – 13 x 9 ” cakes (we had A LOT of extra cake so you could definitely bake a smaller sized rectangular cake if you like). Freeze for a few hours to make them easier to carve.
2) Place 1 round cake angled on the board to allow space to add the cockpit on the right and the 2 long elements in front.
3) Using a picture of the Millennium Falcon and a “schematic” of the ship I printed out for reference, I lifted the round cake, slipped a piece of photo paper underneath the front edge and I traced the curve of the cake. I then drew the long element of the ship with a sharpie and cut it out to use as a pattern. I did the same for the cockpit.
4) I laid my “patterns” on the rectangular cake and cut the shapes out with my knife. I placed the pieces on the board, matching them to the curve of the round cake.
5) I now had the basic shape of the ship all more or less the same height. Now, I needed to add the raised levels to the ship. I took another piece of photo paper (because it is thicker & holds shape better), and traced out the round central element and the 3 corridors that lead from it. I then placed my pattern temple on the 2nd round cake – I aligned the back edge of the central circle of the pattern to the back edge of the cake. I carved out the shape, thinned out the cake to about 1/2 thickness and laid on top of the 1st round cake.
6) Now to prep for the lights! I picked up some glow stick necklaces & bracelets from the dollar store in blue and yellow. I used the longer ones to measure for the lights in back and then carved out some cake to allow for two blue glow lights to be added later.
7) Then I trimmed and adjusted the cake until I was satisfied with the basic shape. I had to work on the cockpit the most!
8) Using store bought “whipped” frosting I used a tub and a half to cover the entire cake. This was very satisfying as it finally began to look like a spaceship!
Now for the fondant! I had never rolled fondant and covered a cake before so, I watched some videos by Duff on You Tube first. I also decided as a time saver to buy the fondant. I bought a tub of white “DUFF” fondant and a box of black “Wilton’s” fondant for the details (from Michael’s with coupons). Note: The Duff fondant actually tastes good! It is also much more forgiving for a beginning baker as it stays sift and elastic a long time – the Wilton’s dried up very quickly! I dyed the white fondant grey by kneading in some black food coloring. I rolled it out using cornstarch – it actually took me 2 tries to get it rolled out without bubbles or tears. Lifting it was a bit tricky but, I dropped it on the cake and hoped for the best!
9) I shaped the fondant to the cake starting in the middle and working out. It was EXTREMELY difficult to cover the small area in between the 2 long elements. The fondant tore and icing seemed out – It was a mess! I fixed this by rolling out more fondant cutting it into a thin, long rectangle that covered the entire area and decorated it with spaceship details. I slapped this on and it looked good! My Nephew declared “Oh those are the hyper drive engines” or something along those lines!!
10) Once covered, I busted out the fondant tool set (also Duff from Michael’s and purchased with 50% off coupon). I drew lines to outline each of the basic elements of the cake. Then I went to town and just added the details using the printed images as inspiration.
11) For the guns I covered toothpicks with fondant and modeled the fondant like clay. I did attach the side engines with tooth picks.
12) Finally, I cracked the glow sticks and inserted the 4 short ones in the front like headlights and the 2 blue ones in the back recessed area I had made. This looked awesome but, then the bent blue glow sticks actually broke through the cake and began pulling the fondant up. I had to reinforce the ends with extra fondant and toothpicks to hold it together. In the end it worked out fine.
That’s it! Thanks for looking it was super fun to make and enjoyed by all!
