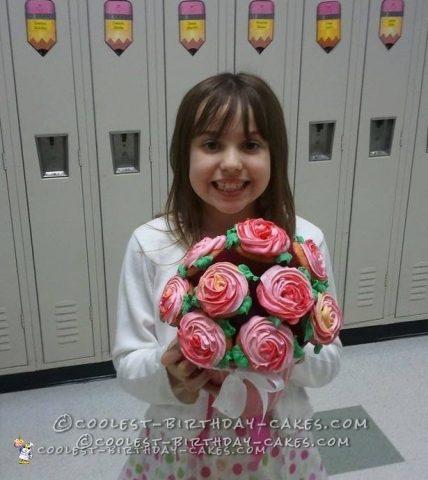
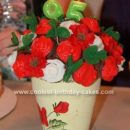
The first time I made this cupcake bouquet of roses cake, it was for my daughter to share with her 2nd grade class for her 8th birthday. They were a hit, but we needed to make two in order to have enough for the class. Transport was tricky. I had to make 2 trips to school with hubby in the passenger seat holding the bouquet. More on that later. Eventually I was able to come up with a great plan that works well and is easy to duplicate.
Materials Needed
- Cupcakes
- Frosting
- Food Coloring
- Piping Bag with Large Coupler
- Either a Wilton 2D or 1M Large Tip
- Piping Bag with Regular Tip
- Leaf Tip
- Planter
- Styrofoam
- Tissue Paper
- Toothpicks
- Ribbon or Bow
- Shoebox
Cupcake Bouquet Directions
- Once you have your cupcakes, it’s time to prepare your planter. It’s easier to frost the cupcakes after they are in place.
- Cut a piece of Styrofoam to fit snugly in the planter and cover it with tissue paper to prevent any from getting on the cupcakes.
- Use toothpicks to secure the cupcakes in place. Use 2-3 toothpicks per cupcake. I found it was easier to place the toothpicks in the Styrofoam and then add the cupcakes, rather than put the toothpick in the cupcakes first.
- Once you have the cupcakes arranged how you like them, get ready to make the roses.
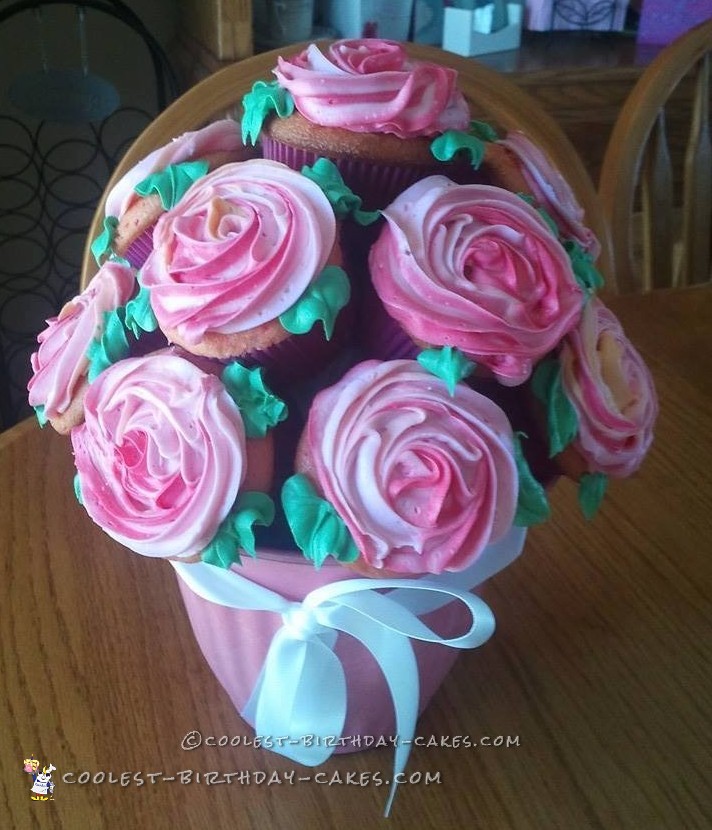
- Using a piping bag with a large coupler and either a Wilton 2D or 1M tip, start in the center of your cupcake and circle outward holding the bag at a 90 degree angle to the cupcake. I like to give my flowers some depth by using 2 colors in the bag.
- I start preparing the bag with the accent color first and put one long strip inside the length of the bag before filling the bag with the main color.
- After all of the flowers are made, then use a leaf tip to add some frosting leaves. Viola!
- Cut a hole in the top of your shoebox that is the size of your planter and tape the box closed.
- Place the planter in the shoebox and now it is MUCH easier to transport.
- Add a bow and you are done.
No one has to know how easy this really was. My daughter was very proud to bring these in to school.
I have since made them for other occasions, including adult birthdays and wedding showers. I hope you enjoy making these as much as I do!
You can also make this with mini-cupcakes – here’s a great example!
