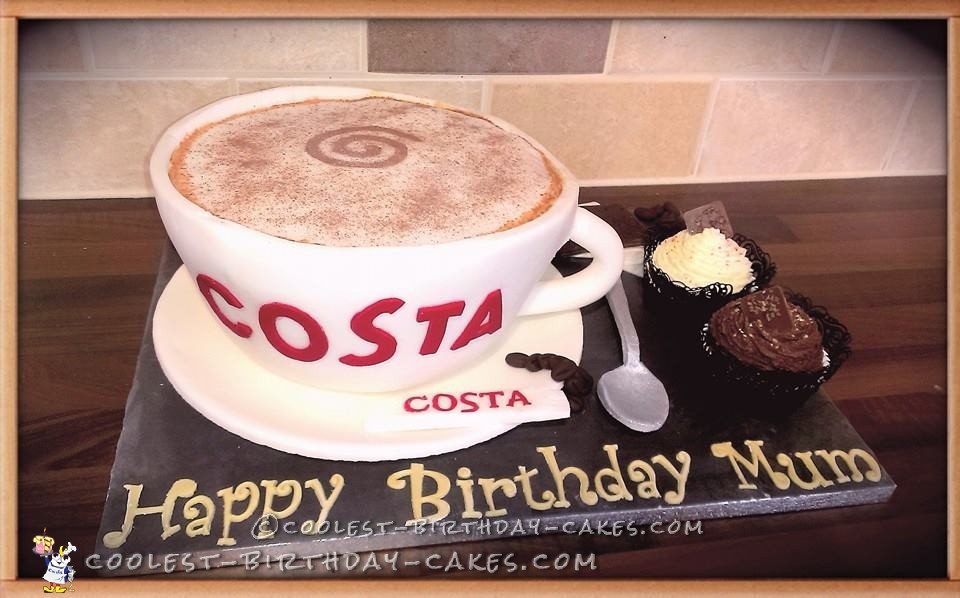
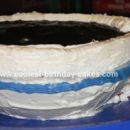
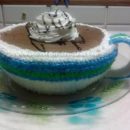
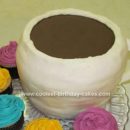
I was asked to make this coffee cup cake by a friend for her mother-in-law’s birthday.
Coffee Cup Cake Instructions
- I baked a large batch of Victoria sponge and cooked it in a large pudding bowl.
- Once cooled, I cut it into 3 layers and spread each layer with jam and buttercream.
- I started with the largest tier shape on the bottom and worked my way up until the smallest tier shape was at the top.
- I put this in the fridge to set for 20 minutes and then covered it all in vanilla buttercream and put it back in the fridge as it is easier to cover with sugarpaste that way.
- The saucer was made by adding gum tragacanth to white sugarpaste.
- I covered a large plate with cling film and dusted liberally with cornflour.
- I rolled out the icing to a required thickness and covered the plate, trimming off the excess icing. (I made the plate 3 days before because I needed it to set.)
- The spoon was also made 3 days in advance by dusting a dessert spoon with cornflour and covering with light grey icing. which I then painted with edible silver food paint.
- I placed the cooled, buttercream iced sponge onto an upturned baking tin and covered it in white sugarpaste to approximately 1cm past the bottom of the cake. This was to create more height on the cup when the cake was turned up the proper way.
- I carefully placed the cake on the icing saucer.
- I then rolled out some more white icing and cut a circle using the same size tin as a template that I had used to put the cake on previously.
- I spread a little buttercream on top of the sponge and placed the icing on top and used a small tool to ease the icing into the rim of the iced cup.
- I used a tiny bit of bronze edible lustre dust, mixed it with a tiny bit of water, and then with a small paint brush, I dabbed all around the edge to create a froth effect for the coffee.
- I sprinkled my cappuccino powder on and used my cappuccino sprinkle template to make the “Swirl” effect on top.
- Once the cup had set a while, I used a medium size plain nozzle to cut out 2 small holes in the side of the cup so that I could attach the icing handle of the cake. I secured it with a little buttercream. This did fall off twice, so I secured it with cocktail sticks and prayed. ;) LOL!
- I coloured some more sugarpaste a dark brown and a small amount a light shade of brown.
- I made some cocoa beans using the dark brown icing, and then made a large “Bourbon” biscuit.
- I also made a simple serviette from the white sugarpaste, rolled it quite thin, folded it slightly uneven, and ruffled a tiny bit.
- I placed the Bourbon biscuit on top.
- I made a simple sugar sachet from white sugarpaste and used one of my letter tappits for the “COSTA” wording on the sachet.
- I used my largest letter cutters for the wording on the cup. All straight forward letters, but with the letter “S”… I pulled in gently top and bottom at the same time to stretch the letter and trimmed a tiny straight bit off each end to try and make it look the same.
- I made a batch of red velvet cupcakes and decorated them, adding two on the cake board next to the cup.
I took the rest of the cupcakes to work for the ladies I work with at the Infant School.
The spoon did break, but I luckily I made a spare. (I had a feeling I was going to need it… lol.)
