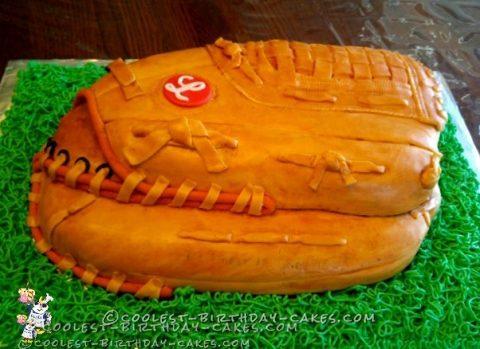
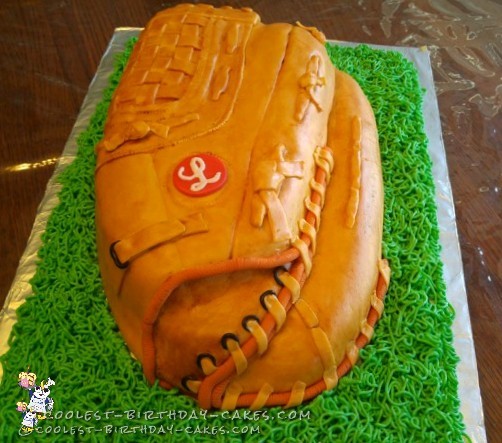
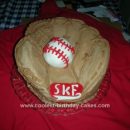
I made this baseball glove cake for my little man who was turning 2. He lives, breathes, and loves baseball, so naturally, I had to make him a sweet cake.
I’ve made ball cap cakes in the past, but thought I’d go with something a little more challenging, so I dug out my old glove and got to work.
Baseball Glove Cake Instructions
- I started with two 9×13 pans of devil’s food cake (with chocolate pudding mixed in of course).
- I cut them in half for the filling, but one was too thin and broke all to pieces, so we made cake balls with the spoils and I did the top layer with yellow butter cake for the (weird) non-chocolate lovers in our families.
- After a night in the freezer, I trimmed the two layers to their respective shapes and then filled and coated them with buttercream frosting.
- My next step was to cover the cake with homemade marshmallow fondant. I started out with a gold color which made it look exactly like cheese, and then added a little copper and brown for a nice blob of flesh.
- I had fun with the basket weave and lace details and was happy to try out my new clay/fondant extruder for the trim. It turned out just as I had hoped.
- I tried writing “The finest in the field” with an edible marker, but I have horrible handwriting and it didn’t look good, so I wiped it off, but you can still see it a little, which kind of gives it a cool, worn look.
- Speaking of which, the last step I did was take some vanilla and mixed it with some brown and copper coloring and I ‘painted’ it on and dabbed with a paper towel to make it look more like dirty leather.
- Our kids get into everything, so instead of putting the leftover buttercream in the fridge, I used the rest around as ‘grass.’ A few kids at the party just wanted the grass. Our 2 year old however wanted to touch and poke and play with the mitt.
- I also had some extra fondant that I made a baseball out of to go with the cake, but another kid wanted to see how hard it was and put a nice finger hole in it right before.
