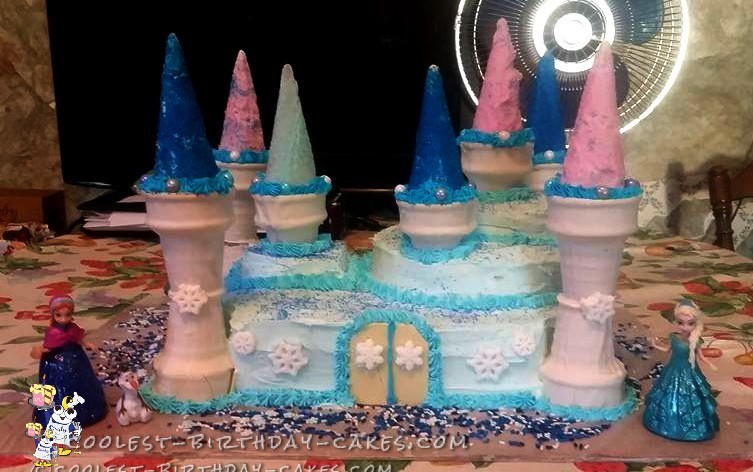
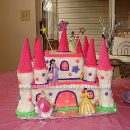
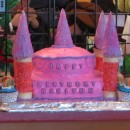
My daughter recently turned 7 years old. She’s in love with the movie, Frozen, as is the rest of the world. This was the most fun I’ve ever had making a cake. Though it was my very first castle cake, it came out great!
Castle Cake Instructions
- The cake was Funfetti (2 9″x13″ and 2 8″x8″ rounds, trimmed).
- The icing was Classic White, which I made a light blue color and darkened for the accents.
- I made the towers with cake and sugar cones.
- I dipped all of the cones in vanilla candy coating.
- The sugar cones I coated in sugar sprinkles- but, I learned a lesson after the first one. I had to let them cool a bit before rolling them in the sprinkles. The candy coating on the first sugar cone was still too warm. It just clumped up with the sugar sprinkles and fell off. It was a mess. So, I dipped another one and let all of them cool until they were just tacky. The process went smoothly after that. Some of them dried with bumpy areas, but it was no big deal.
- To assemble the towers, I just used white icing as glue.
- To add flair, I used snowflake sugar charms, Sixlet pearls, blue sugar sprinkles, blue and white snowflake sprinkles for around the base, a white chocolate bar, which I cut and shaped for the door, and characters from the movie (which my daughter can now play with).
All in all, it was a blast and I got so many compliments that I lost count. I even had someone ask how much I would charge to make one for her daughter’s birthday. All that matters is that my daughter was super excited about it and said she loved it. It was a happy birthday!
