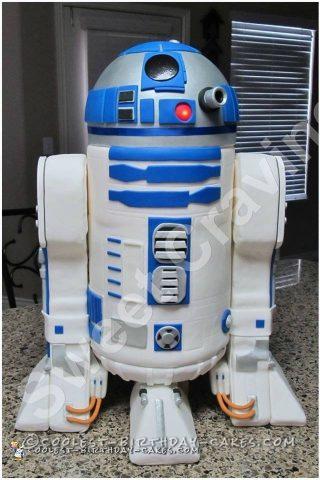
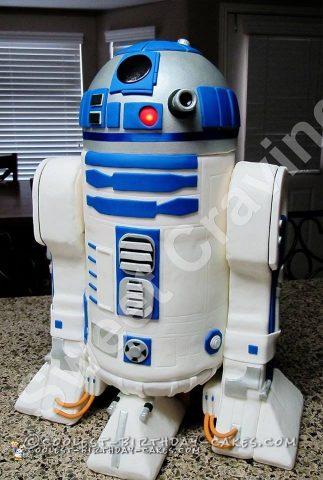
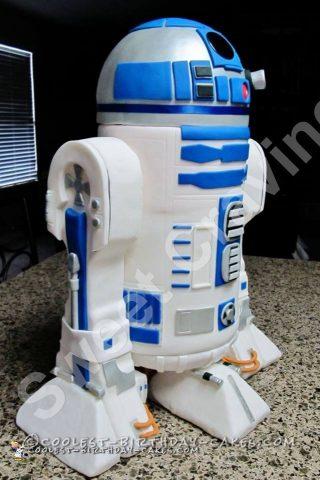
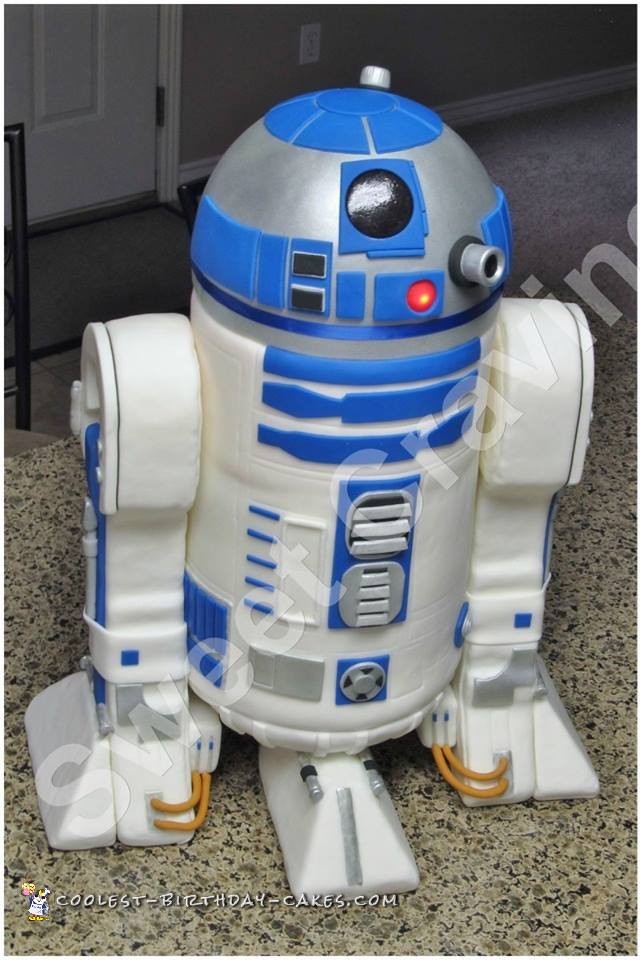
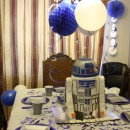
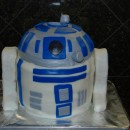
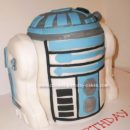
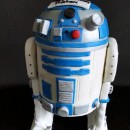
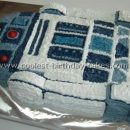
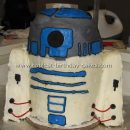
I’m very new to cakes so when my son came to me and said he wanted a R2D2 Star Wars cake for his birthday, I felt panicked. I thought no way can I make R2D2. After I wrapped my head around it and thought, “let’s give it a try,” I decided to take it one step further and that’s when I said to myself, “Go big or go home.”
I knew this cake was either going to be my biggest accomplishment or my biggest failure so far.
R2D2 Star Wars Cake Instructions
- The first thing I did was research lots of pictures of R2D2 so that I knew the details that I needed to add to him.
- I baked all my cakes and then the fun began….and the stress.
- The head and then entire body were made from cake.
- The legs were made from Rice Krispie treats and covered in buttercream and fondant.
- I hand cut all the pieces for the detail by hand and hoped they would fit to scale.
- I used an airbrush for the first time to achieve the silver color on the head.
- Any of the pieces that I wanted shiny or glass looking I brushed with corn syrup.
- I wanted the head to really light up, so I used a light bulb that I bought at a local craft store in the floral section.
- After carving out a section of the cake, it fit nicely and I covered it up with a piece of fondant.
I think the part that I struggled with most was the legs. I needed them strong and secure enough to help hold the weight of the cake. I’m not sure how much the cake weighed but it was extremely heavy. I used lots of supports and wooden dowels to be extra safe.
Now for the cool factor and the part I was most excited about… the sound. I bought a voice box that made the noises R2D2 makes and added it to a board under the cake. Once that was attached you could push the button on the cake and it had sound.
The cake took me over 30 hours from start to finish. I was so proud of the cake and most important was the look on my sons face when he saw it. It sure was a birthday he will never forget. I learned so much from this cake. Patience was for sure one of them.
