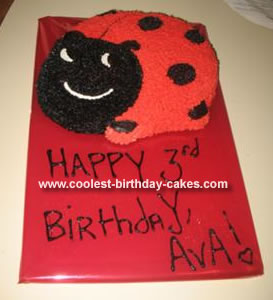
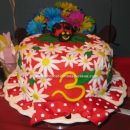
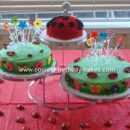
Our daughter, Ava, who just turned 3, asked mommy to make her a Ladybug Birthday Cake this year. I was more than happy to do that for her!
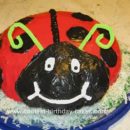
I bought the Wilton ladybug cake pan, and used the Wilton cake release spray…(which worked really well, the cake didn’t stick at all). I used your standard store bought cake mix; we used chocolate, and baked the cake per normal directions. Let the cake cool for 10 minutes on a cake rack as soon as you pull it from the oven.
After 10 minutes you can hold the cake rake against the cake and flip it to release your cake, and the ladybugs face will be smiley side up. Let the cake cool for 1 hour before you begin decorating. I did make buttercream frosting, but in the future I will just buy the Wilton premade frosting, as I found it sticks better to the cake and is easier to make stars. The buttercream frosting does taste good, but isn’t as good to work with. The Wilton frosting is perfect! I used the Wilton red and black concentrated color “no taste” paste, to dye the frosting black and red. I used the buttercream frosting to dye red, and the Wilton premade chocolate frosting to dye black. I just followed all enclosed directions for the piping. I used tips #3 and # 16.
It was a really easy design to do, and this was my very first cake I ever made like this. My daughter really wanted a ladybug, so I had to do it for her! As you can tell, even a person with no cake decorating experience can follow directions and make a beautiful cake! I put red foil wrap around the cake board to make it look pretty for the background. Then I used black glitter decorating gel to write my daughter’s name and happy birthday.
This cake was a big hit with the family, and our daughter loved it! I now have other family members asking if I will make a cake design of their choice when the time comes! I think this is a fun thing to do and means more than just buying any old cake from a store!


Your comment has been sent successfully.