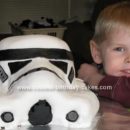
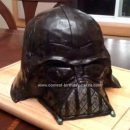
I was asked by my co-worker for a last minute 3D Storm Troopers helmet cake. She wanted a birthday cake for her husband, and he loves Star Wars. She showed me a picture of what she wanted, she gave me a warning beforehand and said she wanted something “different”. When I finally saw the picture, it was as Storm Troppers’ helmet cake. My eyes opened wide, and I thought to myself, “no way” “that is way too complicated”. I told her I would think about it before I said yes or no.
Me being just a self taught home baker, I never did anything like that, it would need me to carve, shape and mold something out of cake! It blew my mind. :) After looking online, seeing a few websites that showed step by step pictures of how others made this cake.. I went for it!
How I Made the Storm Troopers Helmet Cake
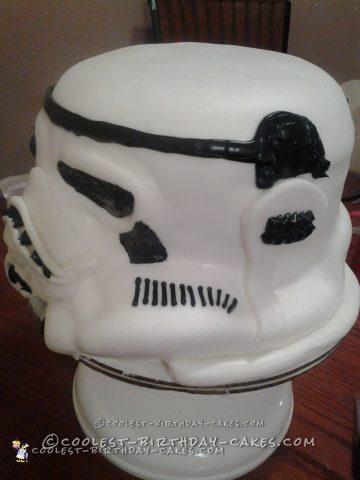
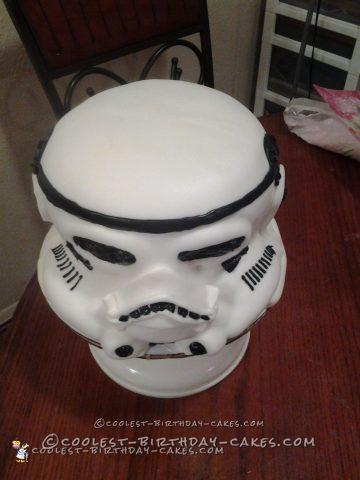
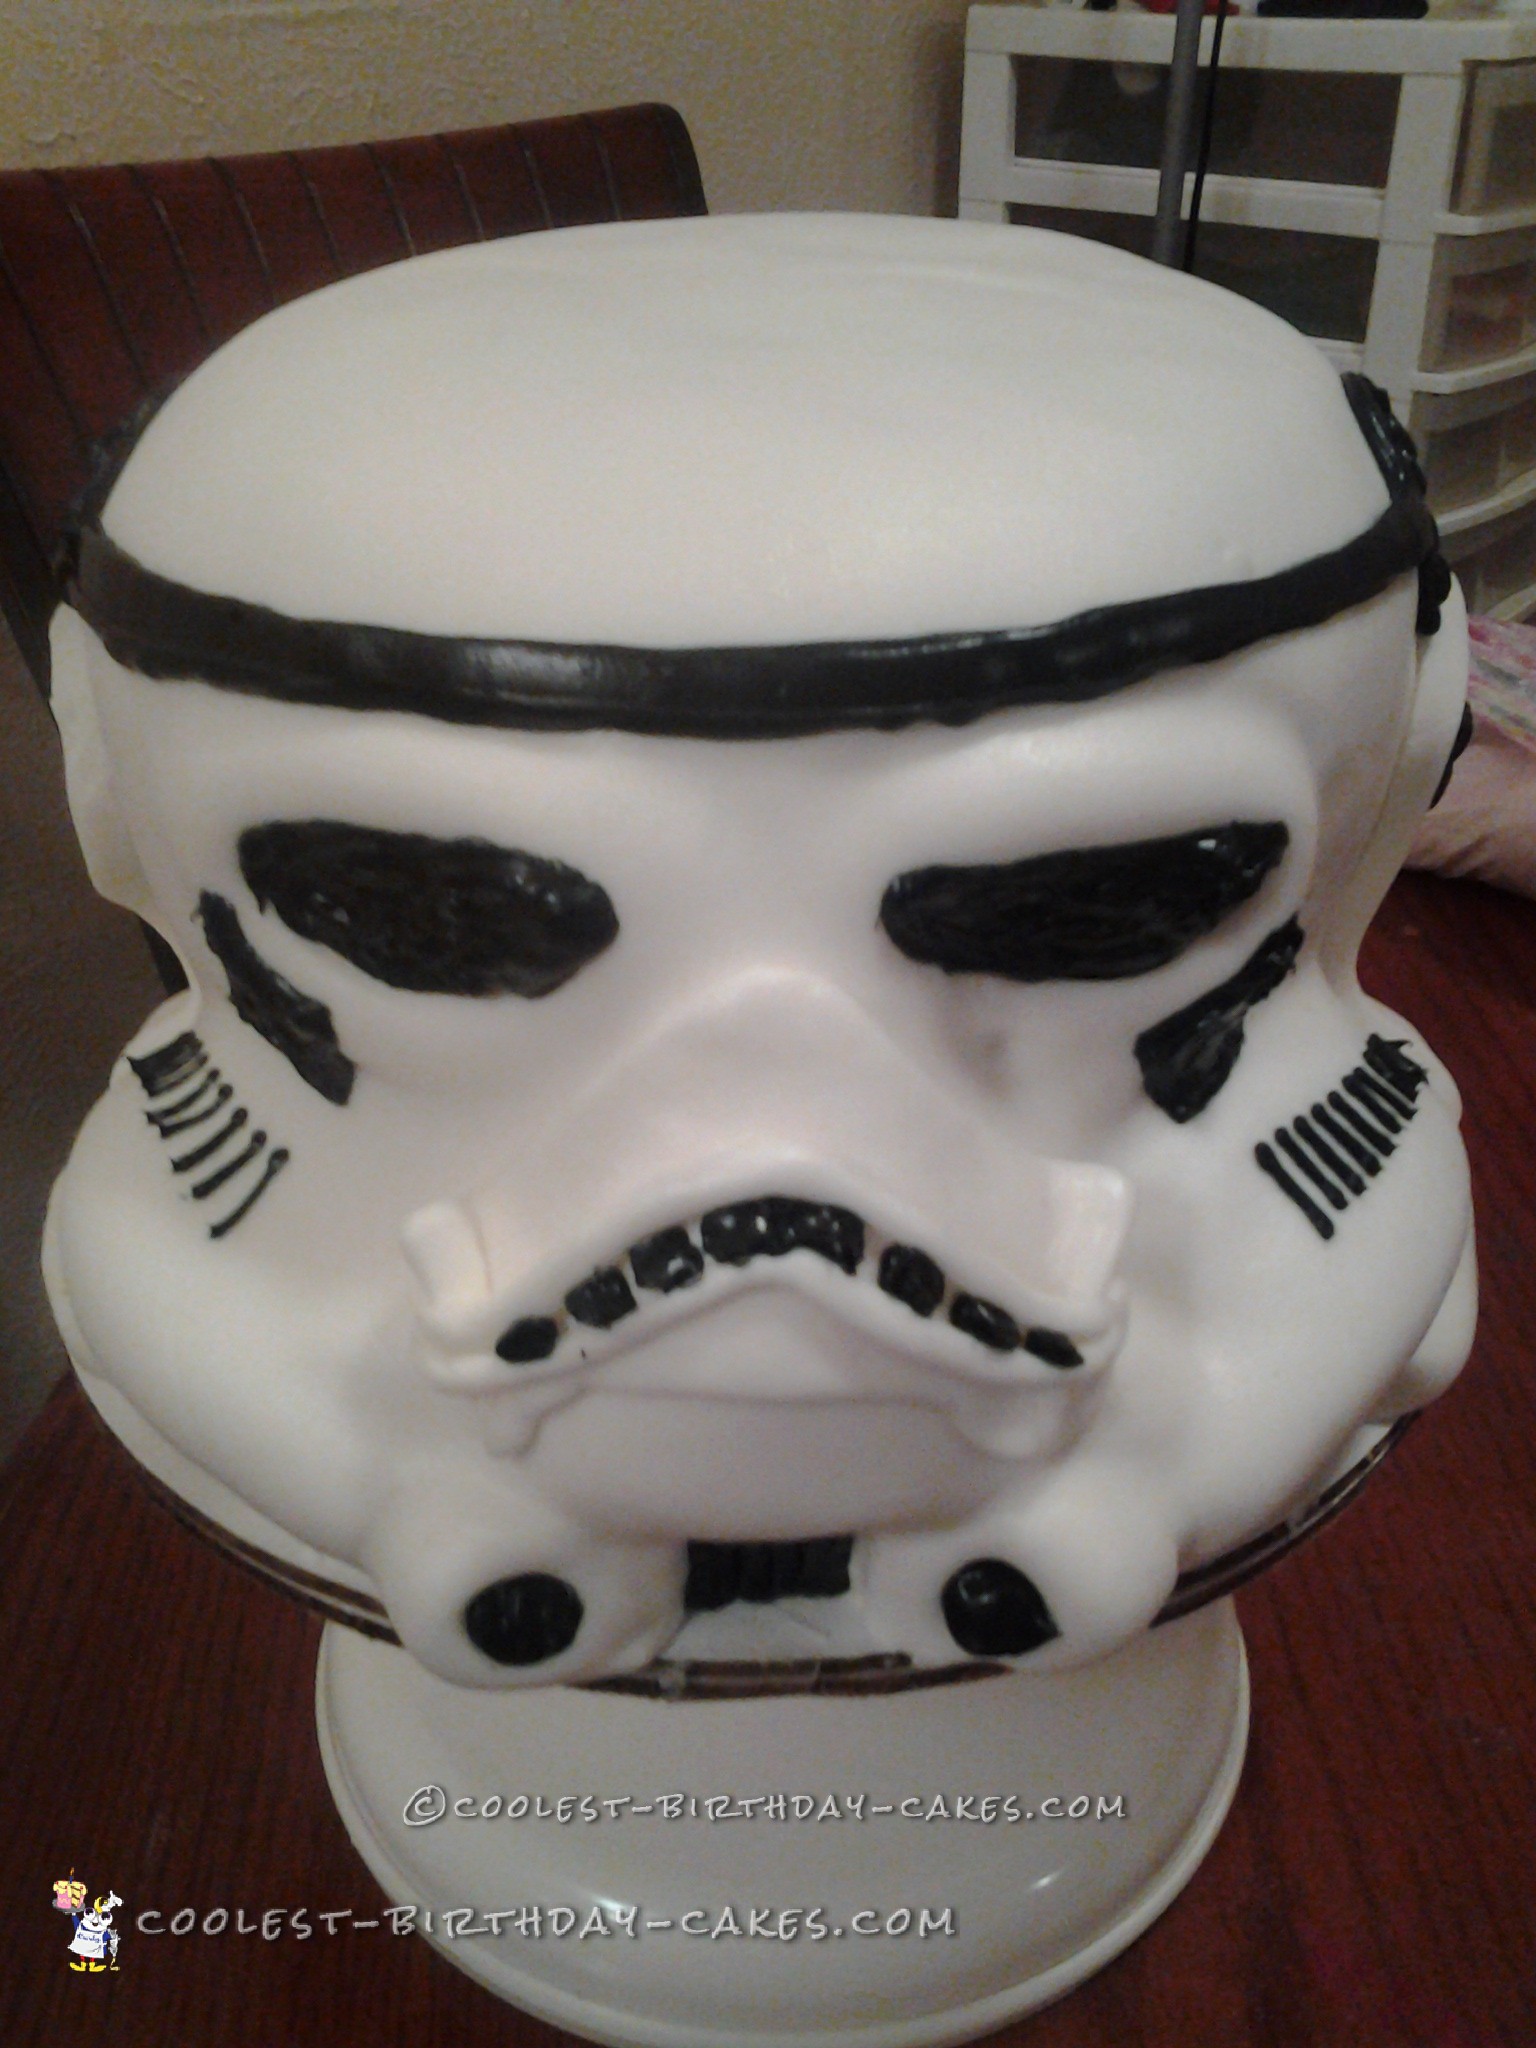
I usually use swiss meringue buttercream on my cakes, but I opted for regular butter cream for this one, I needed sticky, strong frosting “glue”. I baked 2, 8 in round cakes, 1, 6in round cake, and 1 cake in my large pyrex bowl. It’s kind of similar to when I make a princess dress cake, it was the same shape basically. After they baked, I put the 2, 8 in round cakes on the bottom, then the 6 in cake, and topped with the “bowl” shaped cake.
I cut a little piece off the 2nd to the bottom 8in round cake and used this to be the front 2 protruding pieces (sorry I didn’t take pictures step by step, I sure will if I ever get this cake request again). Then I did buttercream all over for the crumb coat. I put in the fridge to firm up. I made LMF fondant for the first time and it worked beautifully, and was such an ease to work with. I normally make homemade fondant, but never had the clean professional like results, but this was so much easier to work with!
After the fondant was all made, I draped over the cake, and pressed along the sides. I added fondant all to the front to make the “mouth piece” thing. I used chocolate “can” frosting and tinted it with black food color and pipped on the eyes, and all other black parts of the cake. I used tip # 104 since that is like a flat effect when pipping. I was so proud of myself, I took on the challenge and was very pleased with the results!

Your comment has been sent successfully.