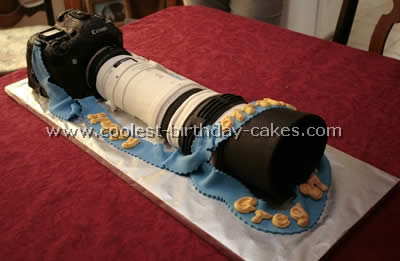
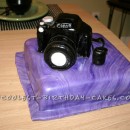
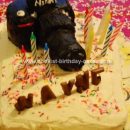
Here’s the story behind my camera birthday cake design idea. My brother is a professional photographer and his favorite camera is the Canon 5D and his favorite lens is the Canon EF 100-400 Telephoto. When I thought of birthday cake design ideas for him I decided to make him a cake with this theme in mind. I have never done anything like this before so bear with me.
The camera is a four layer chocolate Kailua hazelnut cake filled with buttercream. I froze the layers and carved them to match the camera (from zillions of photographs I got online). The cake is covered in dark chocolate fondant with black food coloring. The glass portions of the cake are made by melting Isomalt sugar (line a jelly roll pan with aluminum foil, grease well with Crisco, sprinkle the amount of “glass” you need, melt in 350 oven for 10-15 minutes or until bubbly, then it cools a bit *quickly* and cut out the shapes you want. As it dries you can snap the pieces out. (make extra just in case). The lettering is done with Wilton silver Shimmer Dust combined with clear vanilla to make a sort of paint.
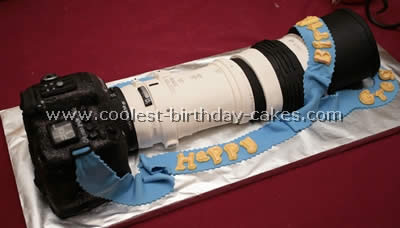
In the viewfinder I had a photo printed that would fit and cut it out to size. I cut out a piece of waxed paper to size and put it behind then fastened it to the cake with toothpicks then lined around the sides with the black fondant. The black lens is a separate cake cut round to resemble the part of the lens that does not come off when adding the telephoto lens. The camera has various textures so I pressed a paper towel onto the parts where the hands go, where the real camera has a textured area and I sprinkled the Wilton black sparkles onto the areas where it is a shiny surface. I did this on the buttons too except those buttons that were silver, those got painted.
For the lens I made two large pumpkin rolls filled with cream cheese and pastry-pride filling (Smart and Final carries it). I froze them and then frosted them smooth with the buttercream. Then I covered these with white fondant (I like Satin Ice). The details are made with the same white and black fondant already used and the silver details are made with the same silver “paint”. The lens shader is dried fondant. Plan ahead. It takes a long time to get it dry enough to use. If you don’t have that much time or you need a replacement the five pound Satin Ice container makes a great foundation that you can cover with the black fondant. The glass lens on the telephoto part is also made with the Isomalt sugar.
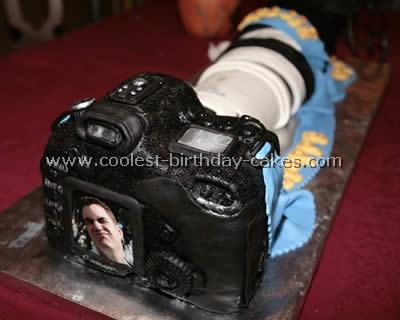
The strap is white fondant with food coloring and the letters are made with the Wilton fondant molds. Grease each letter well with Crisco before molding or they won’t come out and be prepared for lots of detail work to trim the excess. This cake took me three full days to finish. One day for baking and freezing and two full 12 hour days to decorate. Some lessons learned: work in a cool or cold kitchen. My chocolate fondant became too soft in my warm kitchen and got “round” at the bottom corners of my camera. Refrigerate the cake often to re-cool. (I made my wood base too large for the refrigerator and luckily it was cold outside so we stored the cake in the back of our Suburban.) The roll cake, don’t use much filling but instead make more cakes to roll up. My filling didn’t provide enough substance and the lenses weren’t as perfectly round as I’d planned. Make your base the size of your refrigerator. As I said mine was too large for the shelf in the ‘fridge. Mine turned out very heavy too so be prepared. All in all it was about three feet long.
Thanks for all the great birthday cake design ideas on this site!
