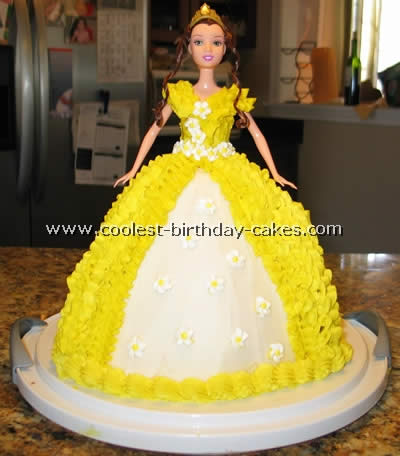
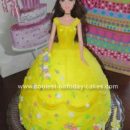
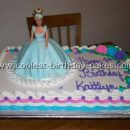
I got a lot of inspiration from other Bell birthday cake pictures on this site. I made this Barbie doll cake for a friend’s four year old daughter. I used a Belle doll, the Wilton Wonder Mold pan and two 8″ layers underneath. I used two yellow cake mixes plus one box of vanilla pudding for each mix.
The frosting is Wilton’s butter cream recipe which is a half a cup of shortening and a half a cup of butter creamed with one teaspoon of vanilla and four cups of powdered sugar. It works great and holds its consistency after being piped. I made the flowers using a drop flower tip and royal icing.
If I did it again I’d add a cardboard cake round and some straws or dowels inside the base 8″ layers to support the doll cake on top.
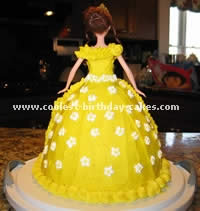
More Belle Birthday Cake Pictures
Birthday cake picture by Adele K., Hampton, VA
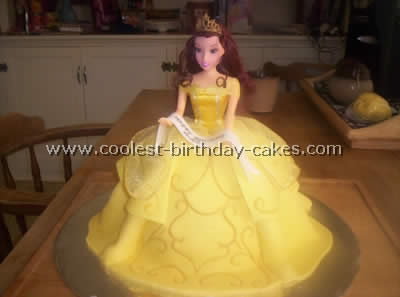
This Belle cake was made using the Wilton Doll pan. The doll pick was used, however we took the head from Belle and replaced it on the pick to make her more realistic. The design on her dress was created using fondant and molds to create her pretty design on the front panel of her dress.
To achieve the gold detail we used a fine paintbrush to wet the area and then applied gold shimmer dust. This was our first attempt at a doll cake and we were very pleased with the result. Thanks for all the great birthday cake pictures on this site.
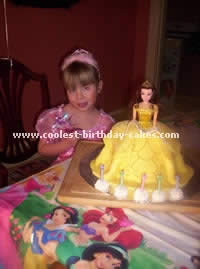
Birthday cake pictures by Brooke C., Jackson, MO
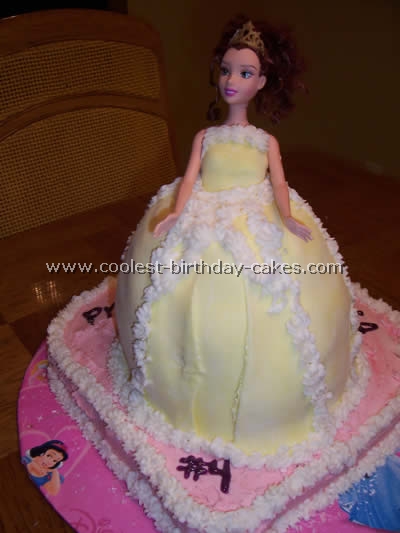
When I went to a Pampered Chef show last summer, I wanted to buy the bigger version of a batter bowl I had been given for Christmas. It came with directions to make a “doll cake” and I thought that my daughter, Eva, would just love that. We visited this site a few months before her birthday, looked at many birthday cake pictures, and she decided she really liked the doll dress cake and wanted the one that looked like Belle (from Beauty and the Beast) for her 4th birthday princess party.
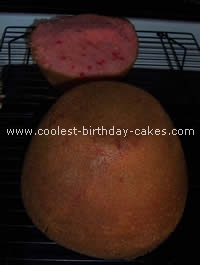
To create the cake, I followed the instructions from Pampered Chef: you bake 2 cakes in the batter bowl, cutting off part of one and then layering the rest to give the dress the right height. I put my “dress” on top of a heart cake (made from a square and a circle cut in half) so I could have two different cake flavors (the heart was chocolate and the dress was strawberry).
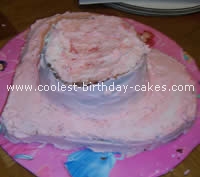
I read a hint in Parents magazine several years ago that I have used ever since when making cakes: add a box of instant pudding and an extra egg to the mix for a denser, moist cake. I think it also made the cake “sturdy” for the building I was going to do., I placed the cakes on a round cardboard cake board that I wrapped with Disney Princess wrapping paper.
I made buttercream frosting following the Wilton recipe in my old cake decorating set (that I had not used in quite a while as I have made cupcakes for all her previous birthdays).
I frosted the cakes and then inserted a clean, brand new Belle Barbie doll. I wrapped her legs in Press and Seal so she would slide in easier (I didn’t include the birthday cake pictures of her looking like she was popping out of a cake at a bachelor party, but it was pretty funny before I put her fondant bodice on!).
I purchased ready-made yellow rolled fondant to create layers of Belle’s dress. I rolled it out and applied it in triangles, then piped white icing between the triangles, trying to create the look of lace or layers of petticoats beneath the panels of the dress.
I finished it off by writing “Princess Eva #4” in purple gel icing on the heart. I was very happy with the end result (since I am not much of a cake decorator) and my daughter was THRILLED! I was happy I didn’t decide to get it from a bakery or even use the Wilton kit (then I would have a $15 one-use kind of pan and a doll pick instead of a Barbie my daughter can now play with).
I stored the cake in the fridge until it was time for “Belle” to be transported to the park for Eva’s party. We successfully made it to the party but be warned, the finished product of this cake is heavy! To slice the cake, we took Belle off the heart cake, removed the fondant triangles and cut wedges as if it were a two layer round cake. Have magical birthdays and thanks for sharing all these great birthday cake pictures! :)
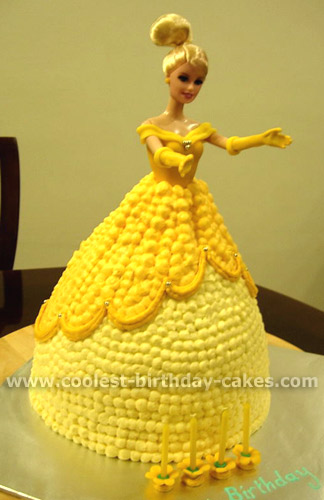
I made this for a little girl who absolutely loves Belle.
Prepare the cake for the gown using doll mould and round cake. Prepare 3 shades of yellow buttercream icing. Prepare the doll by molding the top using fondant icing. I coated the arms with royal icing for a formal look. Leave to dry for a few hours. Crumb coat the cake with light yellow. Using toothpick, outline the gown frills, then fill with darker shade of yellow buttercream. Add details accordingly.
Birthday cake pictures by Dena C., Carolina Beach
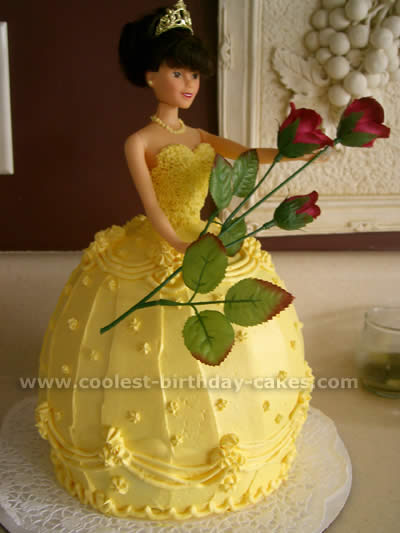
I baked two cakes using the Pampered Chef Large Batter Bowl. Invert one and cut off about 2 inches of the smaller end (use this for the base). I then balance the 2nd cake upside down on top of the 1st portion.
You have to level the tops off to make them fit together nicely. I then cut a hole out in the center to make room for any Barbie size doll. Decorate so as to look like Belle.
I got lots of inspiration from the birthday cake pictures on this site!
Birthday cake pictures by Jaime M., Freehold, NJ
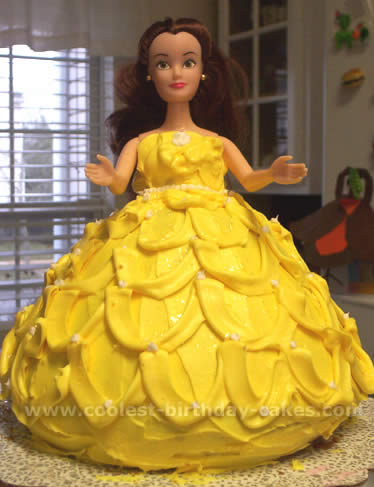
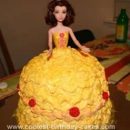
This cake was part of a Disney princess theme I did for my daughter’s birthday. I used a Wilton doll cake pan. The icing is colored and decorated to match Belle. Everyone loved it!
