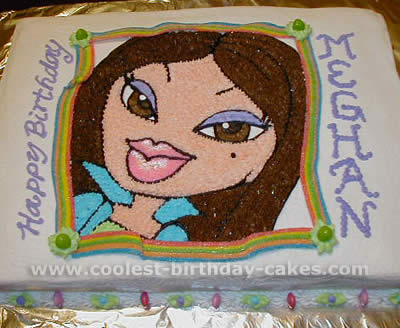
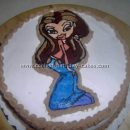
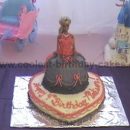
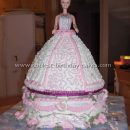
A friend of mine wanted to surprise her daughter with a Bratz cake; this is when my work began. I only had stipulations to make her with brown hair and blue eyes.
I enlarged a picture of a Bratz that I thought fit her daughter and then cut it out. Using the outline I traced with a knife and then drew the rest freehand.
More Bratz Cakes
Cake by Brandy B., Weatherford, TX
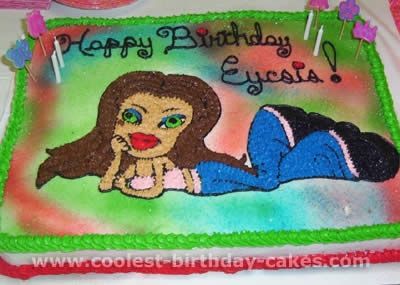
For this cake, I used a 13X11 pan, 2 Betty Crocker golden mixes, and homemade buttercream icing. I googled Bratz images, enlarged and cut out the picture for the outline and traced it into the frosting. I let my daughter pick out all the colors and piped in the colors with tip 16. Background is sprayed on and covered with sparkly sprinkles!
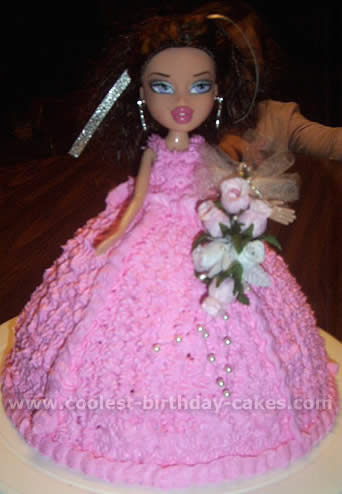
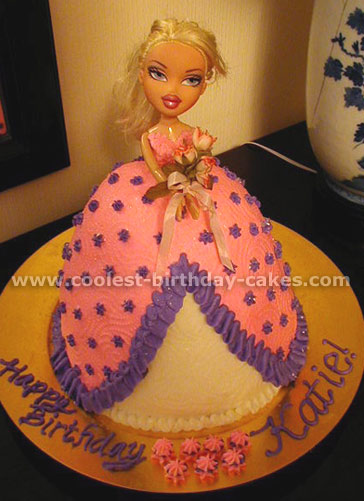
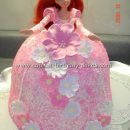
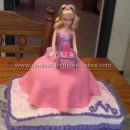
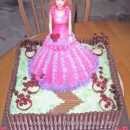
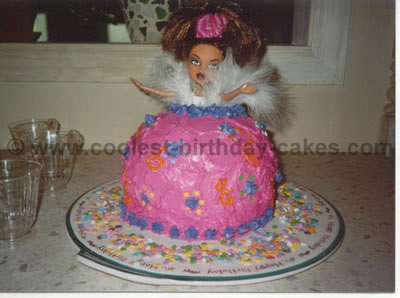
My niece wanted a Bratz doll cake, so here is the one I made.
The skirt of the doll cake was made with the Wilton Wonder mold. I then inserted a Bratz doll into the hole; you will have to make the hole a little larger, depending on the size of the doll. Also, I put plastic wrap around the bottom half of the doll, so cake doesn’t get everywhere on it, and it can easily be removed and played with.
I then just used the Wilton ready-made icing (I was running short on time). I colored it to the desired color, and just started icing. I used the drop flower tip, because I am still learning, and it seems to be one of the easiest to me. I pulled her hair back in a ribbon, to keep it off of the icing and attached a thing of flowers to her arm, and she was ready to go.
Cake by MaryKay C., Kiev, Ukraine
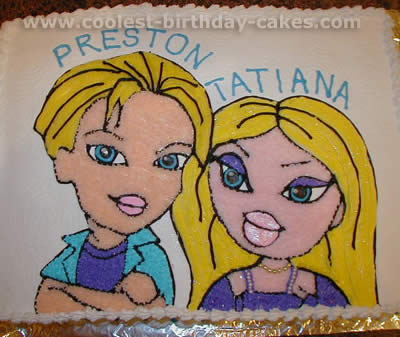
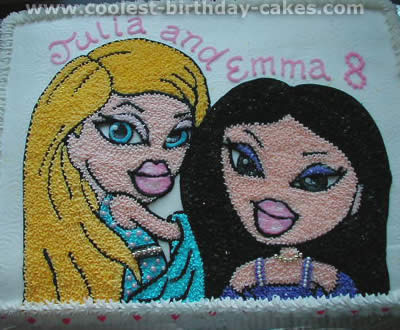
Two different cakes – one made for 7-year old twins and another made for 8-year-old classmates who share the same birthday.
As with virtually all sheet cakes I create, I found an image on the computer, then print and enlarge it (in the case of the boy/girl Bratz I had to combine two images).
Then trace onto wax paper. After that I re-trace with gel, then transfer to frosted cake after the icing has had time to set. Then outline with buttercream icing and fill in with star tip.
(In case you’re curious why I make so many cakes: I do them for my own daughters, but I also enjoy cake decorating as a hobby. Cakes like the ones below were done for friends’ children. I ask for a donation for each cake, which I then give to a worthy cause here in Ukraine. That way I have fun making the cake; the parents get an American-style cake, which is hard to find here in Kiev; and a charitable cause benefits as well).
Cake by Deneen L., Stratford, CT
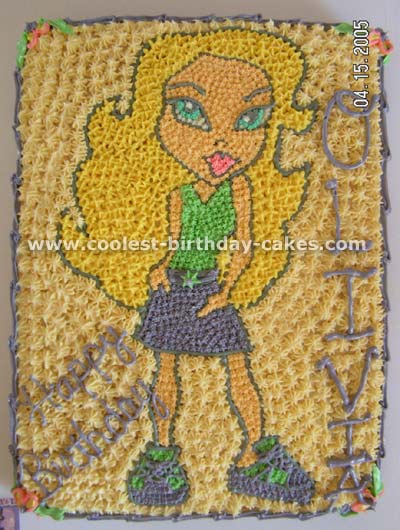
Olivia wanted a Bratz doll on her cake – so we found a picture on the web just browsing under Bratz toys, copied it off and enlarged it to fit an 11 x 15 pan.
We traced around the lines of the picture with a paring knife on top of the crumb coat, piped around the outline and details with black frosting and then filled in each area with the appropriate colors.
We added a line of decorative frosting to the base and finished off with our greeting!
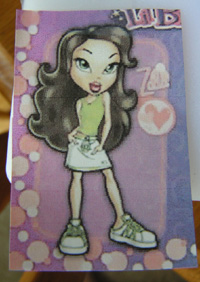
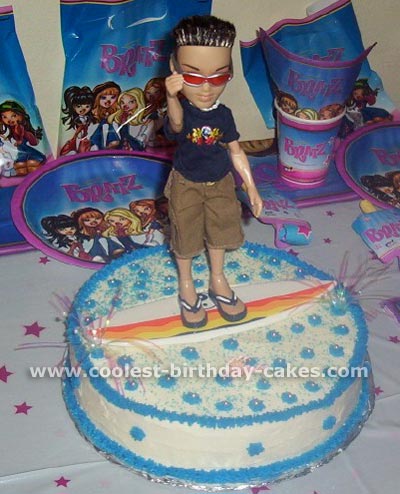
Cake by Christy M., Fort Worth, TX
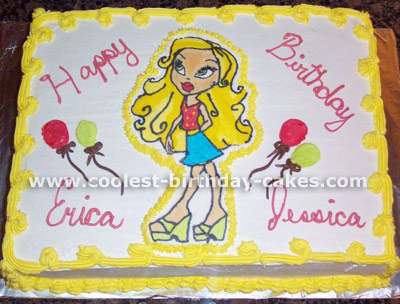
This cake is an 11×3 strawberry cake mix with butter cream icing. The Bratz itself is a Frozen ButterCream Transfer (BCT). This technique is amazing!
This is how you do it: First you get your picture and tape it down to a board. Next get a piece of wax paper and tape it on top of the picture. Get your butter cream icing and add all the colors you need. Start with your outline. Start outlining your picture and stick in the freezer for about 10 minutes. Then take it out and add all the other colors. Make sure that any detail the picture has like eyes, eyebrows etc. are done at the same time as you outline.
Once you add the other colors to your picture stick it back into the freezer for another 10 minutes. Take your picture and cover the entire back with white icing pressing down softly. Stick it back into the freezer for an hour. Carefully and fast take your picture and flip it onto your cake (carefully pull back the wax paper).
If you want you can add a border with a shell tip or round tip. Once it is taken out of the freezer you only have seconds to get onto your cake (it melts fast). If it gets too soft, stick it back into the freezer and let it get hard again.
This is the recipe to the BCT: 1 cup Crisco (Do not use high-ration shortening, you need a stiffer consistency), 3 sticks butter (real butter, good quality) 2 Tsp flavoring (I use 1 Tsp clear vanilla, 1 Tsp butter flavoring), 2 pounds powdered sugar, sifted several times (I sift 5 times). Cream the butter and shortening well).
Next, add the flavoring. And then slowly add the powdered sugar. Mix on 8-10 speed for approximately 5-10 minutes for a smooth consistency. The length of time depends on the weather/atmosphere at your house.
Cake by Sandra B., New Brunswick
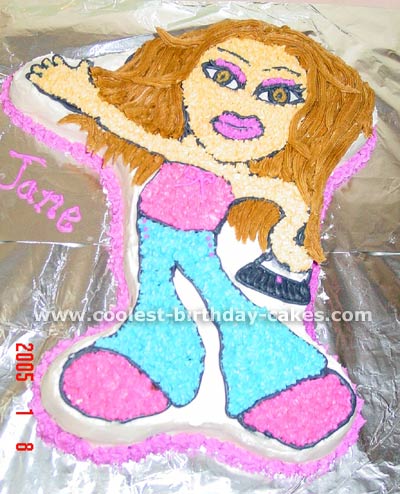
I used the Mickey Mouse cake pan for this cake. I cut off the ears and just adjusted the hands to contour the Bratz girl. I used 1 cake mix.
Cake by Cheryl S., Cortland, OH
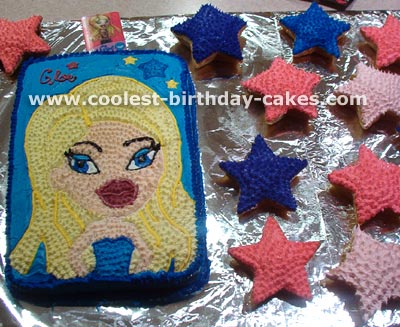
My daughter was so crazy for Bratz and there was nothing out there yet so I made an original.
I baked a 10X13 regular betty Crocker cake, and let it cool overnight. I then scanned a copy of Cloe (a Bratz girl) to use as a template (I got the picture from one of my daughter’s Bratz books and resized it to fit the size of the Bratz cake).
I cut the outline and placed it on the cake. I used a toothpick to outline the girl’s head. Then I cut off her hair to outline her face, and continued to cut off other parts to make lips, eyes, etc. I used # 3 tip to outline in whatever color that area was going to be and then used a star tip to fill in.
The cake was chocolate, but since some of her friends liked vanilla, I made star cupcakes from a Wilton pan and made them in matching colors of the party theme.
We decorated with stars and a disco ball and had karaoke. They are still talking about the party and cake even 2 years later.
Cake by Kristi G., Wichita, KS
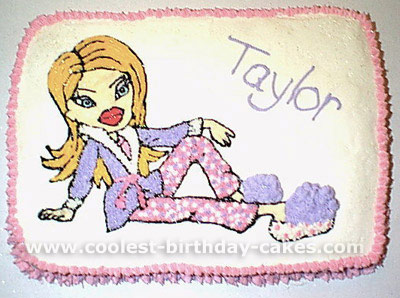
I made this cake for my niece who loves the Bratz dolls!! I could not find any Bratz cake pans or anything so I just found a Bratz coloring page, which I enlarged to the size I wanted.
I baked the cake and frosted it with white homemade butter cream frosting and let it dry for about 20 minutes. I then laid a piece of wax paper over the Bratz picture and traced it with black tinted piping gel and then transferred the picture onto the frosted cake. I did have to fill in where it did not transfer very well, but it was pretty easy to follow the outline.
I frosted the hands, ankles and face first by just working with the frosting to get it as smooth as I could. I used some cornstarch on my fingertip to help smooth it out without it sticking to everything (the cornstarch will blend in with your frosting color if you do not use to much).
I did the same with the eyes and lips, just tried to get it as smooth as possible. I used more of the black piping gel to outline what I had frosted over on the face and to do the Batz eyebrows and eyelashes.
I then frosted the hair by using a star tip and dragging the star out to make ridged waves in the hair.
I used a star tip #16 to fill in the robe, shirt, pants and bottom of shoes in the colors I wanted to use. I then went in with star tip #14 and put in some small white stars in the robe and white and purple stars in with the pink pants.
I used a larger ridged tip for the fluff on top of the shoes. For the belt I believe I used a tip 101 and did a knot instead of a bow for the Bratz belt. I then did a larger star tip for the border.
You can use any colors you like. I used a beige color for the Bratz doll’s face and hands. My niece and everyone at the party loved this Bratz cake! In fact I will be doing another Bratz cake (with dark hair this time and a different pose!) for her next birthday!
