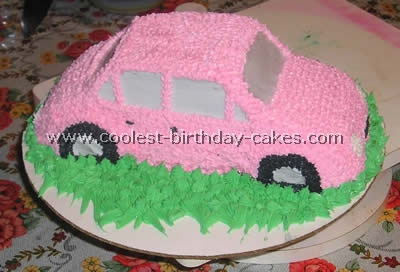
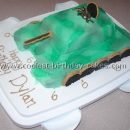
This cake decoration was made for my niece for her sweet 16. She asked for a car for her birthday; well she got what she asked for in pink. I used the 3D car pan from Wilton, buttercream frosting and just followed the picture for what it should look like. Every thing is made out of Wilton’s buttercream frosting.
Fun Car Cake Decoration Idea
Car cake by Laura F., Belleville, Ontario, Canada
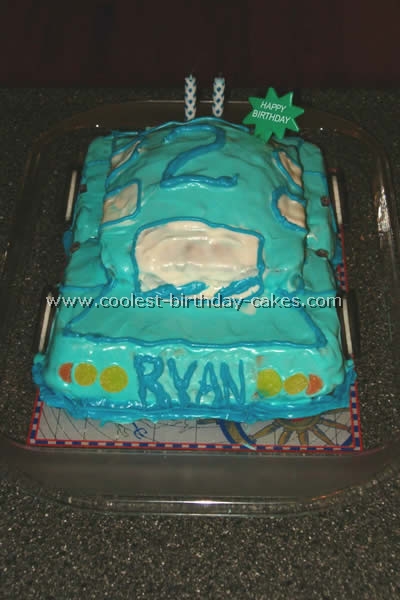
My son was really into cars and trucks so we decided to go with the car theme for his 2nd birthday. I created this cake out of 3 loaf pan sized cakes. I placed two on the bottom side by side using icing to hold them together. Then I used the third centered on the top to give it the look of a sedan. I used blue icing to cover the car, white for the windows and then trimmed the windows with a different shade of blue. I used sliced jujubes for cake decoration as the lights, door handles, and windshield wipers. Oreos were stuck to the sides for the wheels. I used my son’s name for the license plates.
Coolest Wilton 3D Cruiser Cake
Car cake by Carey F., Langley, BC, Canada
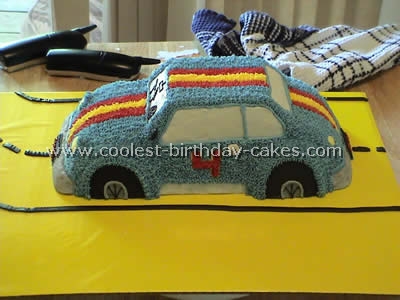
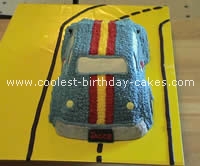
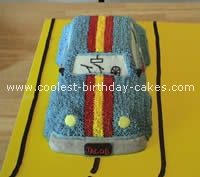
This was for a 4-year-old boy named Jacob. I used the Wilton 3D cruiser pan. I iced the windows and lights first, then the wheels and bumpers. Then I used a number 12 round and my fingertip coated in icing sugar, to do the bumpers.
After outlining the stripes, I piped stars to fill it all in. I then added some silver dust to the bumpers to make it look metallic. I added other little details, like the name on license plate and side mirrors. Also, the inside front window details and the road. I forgot to do the door handles and had to add them after it was all done! Everything was done in buttercream icing. This was the first time I did this cake and it took me hours! But it was fun and turned out better than I expected.
Awesome Cake Decoration Idea for Wilton 3D Car Pan
Car cake by Angela H., Portland, OR
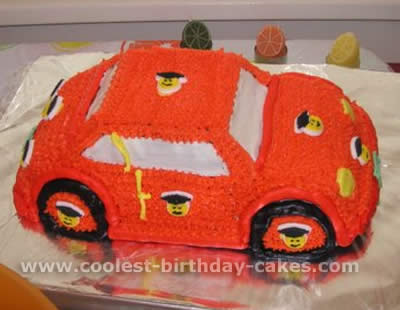
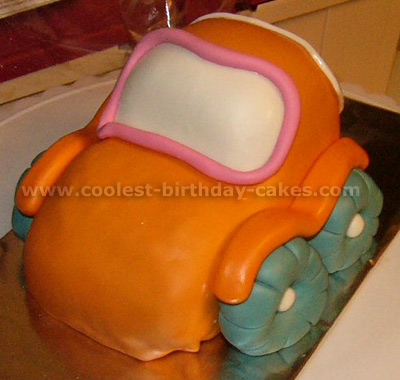
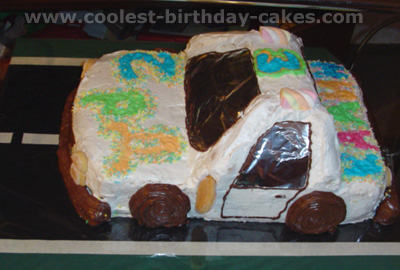
My mom and I made this car cake for my graduation party last Spring. It was made using the Wilton 3-D Cruiser pan. I have always loved orange 1960’s VW Bugs, so we decided to create one from cake. The candy decorations are also from Wilton. We used funfetti cake. It was so tasty.
Cool Homemade Birthday Cake
Car cake by Rachelle B., Clyde, PA
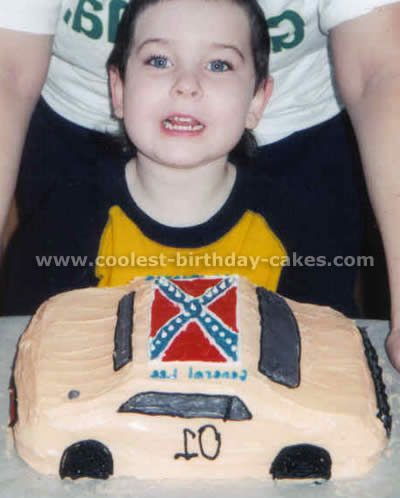
I started by baking two 9×13 sheet cakes and put one on top of the other (adding icing in the center to hold them together). Then I cut the cake into the shape of The General Lee. I used one of my son’s cars as a model to decorate the cake.
I used a whipped cream icing, the icing is easy to work with. To make it: 2 sticks of blue bonnet margarine, 3/4 cup of sugar, 3Tblsp. flour, 1tsp of vanilla, a pinch of salt, and 1-1/2 cup of warm milk. Cream the margarine, and sugar (approx. 3 minutes), then add the flour, salt, and vanilla. Beat for 5 min. Then add the warm milk (MUST BE WARM – about 90 degrees). Beat for 5 min. until fluffy.
Use food coloring (paste) to tint the icing for the colors needed for the car. The red and blue on the car was done by using gel icing. Use an icing bag to create wheels and windows (outline and then fill in). My son loved the cake he was 5 at the time. I enjoy making special cakes for any event.
Fun Birthday Cake Idea
Car cake by Jennifer C., Phoenix, AZ
The party theme was transportation. The invitations were done by hand and were exact replica’s of the cake. I came up with the idea on my own.
Once I had the idea for the theme for the party, I traced a picture of the car. I then took it to a copy store and had them blow it up as large as I wanted the cake to be. I then made 3 cakes that were baked in 9×13 Pyrex pans.
Once cooled I took the cakes out of the pans and placed them on top of a board that was covered with coordinating wrapping paper. Once all 3 cakes were on, I placed the blown up drawing on top and began to cut all around the cake. After the cake was cut to size I put the extra pieces aside for people to nibble on.
I then started to cut my template little by little, frosting everything color by color, like a paint by number. I used more frosting when I had variance’s in the height of the cakes.
Adorable Car Cake Idea
Car cake by Jessica C., College Station, TX
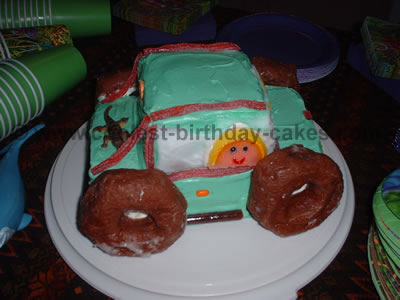
I was looking for cake pictures and this idea came from Family Fun Magazine but I changed it a little. This cake was made for my son for his fourth birthday Australian Outback party. It was made using boxed cake mix and two loaf pans.
One whole loaf pan was used for the bottom of the jeep and one cut in half for the top. I made green icing for most of the body of the jeep. I lined the jeep with sour licorice and used chocolate doughnuts for tires. All decorations, except for the alligator on the back were edible candies.
Coolest Carved Car Cake
Car cake by Lara R., Winnipeg, MB Canada
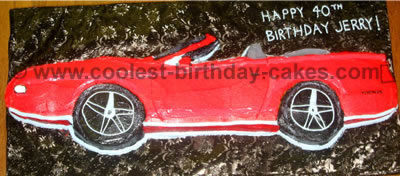
I started with a rectangular cake. I printed the image off on the computer, and placed it on to the cake. Then, I carved around the paper to shape the cake. Next, I iced the Shrek cake using butter cream icing.
Amazing Step by Step Cake Decoration Idea
Car cake by Jessica S., Hudson, NY
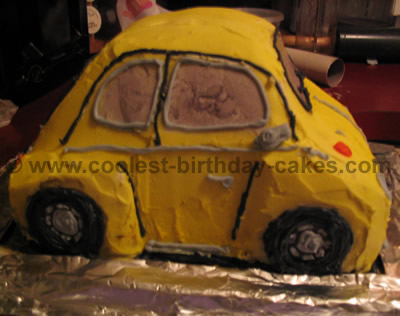
I made this cake for my best friend’s birthday. She has a light yellow vintage Bug that she adores. A basic chocolate sheet cake is the basis for this cake decoration design. I used color spray in yellow & black for the body and windows and regular icing that I colored gray and orange/red for the detail. Pick whatever color spray you want the body to be.
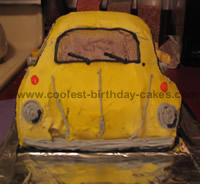
Make sure the cake pan is well-greased or it won’t come out of the pan whole. After the cake is well cooled, pop it out of the pan, cut it in half making two square cakes, and level the square that will be the bottom (but not the top, any curve in the top will help with shaping).
Layer with whatever filling you like and start carving!
I used pictures of the real car as a guide. It’s really “by feel” form there. Some tips though: Figure out where the wheels are first (and their size).
Carve little bits at a time – remember that most of the detail will be done with icing
Icing Details
- Do a crumb-coat and refrigerate while you mix your colors (you won’t need much orange/red). Out of paper, cut out shapes to cover the windshields, side windows, and tires (you only need 2 tires and 2 side windows because you’ll spray one side at a time).
- Ice with white icing.
- Place windshield papers and one side of windows and tires and then spray with body color. Take long horizontal strokes, then do the other side. Remove paper, spray wheels and windows/windshields (spray lightly for windows and windshields and heavier for tires).
- Detail with gray for bumper, license plate, trim, wipers, running boards, and hubcaps using a decorating bag and tips ( Wilton #3)
- Detail with orange/red for lights and you’re Done!
Cool Yellow Car Cake
Car cake by Farinazleen G., Klang, Malaysia
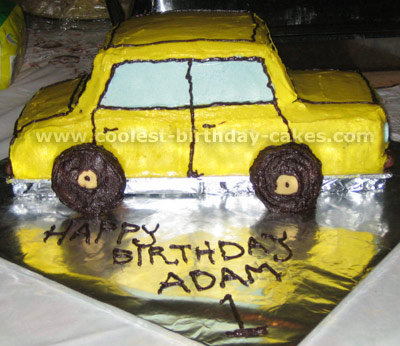
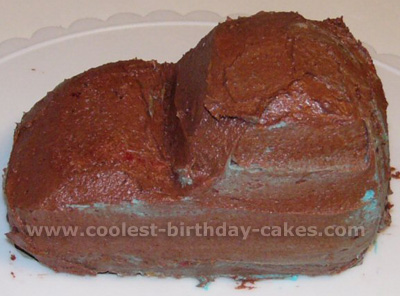
This was a cake I baked for my nephew, Adam’s first birthday. I started with three 7×7 inch moist chocolate cakes. My husband cut out a baseboard to fit under two cakes placed side-by-side with just a bit extra on each side to allow for the frosting (just a bit over 7×15 inches).
Putting together the cake was pretty straightforward. I placed the two cakes next to each other and applied a layer of butter cream frosting to fill the gaps between them. Then I placed a large dollop of cream and smoothed out a bit and stacked the third on top of them, slightly off-center so that the front end of the car looked slightly longer than the boot.
I had to crumb coat the cake since I was picking up a lot of crumbs. While waiting for that to set, I estimated the size of the wheels and cut out about 8 circles from cookie batter and baked them.
After applying the final icing, for the cake decoration, I drew out the outlines and details with icing darkened with cocoa powder. I used polo mints for the lights and chocolate finger biscuits for the bumper bars. In order to glue on the wheels, I coated them with circles of chocolate cream and stuck them onto the cake with a bit of icing.
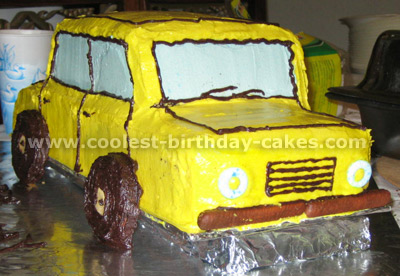
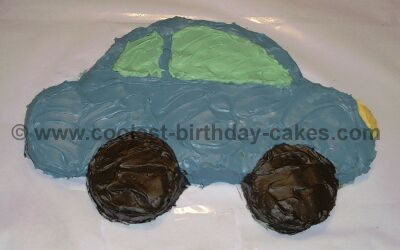
Simple Car Cake Decoration Idea
Car cake by Veselina T., Sofia, Bulgaria
Awesome VW Bug Birthday Cake
Car cake by Amy G., Juneau, AK
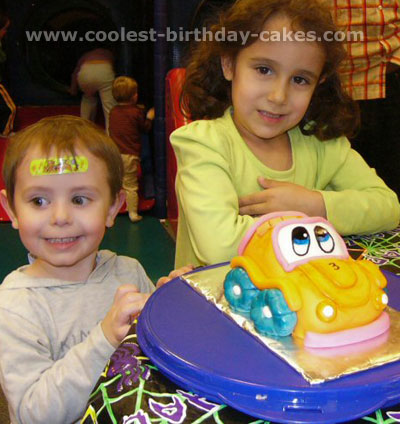
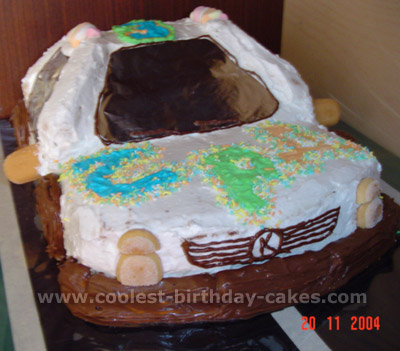
This was a Volkswagen bug car cake I made for my son’s third birthday. It serves about 5 people. I started by baking a cherry chip cake in a loaf pan. If you need more servings you could bake a sheet cake and decorate it to look like a road.
I then carved the shape of a car and covered in butter cream then a layer of orange fondant (to help with carving you can freeze the cake first). My kids love fondant as I make it out of marshmallows but if your kids don’t like it they can pick it off and there is butter cream underneath.
Then I made the tires, bumpers, windows, hood and tail lights out of the same marshmallow fondant and put a tiny bit of water as glue to get the parts to stick. I used cake decoration colors, a little lemon extract (it’s fast drying), and a paintbrush and painted on the cars eyes and shaded in some cake decoration details over the tires and bumpers.
I made a little Band-Aid for the top of the car to look like the car had been in a wreck. Mostly because it matched my son’s Band-Aid on his head where he required stitches from ping face first on the headboard the week before.
