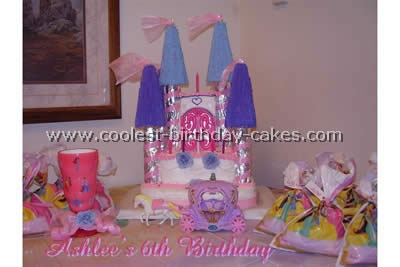
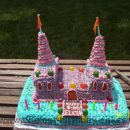
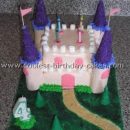
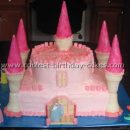
I browsed the Web for castle cakes and then drew my own. I baked the two bottom layers then used Styrofoam for the rest. The sides are tubes from wrapping paper and the tips are Styrofoam.
I iced the whole cake and used icing tips for the sides. The doors came from my daughter’s real castle which I could just wash and pop back on. The flags on the tops were toothpicks with shiny fabric hot glued to the tooth picks. I taped shish kabob sticks inside the tubes and put them in the cake to hold it together. I made the castle cakes a day before and put them in the fridge.
This cake took me two days to make. It was time consuming but was well worth it. My daughter loved it. I was pretty proud of myself since this was my first cake like this that I have made.
More Castle Cakes
Castle cake by Jeanne F., Yorktown, VA
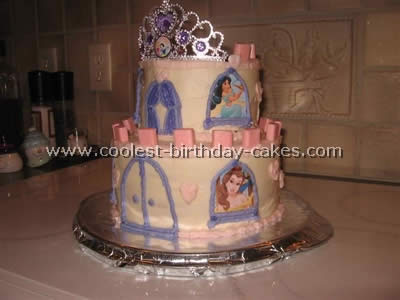
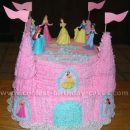
My friend wanted castle cakes for her daughter’s fifth birthday. A form of it was sold at the local grocery store and she thought it would be perfect. The bottom is 3 8″ cake layers and the top is two 6″ layers.
I made the top section as a completely separate cake on it’s own round board so it could be lifted off of the lower section at the party. I used 3 dowels to support the upper layer. I think the neatest thing about the cake is how I did the princesses that are looking out the windows.
I printed pictures off of the internet (and adjusted as needed so they’d be the same size). Then I put them in a photograph album page (the kind of page that fits in a 3-ring binder-type album and the transparent sheet lifts off of the white cardstock). I made a window template out of a piece of paper and traced the princesses within the album page. I then cut the whole thing out. This way the front of the princesses were covered in laminate and the back was too since an album page has both a front and back. These stuck easily to the frosted cake and I iced the outline of the windows around and on the edges of the cut out princesses.
The tiara on top wasn’t on the castle cake at the store but the mom and I decided it would look cute on top of the cake. The tops of the sections are made out of pink starburst candies (from the tropical flavor starbursts). These needed to be put on right after the frosting so they would stand upright.
The castle cake was loved by all and it’s actually a cool design since so often the child’s party and their actual birth date don’t coincide – one could serve the bottom section at the party and save the top layer in the fridge to use on the actual date of the child’s birthday.
Castle cake by Bonnie M., Cherry Valley, AR
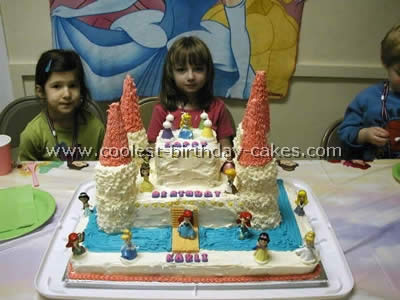
I used 5 different layers to create castle cakes the size I wanted. The 1st layer is the base, 2nd and 3rd layers are 9in squares, 4th and 5th layers are 4in squares.
The towers are just cupcakes stacked together with an ice cream cone on top. I used lots of icing to fill in and act as glue with lots of cake sticks. All the princesses on the cake belong to my daughter. I think they were the perfect size for the cake. Everyone loved the cake.
Castle cake by Leanne B., England
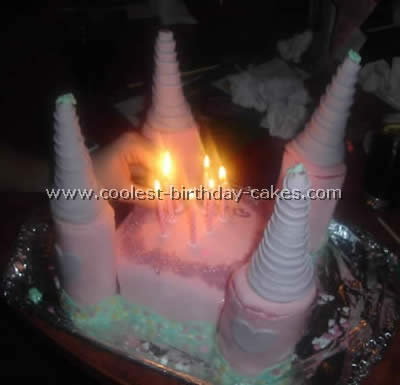
My best friend is a Princess. Therefore for her 17th Birthday I designed and baked Princess Castle Cakes. I started with a square sized sponge cake and four jam rolls. I assembled them into a castle and added extra decoration including a green trim with flowers and “Princess” written on the top.
For the four spires I used ice cream cones covered in strips of fondant icing. I was so proud of the cake and my friend loved it. It’s very good for little girls or even big girls. My top tip: Sprinkle your cake tray/board with extra bits like glitter to give it that extra something!
Castle cake by Stacey A., Moody, AL
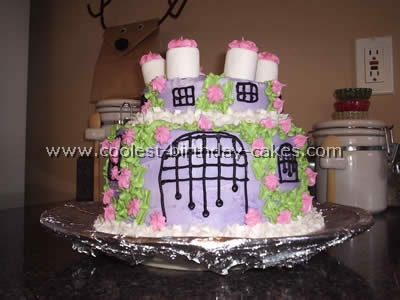
I made this castle cake just as a backup for a Barbie Princess party (didn’t want to run out of cake you know). I think it turned out pretty well since I had this last minute thought of castle cakes.
Castle cake by Karen F., Chickasha, OK
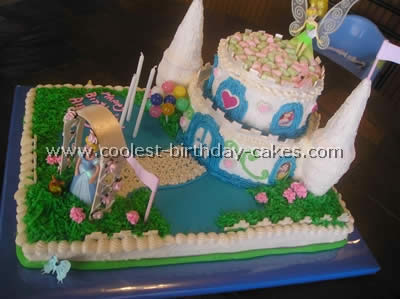
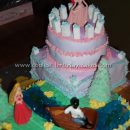
I took my grandkids to Disney World this summer and the one that enjoyed it the most was the 2 1/2 yr old so we did a Disney Princess theme for her 3rd birthday.
I designed this cake to look like the Fantasyland Castle. I used photos of castle cakes and princesses off the internet for the windows and dyed coconut for the grass. Be sure to dry the coconut before adding so the colors don’t bleed onto the white icing.
This is a 16×18 sheet cake with 2-8″ rounds and 2-6″ rounds. The towers are 2 regular ice cream cones with a waffle cone on top. I made the arbor and fence out of clay and added the decorations. Makes a lot of cake but who cares. She loved it!
Castle cake by Heather B., Lake St. Louis, MO
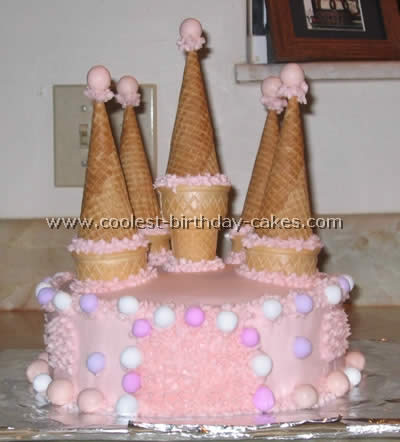
This cake is very easy and my favorite part is that you only need one color of icing! I’ve done castle birthday cakes twice now. The first time was the pink one I made for my niece’s party. I liked it so much I made one for my daughter’s second birthday which was a Fairytale Princess Dora theme.
Bake two 9 inch round cakes and layer them with icing in between. Remember when stacking, the order should be top, bottom, bottom, top. I iced the entire cake and let it dry for 10 minutes. Then use a sheet of printer paper and lay it on the cake and rub out any creases in the icing. This makes your cake nice and smooth (if icing sticks to the paper – toss it and get another clean sheet of paper).
The four outside cones are sugar cones with the bottoms cut off and waffle cone laid on top. Use a star tip around where they connect to keep them together. The middle tower is a whole sugar cone with icing piped in it to make it stable and waffle cone again on top. Star tip around bottom of cones when positioned on cake.
Star tip for doors and windows. Dutch Chocolate Mint balls for the borders and accents. We added some little Dora figurines to the top of my daughter’s with a dragon hiding in the back. This is a super easy and quick cake to make but looks awesome!
Castle cake by Debbie D., United Kingdom
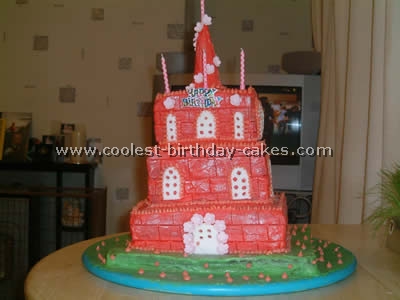
I made this cake for a friends little girl and am about to make one for Halloween but will make it black with ghosts.
To make the castle cakes you will need: 1- 12in cake for the base colored green for the grass, 2 -10in cakes, 2 8in cakes, 2 – 6in cakes and an ice cream cone on top.
I covered it all with butter icing and made little iced flowers to decorate round the doors and tower at top. My castle cakes were made with 8oz of self raising flour, 8oz of caster sugar, 8oz of butter, 4 eggs, and 1 and a half spoons of baking powder.
I hope you like this, it’s a very easy cake to make and can be made for boys too with a different color of icing.
Castle cake by Ana Isabel T., San Pedro, Mexico
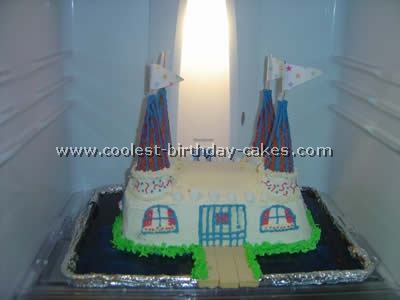
My friend asked me if I could make castle cakes. It was her daughter’s first birthday so I started looking online for tips.
For height I used the pan I baked in instead of baking 2 cakes. There would have been too much waste otherwise. The flags helped me hold the cupcakes. I used long kebab sticks that went all the way down. The blue “lake” was made using apple juice, blue food coloring and clear gelatin. Tasted quite nice but I admit it was a hassle to do because for some reason the foil kept funneling the jelly out of the mold. Unfortunately I did not dissolve it, I let it set and then added some more. I am sure there are easier ways.
The cones were a bit moist which made it very easy to put the kebab stick through the middle however I recommend you do it before you decorate them because they do “expand” as you do it and it can break your decoration. I think if they would have been crispy it could have caused me trouble.
It was a lot of fun to make and my 3 year old was very impressed that her little friend got “Barbie’s “castle cakes. That was her impression of it when she saw it.
Castle cake by Kelly B, New Limerick, ME
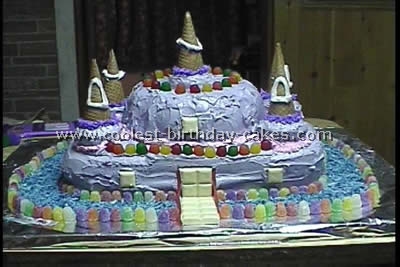
These castle cakes were made for my daughter’s first birthday party. I started by baking two different cakes, one yellow (13×9 pan) and the other chocolate (a stainless steel bowl).
Both castle cakes were made from scratch but store bought it just fine too. After the cakes cooled I covered them both in buttercream frosting tinted with a light purple color. For the drawbridge and windows I used a white chocolate candy bar.
I placed four ice cream sugar cones up-side down on the cake and piped some frosting around the bottom (to keep them in place). I used a combination of gum drops and dots of candy for the borders of the castle.
I finished the castle off with blue colored coconut for the moat. The excitement in my daughters face when I brought the cake out made it all worth it.
Castle cake by Maria P., Sydney, Australia
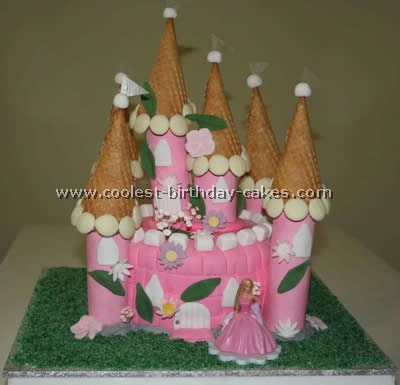
This is my first time at castle cakes. Whew! Finally I was able to make a fondant cake with few flaws almost to a perfect finish look. I guess the ultimate secret is while kneading the sugar paste to make sure that you have enough icing sugar sprinkled on the table as you go along and don’t forget to rub some corn four when your hands are somehow perspiring or when you are in a tropical country and the environment is humid.
I thank Carol Deacon’s book “Perfect Party Cakes” where I got this nice idea for castle cakes. I like this book because it’s so simplified and instructions are easy to follow and all her cakes really look great!
I used waffle cones for the tower and rice paper for the flag. I made 6 turrets out of gelatin icing to make it real hard and to set it stable. This is a Chocolate Cake with buttercream filling and topped with chocolate ganache before I rolled out the fondant.
The grass all over the cake is made up of desiccated coconut which I colored green. This is the first Birthday cake of Jewel which apparently has another cake which is Princess Barbie that I have yet to submit so check it out also!
Castle cake by Barbie G., Attleboro, MA
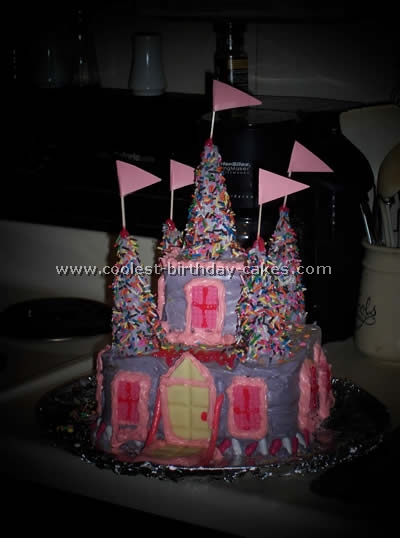
I made this Princess Castle Cake for my daughter Hannah’s 8th birthday. I baked four castle cakes in 8×8 square pans. I stacked three layers together (frosting in between). I cut the fourth cake into four even squares but only used three of them and again frosted in between all layers and then placed on top of the bigger cake.
I used bamboo barbeque skewers to keep cake in place. I used vanilla frosting but tinted it purple. I used five ice cream cones frosted them and then sprinkled colored sprinkles all over them. I used a white chocolate bar for the door/drawbridge and pink (strawberry vanilla) cookie wafers for the windows. The kids enjoyed it.
