How do you make a theme cake about something you don’t know much about? My son was a big Transformers fan when he was turning 6, so it was only logical that I should make him a Transformers themed cake. To make this task even more daunting, this cake was to be sufficient for 70 people. Thankfully there are sites like Coolest- Birthday-Cakes.com, so I went looking for inspiration. I decided that a 3 tier cake would suffice size wise, and considering Transformers are all about metal and smooth edges I decided to get adventurous and try my luck with fondant (I watched a lot of YouTube videos on how to work with fondant and bought a special roller and mat that made this effort a lot more manageable).
Here is how the project progressed:
Decorating Ingredients:
– Store bought white, black, red and blue fondant (black and white were large tubs, while red and blue were in smaller package from a set of 4 coloured fondant sticks, gray fondant was made by mixing black and white fondant)
– Butter and icing sugar (lots of it) – butter cream is required to have fondant adhere to the cake
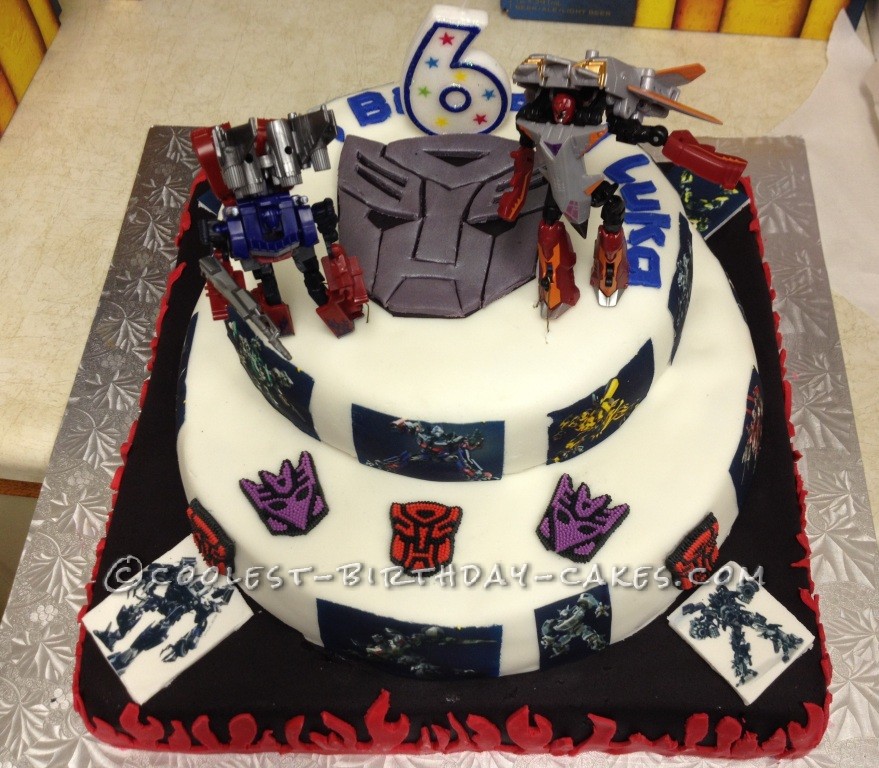
– Candle in a shape of a number 6
– Two Transformer figures that we used as additional decoration
Preparation:
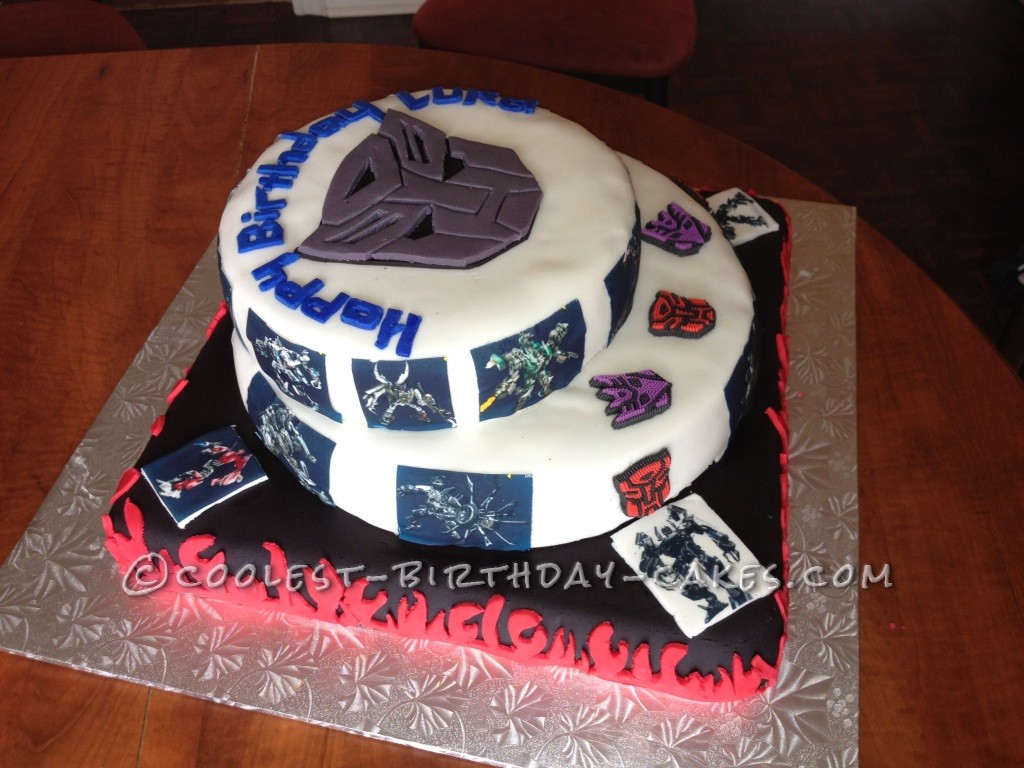
– I looked at the color themes, and picked black, white and red. My husband lent me a hand and made the cake topper. He cut out the transformers logo out of gray fondant and finished it with the silver edible spray paint. He also created the collage of various transformers scenes and had them printed with edible paint on sugar paper, at a local vendor near our house.
– I also found the Transformers font on-line and used it to create the circular “Happy Birthday Luka” template which I used to cut out the letters for the cake message.
Cake Baking:
– I made the cakes over a two night span. The bottom layer was chocolate cake with a chocolate pudding and banana filling, while top two layers were done with vanilla pudding and ground hazelnuts filling, and a vanilla cake. Bottom layer was done in a 15in pan, while the middle one was a 13 in circular pan, and the top layer was done with an 8 in pan.
Assembly and decoration:
– The third night was the night before the party, and the moment of truth. First step was to roll out the black fondant and cover the 15in square cake (this was tricky and thanks to my husband’s steady hand it worked out).
– Next, I covered the middle layer with white fondant, and placed the covered middle layer on top of the bottom square cake, once I secured it with skewers (cut to size), I did the same thing with the top layer, placing it on skewers that were already passed through middle and bottom layer.
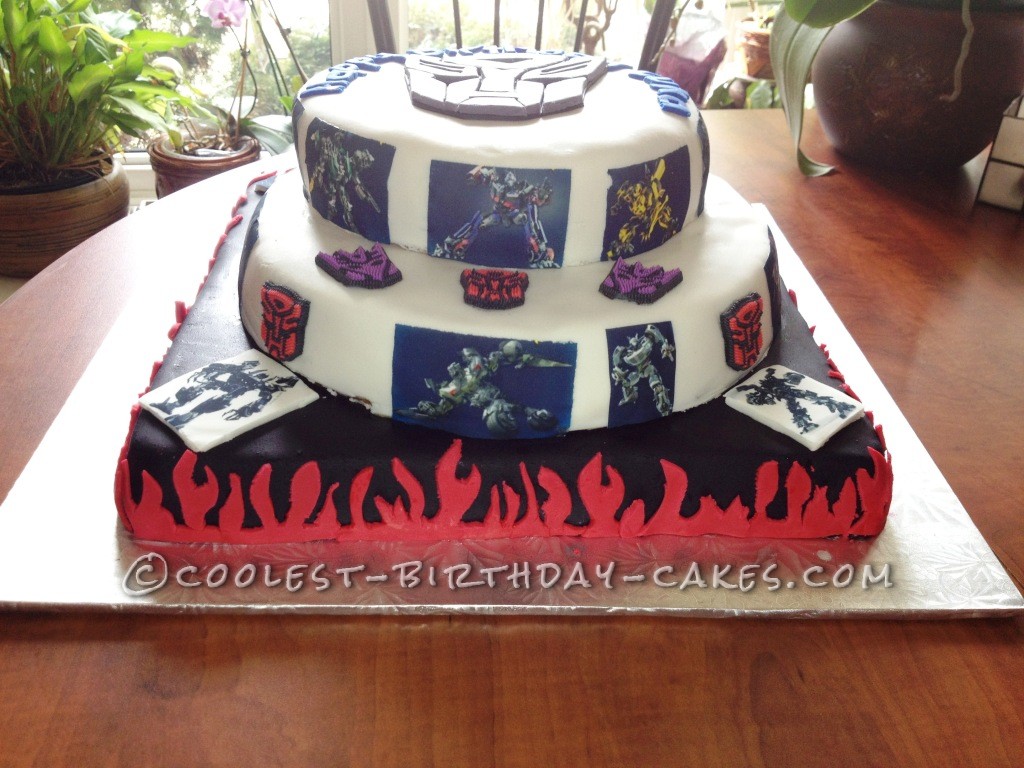
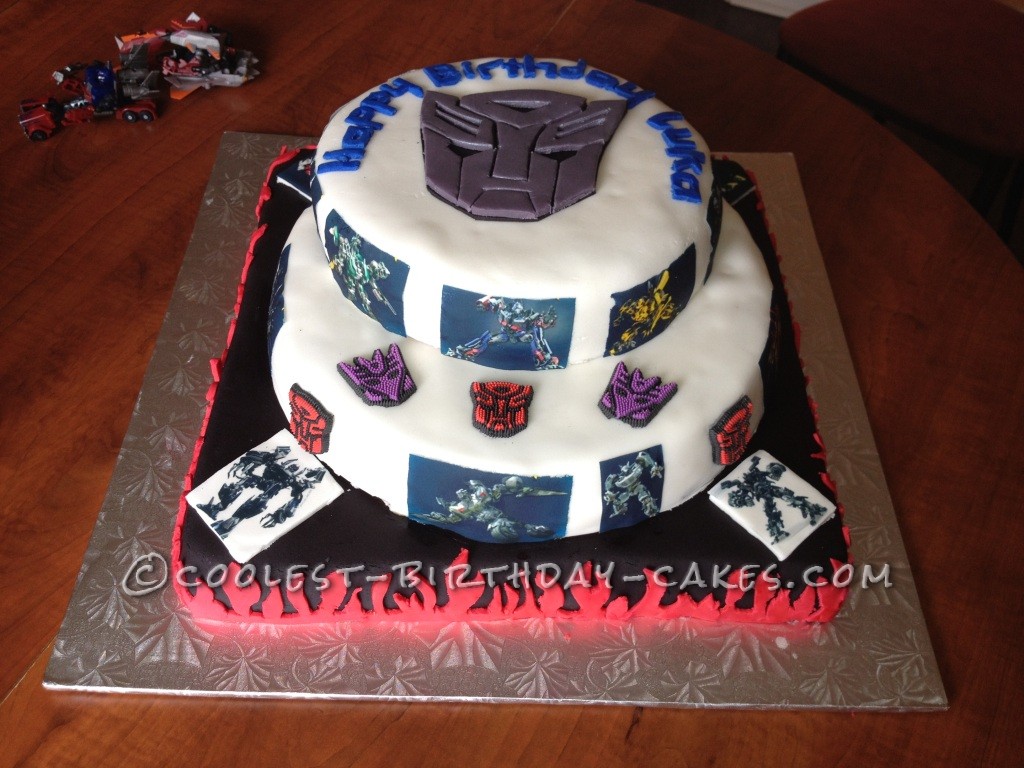
– Once the all of the layers were securely in place and all of the edges were smoothed out, I proceeded to cut out flames out of the rolled out red fondant. Flames were placed along the sides of the square base cake.
– I carefully cut out the Transformers scenes from the sugar paper collage, and using a small amount of water glued them to the sides of the middle and top layer. There were 4 images left that I placed on the corners of the bottom layer.
– I glued the Transformers Edible Cake Icing Decoration logos to the middle layer.
– The final touch was to place the Autobot logo cake topper on the top layer, and add the letters that I previously cut out from the blue fondant.
Just before we served the cake, we added the candle and two transformers figures for the full effect. Our son and the guests loved the cake. It was nice to get so many compliments after so much work, and the smile on our boy’s face was priceless.



Your comment has been sent successfully.