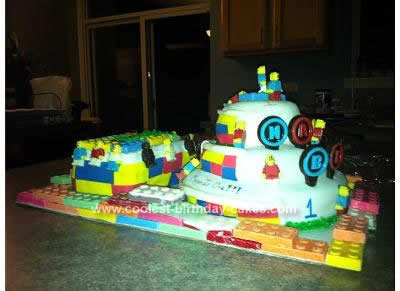
I began thinking of ideas for my son’s 1st birthday cake months in advance. I came up with a 1st Birthday LEGO Cake because I thought it would be easy…my original plan was to just make a sheet cake and cover in different color icing/fondant. As I got to thinking, my imagination ran wild! I told my husband to order a plain sheet cake from a bakery just in case mine didn’t turn out!
After searching on-line for inspiration since I am not an artistic person, I came across a wedding cake that was partially Lego on the back side. And so the process began.
Typically I bake all my cakes from scratch but since my design idea was so involved I decided to use box cake this time around. I made three boxes – chocolate, white confetti and yellow with chocolate chips added. I made a 9×12 chocolate, a 9″ yellow w/ chocolate chips round and used 2 loaf pans for the confetti cake. I added 2 cups of pudding to each cake mix to keep the cake moist since I baked them 1 week before the party.
I let them cool and put them in the freezer for 24 hours. After they were frozen, I cut up the 9×12 cake to make (1) 7″ circle and (2) 5″ circles…I did this because I don’t own different sized round cake pans! I then put them back in the freezer so they wouldn’t go stale.
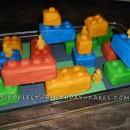
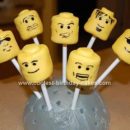
I bought a Lego man mold and a Lego brick mold on Amazon and began making candy and chocolate. The Lego men are made with Wilton’s candy pens and the Lego bricks are made from white chocolate. I used the candy dye to color them.
**CAREFUL-DON’T USE THE ICING DYE! I did the first night and it ended up being a waste-the icing dye is water based and when water is added to melted chocolate, it seizes. The only way to unseize it is to add more water but then the chocolate will not set!**
Some of the bricks were flavored. The green are lime, the orange are orange, the white are cherry, the blue are mint and the yellow are coconut. For the coconut I just added coconut to the melted chocolate; for the mint I used mint extract; the lime, cherry and orange was the Jello powder – they tasted AWESOME!
Two days before the party I iced the frozen cakes with a crumb coat. I used chocolate, strawberry and white icing. I then let it set in the fridge for a few hours and did a second coat of icing and assembled the cakes. All rounds were piled on top of each other and I put the two loaf cakes on top of each other.
Smoothing the icing was the hardest part. I guess because I didn’t use butter cream icing but I was able to do it by sticking my spatula in hot water before each swipe. I then let it set in the fridge, covered for 24 hours.
The day before the party I covered the round cakes in 1 large sheet of fondant and smoothed as best as possible to show the distinction of different levels. The loaf cake remained icing only. I put everything back in the fridge to set for an hour.
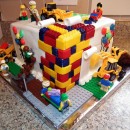
The “flat” Lego pieces – like all the sides of the loaf cake and the special “cut away” parts of the round cakes are made out of Wilton Sugar Sheets!. I rolled some fondant to create a little boarder around each “cut away” section to make it look like the inside of the cake was built from Legos!
The Happy Birthday picks are made from a mold I got at the craft store and I used Wilton candy and mint chocolate. I also used Wilton edible markers to write my son’s name and a few #1’s on the cake. The Lego men were attached using icing and I then lined the entire cake board with the chocolate Lego bricks.
I had so much fun making this cake but it sure was tiring. I spent every night for a week working on bits and pieces of this cake after I put my son to bed. Some nights I was up until 4:00 am! The cake turned out amazing and tasted even better than it looked. Adding the pudding to the cake batter helped keep the cakes moist and made them almost gooie…so good!!
All this work for a cake that my son won’t even remember…but it was well worth it! We used the “back-up” cake that my husband ordered for the smash cake because nobody even wanted me to cut this Lego cake to serve! I ended up just taking a knife to it…but not before taking a ton of pictures!




Your comment has been sent successfully.