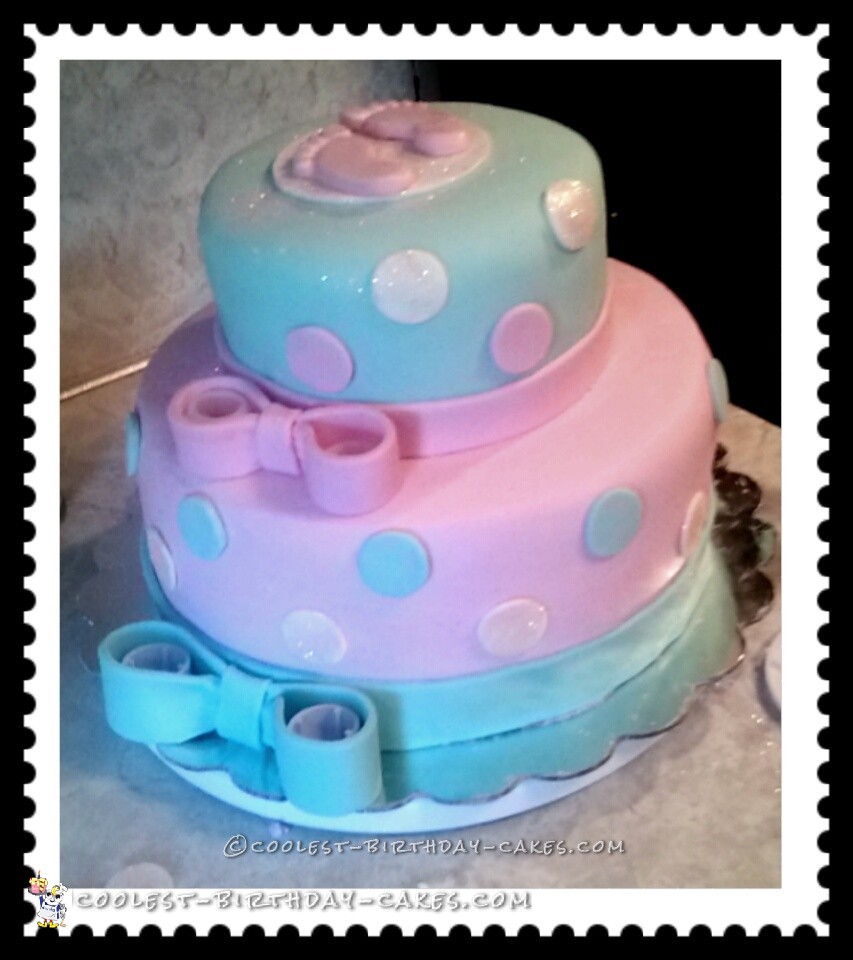
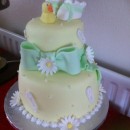
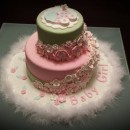
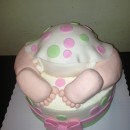
I made this girl baby shower cake for a good friend’s daughter’s baby shower. I’m still fairly new at cake decorating, I have probably less than 10 cakes under my belt.
How I Made This Girl Baby Shower Cake
- As with all my cakes I used the white almond sour cream wedding cake recipe I found online and Duncan Hines Classic White cake mix.
- Instead of oil, I always use real butter, and a little less water than it calls for.
- The bottom tier is a 9″double layer and the top tier is a double layer 6″, torted and filled with white chocolate ganache.
- Lesson learned – use Hershey or Nestle chips. I used a cheaper name brand, and although the texture turned out great, the chips flavor was just not good. At the last minute, I decided to make another batch with Nestle chips, but I didn’t wait until the ganache had time to fully set up (remember this little tidbit of information for later).
- I spread the ganache OVER what I already had on there on the bottom layer, because I couldn’t get it off without tearing up the cake. I was able to remove the old ganache from the top tier.
- After adding the new batch of ganache, I started kneading and rolling out my homemade MMF. It’s tastier and much less expensive than prepared store bought fondant.
- I wrestled and kneaded forever, but the MMF kept tearing. More PS-too dry, more Crisco-too wet. I finally got decent coverage on the bottom layer (my ribbon would cover up the tears).
- I then started smoothing it out. I noticed the underneath part of my fondant was starting to move… “but, pay no mind Susan. Just keep going!” I put it on the top tier and on top of the bottom tier also.
- Then, after several hours of trying to smooth the fondant, I decided my second ganache had not set well, and it was a moving mushy mess. To make a long story short, after wasting a whole night, and as the sun was rising, I gave up. I went to Walmart and bought Wilton pre-made fondant. Lesson learned-when I try to save money, I end up using MORE money, and wasting time.
- I tore off fondant 3 times on the top and 2 times on the bottom. I also had to separate the two tiers, and make a batch of buttercream icing to cover the top tier. Then, I was finally able to quickly and easily put on the fondant.
- I used the big end of decor tips to make the circles, a clay type mold from hobby lobby for the feet on top, mixed some gum paste with the fondant for the ribbon and bows, and topped it all off with rose disco dust. THE END!
This cake ended up being my best work so far. It tasted great and no one was the wiser. If people only knew what me and that poor cake had been through. LOL!
