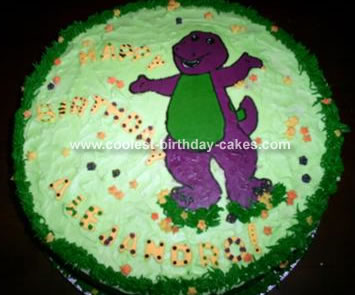
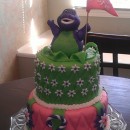
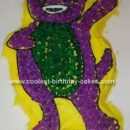
I just couldn’t find a Barney pan. The ones that I found on the internet were to expensive. So I decided to make a buttercream transfer and it came out better than what I expected!
This is the box cake recipe! I just doubled the ingredients. I dyed the batter purple and the filling green. The filling was also a store bought frosting.
This is the procedure of the buttercream transfer that I decided to do for this cake:
1. Find a picture that you want to use. Coloring book pages are the best. There are tons of free coloring sites online. I used Barney.
2. Using a stiff frosting (I usually use Wilton Black) and outline your words and pictures.
3. Start to fill in colors in layers using a round tip. Make sure to use medium consistency frosting.
4. Using a knife dipped in hot water (and re-dipping as needed) gently smooth frosting from the back to push down into crevices.
5. Fill in around pictures and words with your background color- mine is green.
6. Fill in the rest of the top. I measured mine to the same size as the top of the cake, but you can also do it in a small shape and place it on top of an already decorated cake. Don’t forget to smooth it.
7. Cover with wax paper and smooth with your hands.
8. Place in freezer for 30 minutes or more.
9. Remove wax paper from the top and place on top of cake that has been crumb coated and frosted on the sides.
10. Peel wax paper from the top.
11. Add boarders, I made them as grass.
And that’s it! The kids loved it!

LOOKS VERY PROFESSIONAL!
Very nicely done. I wanted to make this but couldn’t really make sense of the instructions.
but I don’t understand your directions. Did you make the Barney character on wax paper, than froze it,then transferred it to the cake? I would love to make this, but can’t figure it out.