The only creative thing I’m capable of is to bake and decorate my three sons’ birthday cakes. Mostly I do not consider them original creations because I copy either a how-to recipe or get my inspiration from sites like these. But I always plan what I’m going to do months ahead and take a day’s leave before the party to make it. This is my first attempt at using plastic icing to decorate a birthday cake. I don’t consider it remarkably tasty – for me the cake should taste better than it looks- but some of my friends were making such cakes and I could not continue forever without finding out if I am able to do it too.
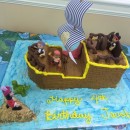
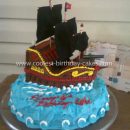
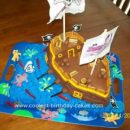
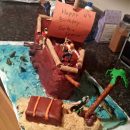
The choice of cake was clear long ago: Bucky from Jake and the Neverland pirates was requested by my son already a year ago for his fifth birthday. He has already specified his requests for a few years in advance, and on behalf of his brothers too. My mother-in-law’s cake decorating book inspired me to try and simulate the wood grain on the planks. You’ll see how it came out.
Baking and shaping the cake
I planned everything except having the correct amount of flour and sugar for the recipe. After driving to my mothers’ at 8pm the night before to borrow some, I baked a 4 cup flour, butter and buttermilk recipe oven pan cake. This was a good idea since the cake was nice and cold and firm the next morning before I cut it.
The next morning I followed the shaping instructions of the cake decorating book, enlarging the cake a little by adjusting all the measurements with a fixed factor so that I would use the whole oven pan cake. A bread knife and serrated vegetable knife worked well. The trick was to know when to stop shaping. The cake did not come out completely symmetrical, however. The pieces were taken apart and stuck back together with white buttercream icing.
The whole ship was then covered with buttercream icing, thinned a little with milk, so that the plastic icing could stick to it.
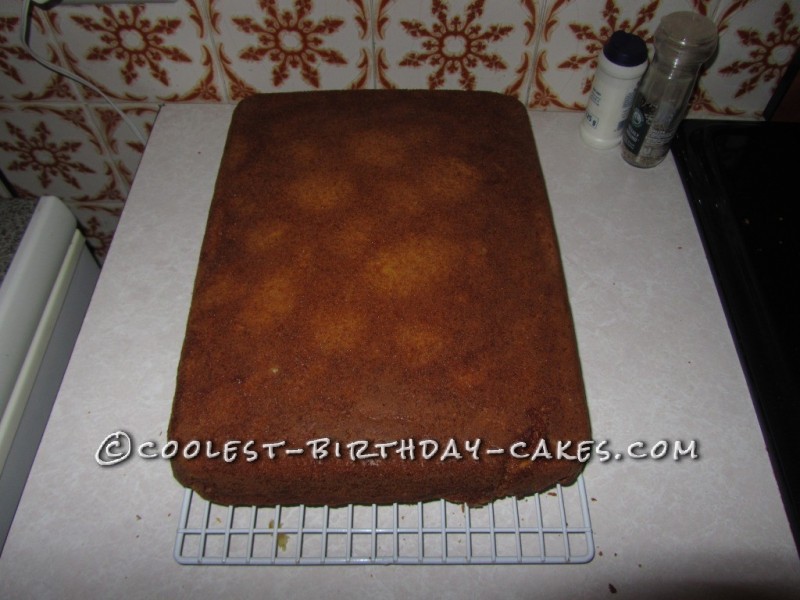
25×35 cm oven pan cake
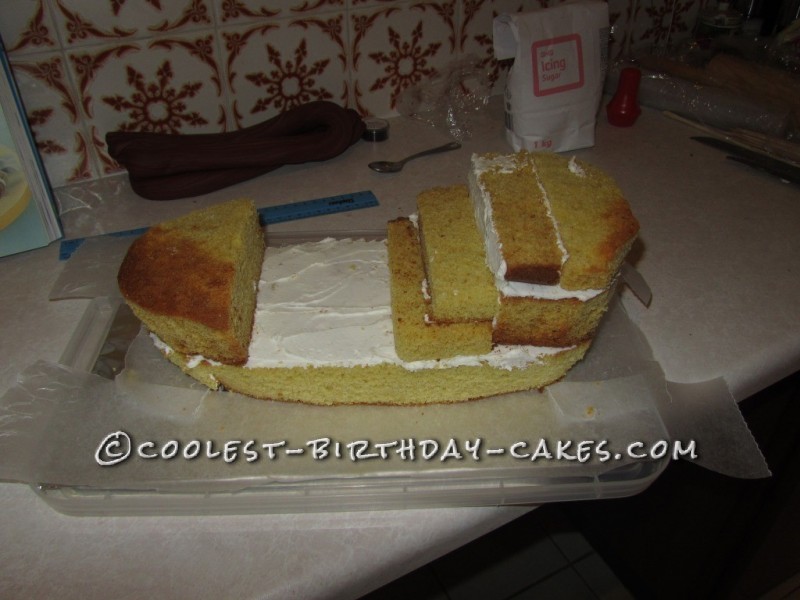
Pasting the shaped cake pieces together with buttercream icing
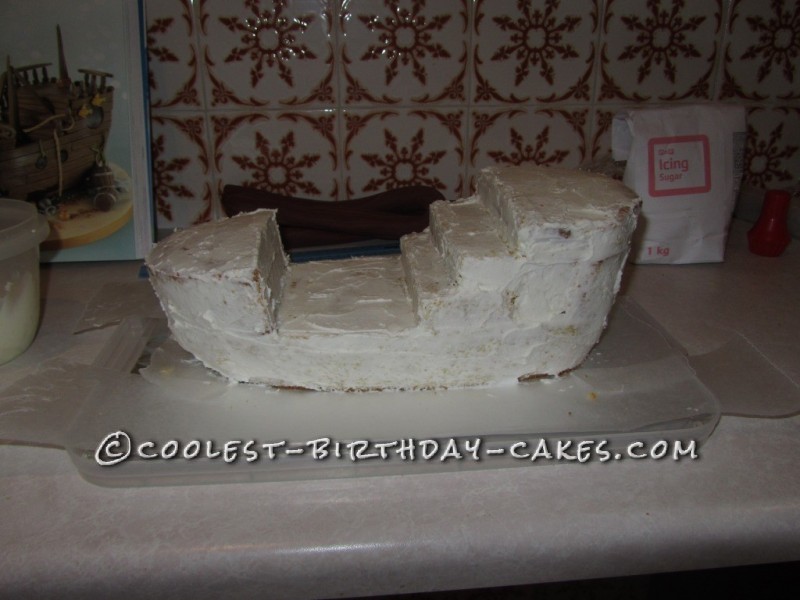
Cake covered in buttercream icing
Covering the ship with wooden planks
However, when I started with that part it was not sticky anymore, so I consulted the book which suggested egg white as a glue. This worked like magic, each plank panel was painted with it at the back before sticking it to the cake. Before starting, the plastic icing was painstakingly colored brown with concentrated powder coloring, in two hues and mixed together so that the light and dark icing formed longitudinal lines. I colored 1 kg, which ended up to be double of what was needed. The wooden planks wood grain was obtained by making stabbing and scraping motions with a smooth, sharp knife in the rolled out plastic icing before cutting the planks in the same direction. I used a pizza wheel cutter and a plastic ruler.
The icing sugar used to roll out the planks made the planks dull, so brushing them with a finger dipped in water brought them to a sheen. The wood grain is definitively the part of the cake that I’m the most impressed with. But you have to see it up close to appreciate the effect, the photos don’t do it justice.
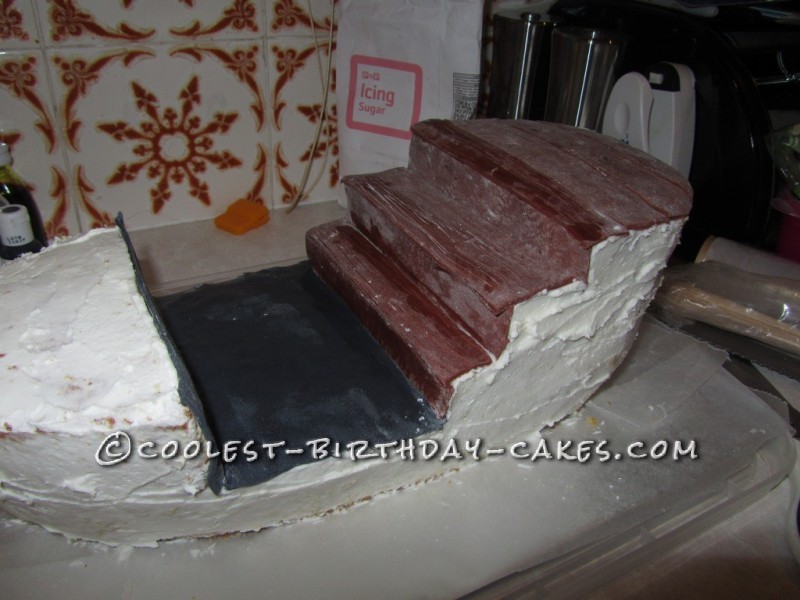
Covering the ship in wooden planks
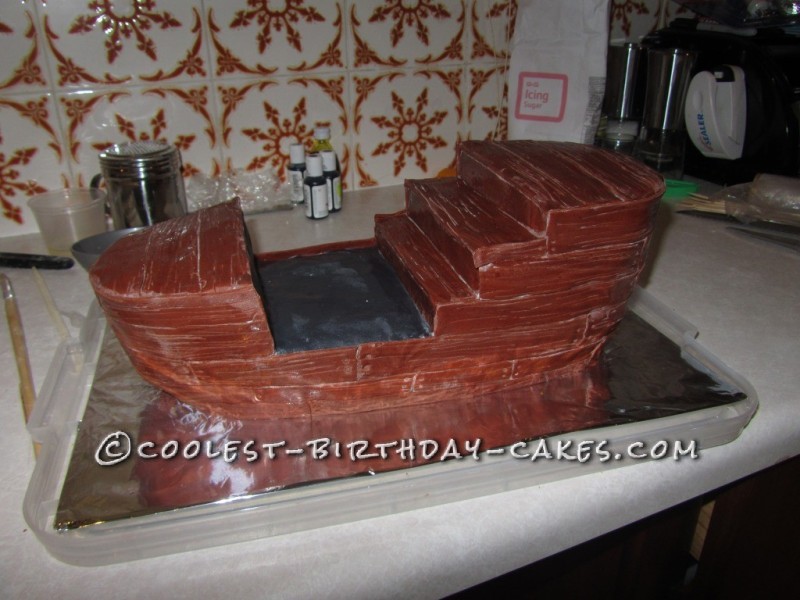
Ship completely covered in planks
Outlining the ship with yellow
Next I had to outline the ship with the yellow characteristic of Bucky. I rolled out long lengths of yellow icing and stuck it to the edges of the ship after paining it with egg white. I decorated it with blue windows as well. This made the wooden ship come alive. It was not the exact details of Bucky but my version.
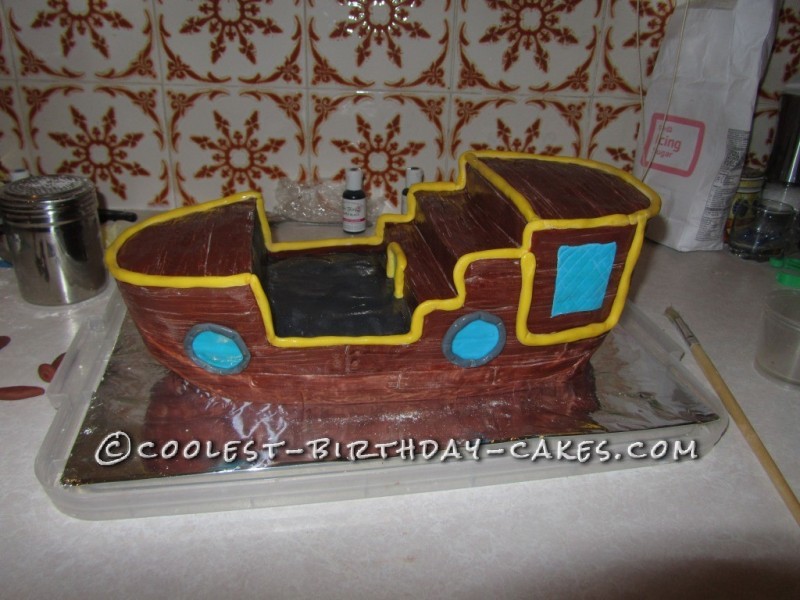
Ship outlined with yellow and windows added
Adding the wooden railings
I prepared shapes for the railings in brown plastic icing the night before and left to dry. But because I didn’t add gum they remained a bit soft. I did not manage to stick them to the ship with the egg white alone, so I inserted half a toothpick into each and stuck the other end into the ship. The front railing was a soft piece of brown icing draped over and pressed into the tops of the railings. The back railings were topped with short dried sticks of icing prepared before, sticked together with egg white and begging them to hold. They have, up until now.
The crows nest was fashioned out of melted chocolate in a silicone cupcake mold, also the night before. I didn’t know yet how I would fasten it to the mast. I was also afraid that it would make it top-heavy.
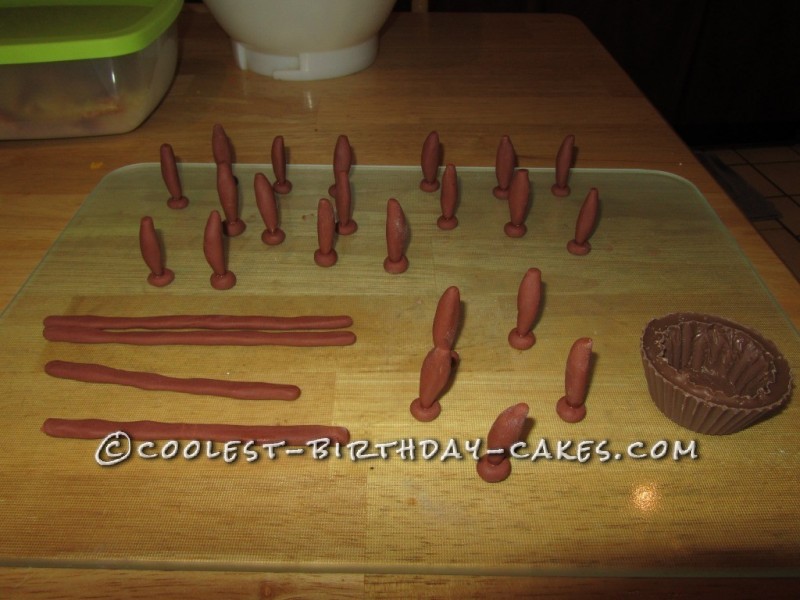
Preparing the railings
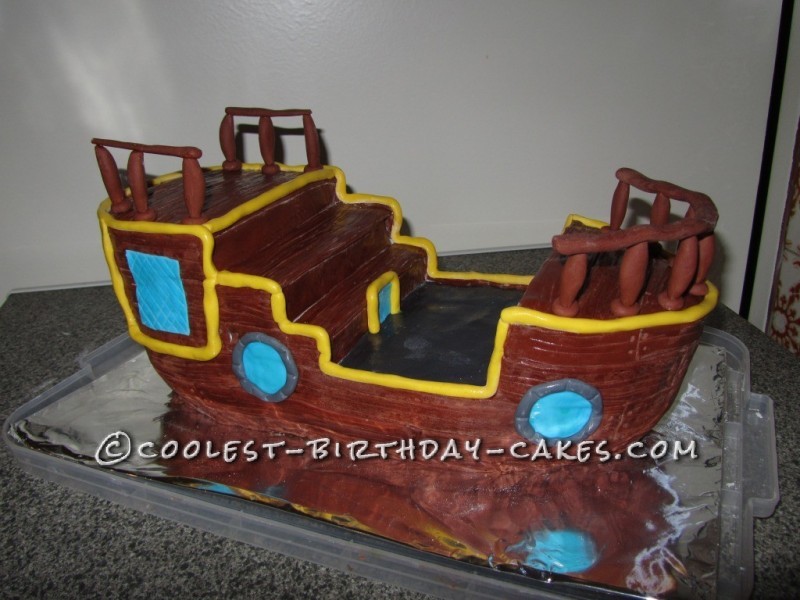
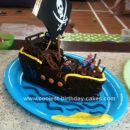
Bucky with railings attached
Birthday boy’s reaction
At this stage the birthday boy came home from school, and had a nearly finished Bucky to admire. He looked suitably impressed, but perhaps not really appreciating the amount of effort that had gone into the previous 6 hours.
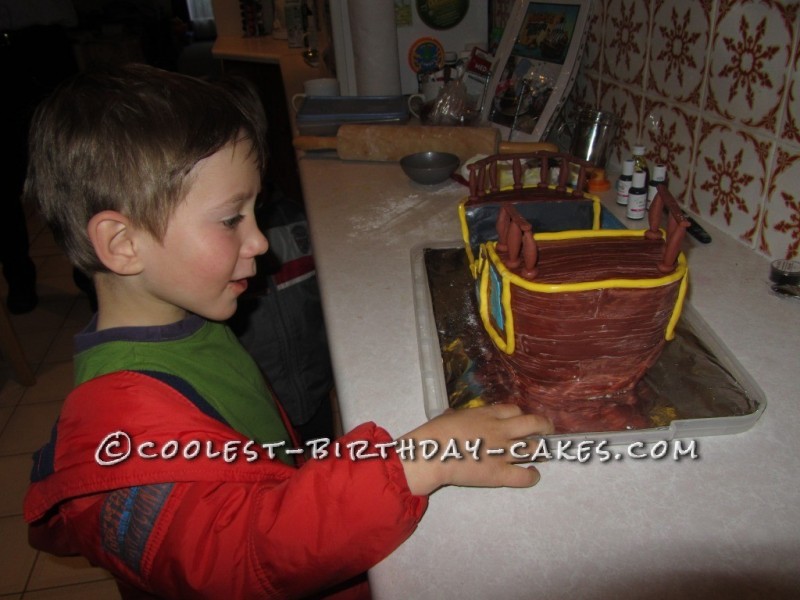
Birthday boy looks impressed!
Bucky complete with mast and sails
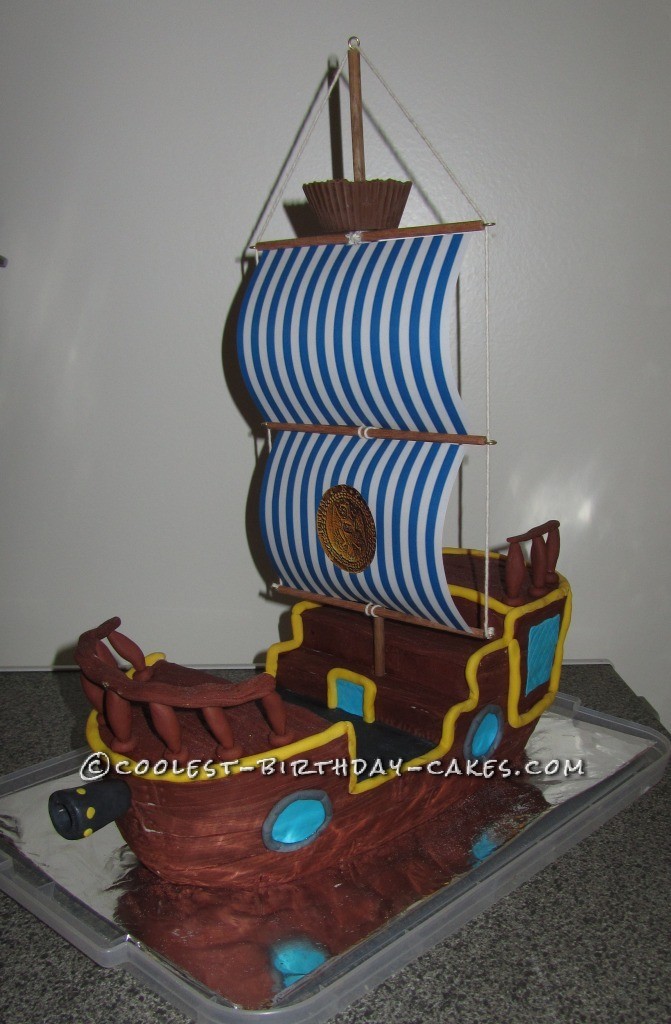
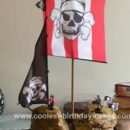
Dad’s pride and joy is the mast and cross-bars he constructed from dowels of different thicknesses. He painstakingly drilled holes into the ends of the thinner dowels to insert a screw with brass ring. He draped twine around the ends to look like rope, and calculated the dimensions so that the paper sails, of which I only had one pair and none to spare, would billow. Dad came to the rescue for the crow’s nest, by drilling a hole through the chocolate and resting it on the top cross-bar. The mast was stuck into the ship through the first step, giving it more cake to hold it upright. It was not a problem since the cake and planks seemed to provide a sturdy support.
The finishing touch was a cannon of plastic icing, decorated with yellow knobs, impaled with two toothpicks and left to dry. I also stuck on a modeled anchor, the second attempt since the first got eaten by the younger brother.
The party was held for the family today to admire, without eating, the cake, which is going to school tomorrow. I just hope we will be allowed by the birthday boy to cut it up!
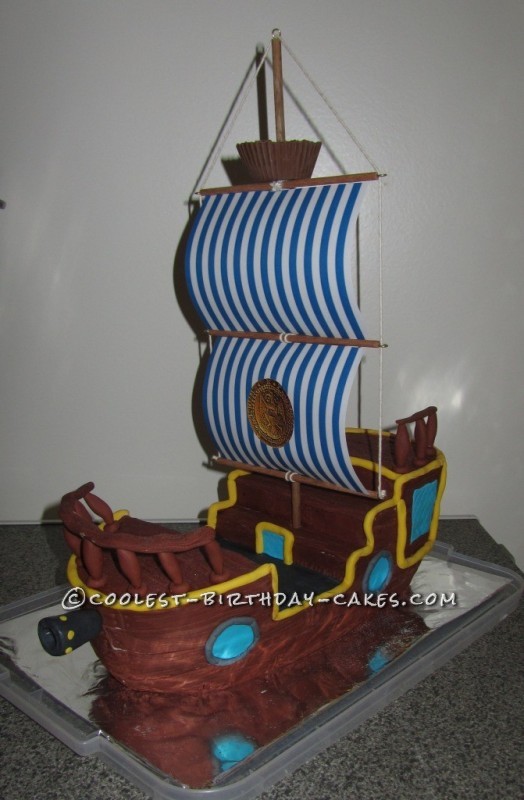
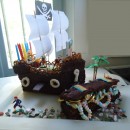
Final result: Bucky with sails billowing
What recipe did u use for your cake?
What recipe did u use for your cake?