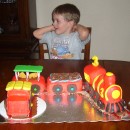
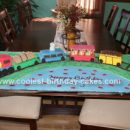
My grandson just turned one so I decided I would make him a train cake. I looked on line at many wonderful cakes to get ideas, and also checked my photo album as I made one for my son 28 years ago. So here is what I did.
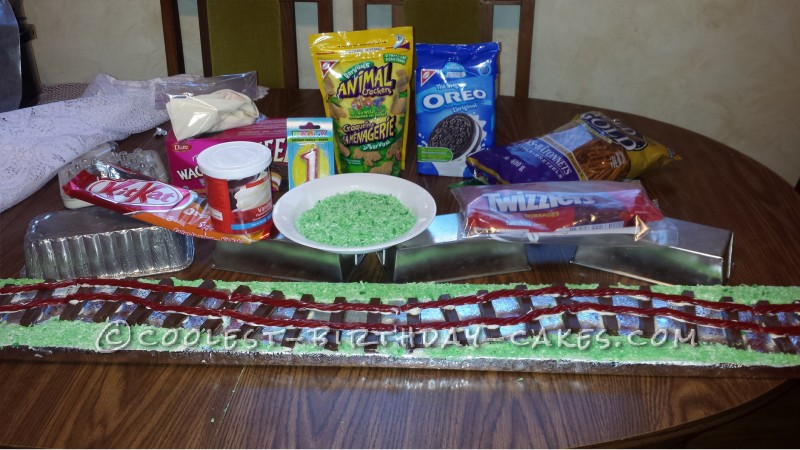
1. Shop for eatable decorations. Twizzlers, Kitkat bars, coconut, pretzels, animal cookies, Oreo cookies, Wagon wheels, rockets, popcorn (I used Cracker Jacks) and Loonie chocolates (gold coin).
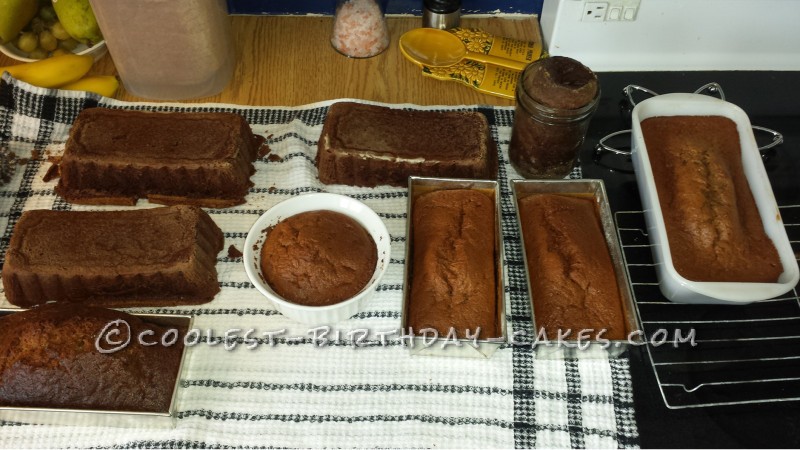
2. Bake the various loaf cakes. I made several kinds of loaves. Zucchini bread, Banana bread, and chocolate pound cake. All worked well with the end result. I baked them in small loaf pans (3×6), also used some small foil loaf pans. Total of 6 loaves and also made one loaf in a pint size straight sided sealer jar. I then froze the loaves and worked with them from frozen.
Step1
3. For icing I made a butter cream icing, however I find if you use lard instead of butter or half and half it makes a really nice tasting frosting. Add a little icing sugar to stiffen if needed.
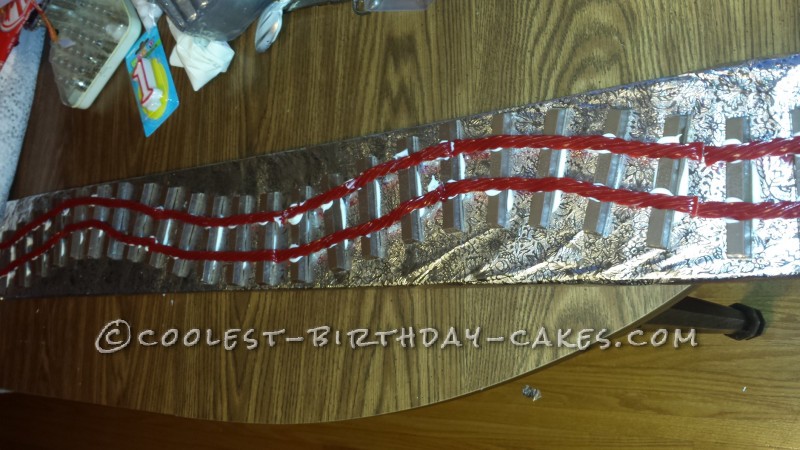
4. The day before the birthday party I laid out my loaf pans on a board to see how long I would need it. This was a 2×6 board and it was just under 4 feet long. I had my husband cut it to the length I needed. I then covered it with foil. Then made the tracks. Using Kitkat bars for the railway ties and Twizzlers for the tracks (I used red Twizzlers but black would work well too). I took some shredded coconut put it into a Ziploc bag (about a cup of coconut) dropped about 3 drops of green dye into the bag (do not drop the dye directly onto the coconut, drop it on the inside side of the bag), close the bag and shake it until the coconut is tinted green for grass (or leave white and you will have snow).
Once the railway ties and tracks were laid, I piped and then smeared some icing on the foil, sprinkled the coconut on the icing and gently pressed down to stick it to the icing. Shack off the excess and repeat until desired affect is done.
Step 2
Step 3
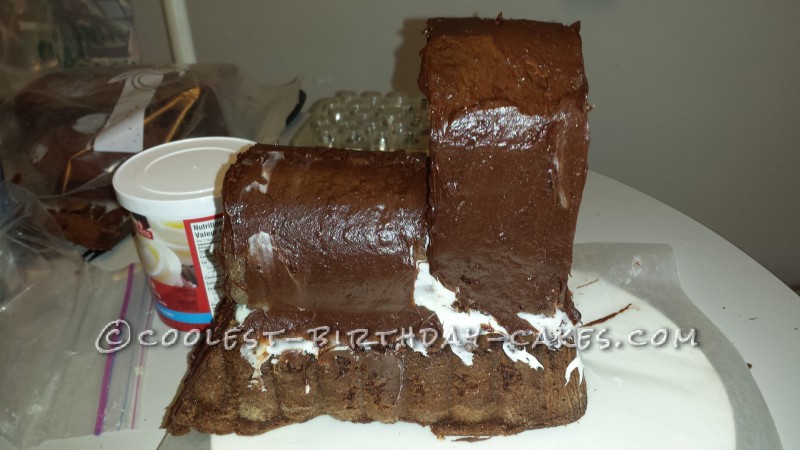
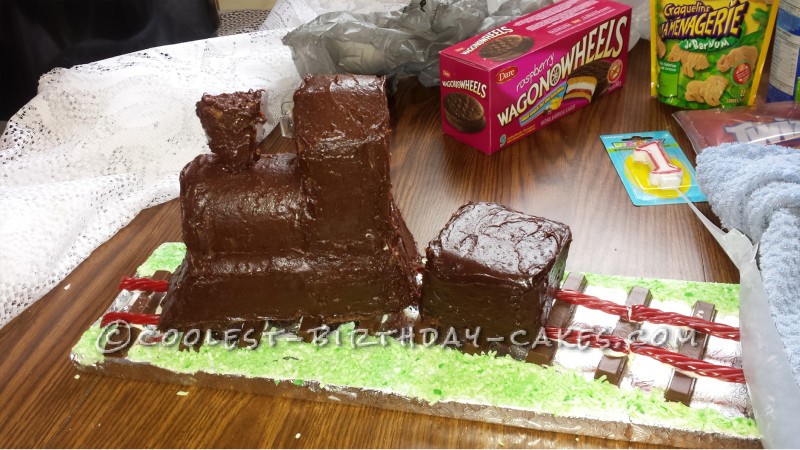
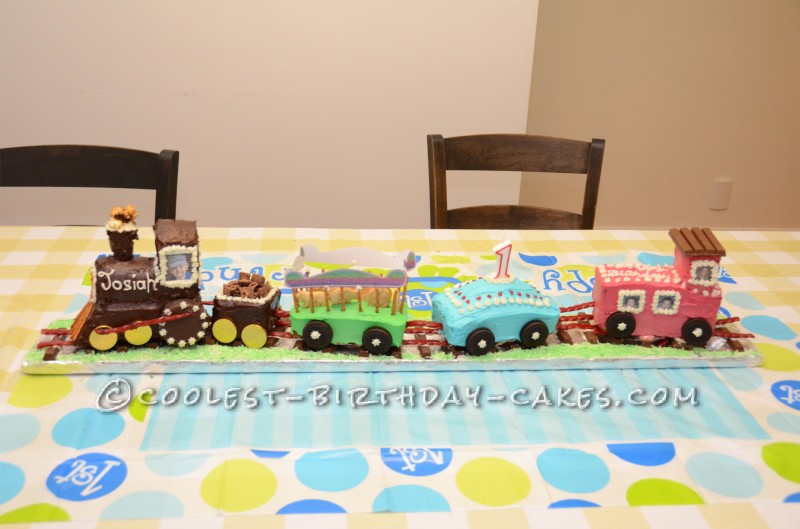
5. Assembling the Locomotive part of the train cake: For the locomotive, I used one of the chocolate pound cakes for the bottom, being frozen it was easy to carve the front cow catcher. This was about a 45 degree angle cut off and went in about one inch. Then I took the banana cake that I had baked in the round pint jar, cut it to the length I desired, trimmed off or shaved off the bottom so it wouldn’t roll and sit nice on top of the chocolate pound cake. Pieces were glued together with icing and I used wooden skewers to keep it together.
I cut a second chocolate loaf a little longer than in half. Turned it on end and put it next to the round “boiler” to make the cab of the locomotive. I trimmed the top edge to make a sloped roof. The other smaller half was used for a short cute coal car. Adding left over banana loaf I carved a chimney and secured it with a wooden skewer. All was covered with chocolate icing. Using a long flat spatula I lifted the locomotive and placed it onto the tracks.
Step 4
Step 5
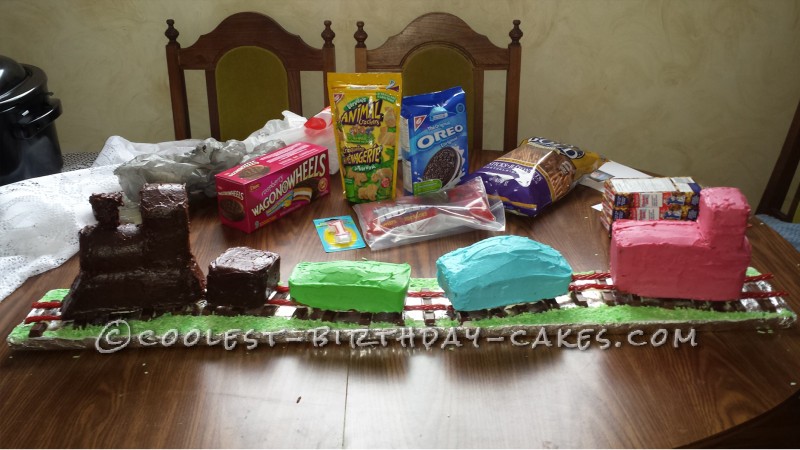
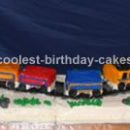
6. The remaining cars I iced with different colors and after icing each then placed them onto the tracks.
Step 6
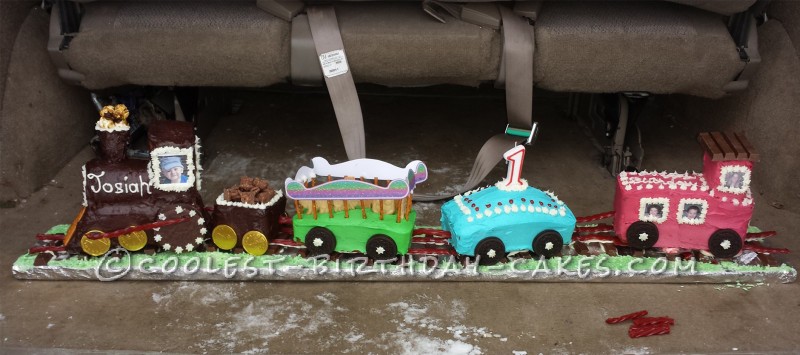
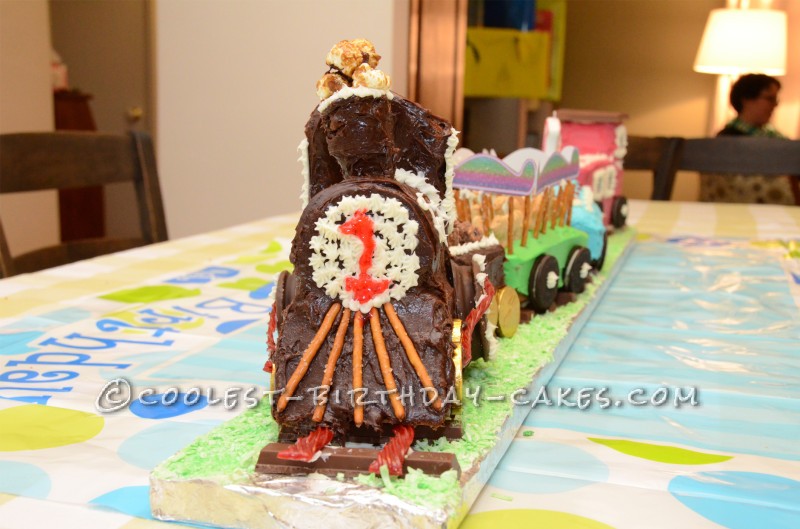
Then I piped star accents with white. Front of the locomotive I iced a white circle then using red gel icing that I bought in a tube I used to make the number 1. Continuing with the star tip on the icing I made a boarder around the top of the coal car to hold the coal in. Round “loonies” or gold coins were used for the front wheels and a wagon wheel cookie for the back wheel. I cut a Twizzler lengthwise in half to tie the wheels together. Popcorn for the smoke on the chimney. I printed two picture’s of my grandson’s face onto card stock approximately 2 inch square and put one on each side of the train, and piped stars around it to make it a window.
The rocket candies were used for door knobs on the back of the engine and the caboose. I piped my grandson’s name on the side of the engine and used pretzels for the cowcatcher in front. For coal I used a chocolate snack that I made with Chex cereal, however broken bits of Oreo cookies work well too.
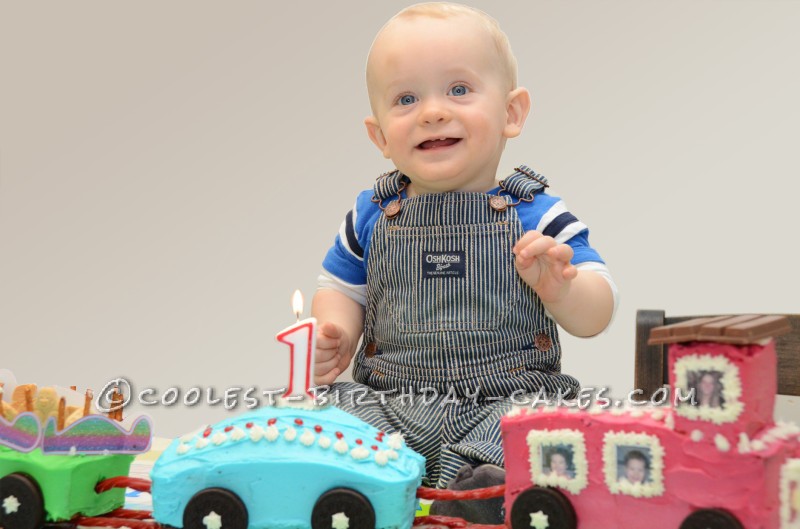
7. The circus car was the zucchini loaf, and had pretzels for the bars and as cake is heavy I opted for a roof rim I printed on card stock, cut out and attached it using the icing. Different animal cookies were then put into the cage. Oreo cookies for the wheels. The oil tanker was banana bread and held the birthday candle and decorated with piped icing. I piped “Happy Birthday” on the top of the caboose.
Step 7
Step 8
8. Assembling the caboose: I used two loaf;s of zucchini bread stacked on top of each other. With left over pieces of loaf, I made a raised area at the back of the caboose (approx 3×1.5 and about 2 inches high). Use a wooden skewer to secure the back end of the caboose. I printed off pictures of his parents and cousins to go on the sides of the caboose. These were 1 inch square in size. Piped stars around them to make them into windows. Kitkats for the roof and I piped “Happy Birthday” on the top of the caboose.
Step 9
Everyone enjoyed the train cake and it was delicious. In total set aside at least 3-4 hours to assemble and decorate the train. Have lots of fun with the decorating and use your imagination. My grandson’s 3 year old cousin loved the train cake. Have fun!
Step 10

Your comment has been sent successfully.