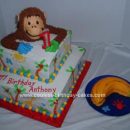
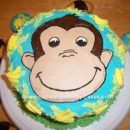
I picked a picture from color pages on line, that looked like it would make a good “3-D design” and be a “do-able challenge”. When I checked Coolest Cake website for anyone who may have some tips on how to shape a 3-D George, I saw that there were a few others who picked this same design for a Curious George cake.
I used their idea of a Toy George as a back-up plan in case this challenge wasn’t do-able for me after all. I knew this would be a heavy cake, so for the base I used extra fine finished plywood cut to 15 by 20 inches instead of a standard cake board.
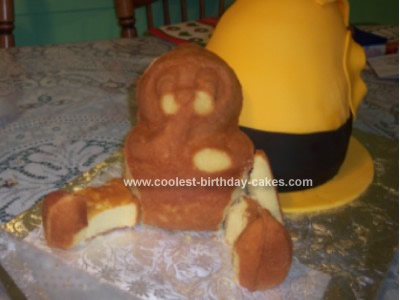
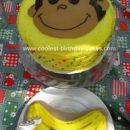
I decided that the best way to start the shape of George was to bake a large, Stand Up Cuddly Teddy Bear. That takes a long time to cool completely so I started on the Hat. For that I baked yellow cakes:
1- 3 inch by 8 inch round
2- 2 inch by 8 inch round
1- 2 inch by 8 inch round, cut down to a 7 inch round
½ ball cake using the Wilton 3-D Sports Ball cake pan which I then cut the flat side down until it measured no more than about 3 inches high.
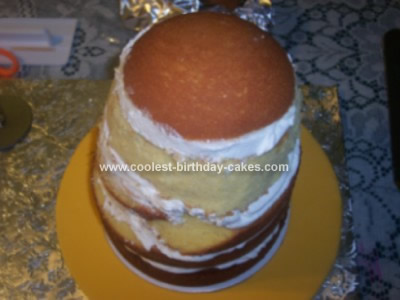
I colored my fondant for the hat then rolled out enough to cover a 12 inch cake circle which was used for the “brim” of the hat. Lining all cakes up on one edge for the straight side, I did a “dry run” so I could trim the hat to the correct shape. I had to lay the knife against the angle of the ball cake on the “front side” to get the slope of the hat right.
I then reconstructed it, placing a border of butter cream around the edge of each layer to keep the filling from oozing out before filling with cream cheese icing topped with a piece of wax paper, cut to size. Before putting the ½ ball on top, I sharpened 2 long wooden dowels (so they would pierce the wax paper, not push it into the cake) and inserted them at opposite angles all the way down to help with stability.
Once I had a crumb coat of butter cream icing on the hat, I baked an extra cake that was an 8 inch square. This was used to construct parts of George that I needed. I then put a nice thick layer of butter cream icing on the hat and cover it with the yellow fondant and I colored some black to use as the hat band.
Then it was back to work on George. I started by cutting the bottom on an angle so “George” would lean back toward the hat, then cut the ears off the top to be placed, using icing and toothpicks, on the sides of his head. I sliced off the round cheeks so I could use icing to form the mounded look on the bottom half of his face. I also sliced off the raised portion of his left arm, as I would be making an arm (using the extra cake) that would extend down to the cake board.
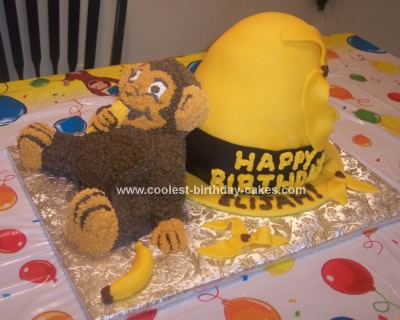
I cut off his feet as I also used the extra cake to make George’s long legs and then used icing and toothpicks to attach the arm, legs, and then the feet to the legs. George is decorated with butter cream stars, colored, using brown for his body and skin tone for his face, hands and feet.
If I ever do it again, I would add just a touch of red to the brown. His hands and the banana he’s eating are made from mounding up the icing. The extra banana by his side and the empty banana peels thrown about are made from left over fondant.

I love your cake. It looks like the real thing. Keep doing what your doing your great at it.
Wish I had the courage to try it myself!
Your cake is amazing. I have one to make for my grandson’s birthday. I was wondering what cake tin did you use for George himself?
how many people does this cake feed?
I love it!
I found this picture on google and this is the cake I want to make for my daughters birthday but I had no idea where to start, u did a great job and I will add a little red to the brown coloring