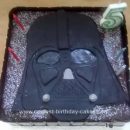
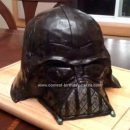
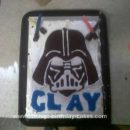
My eldest son desperately wanted a Star Wars birthday party with a Darth Vader cake for his 6th birthday. So I scoured the web and in particular this website, and decided to make a Homemade Darth Vader Birthday Cake myself.
The inside was made from one-and-a-half times normal cake mixture, that is, 300gr butter, 300gr sugar, 6 eggs and 300gr self raising flour. To make a chocolate cake I replaced 50gr flour with 50gr cocoa powder. (I also used about 50gr less sugar, just for “health reasons”.)
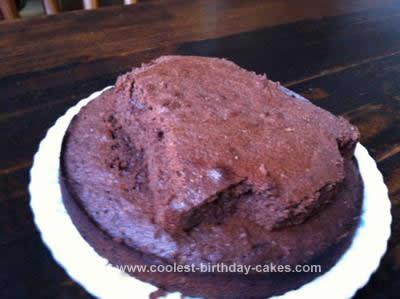
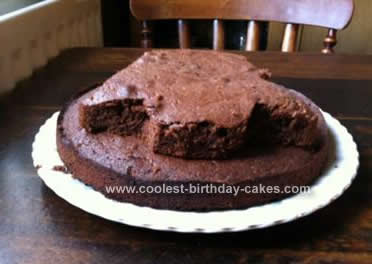
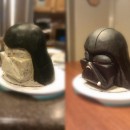
I poured about 2/3 of the mixture in a 25cm (10″) cake tin, and the rest in a 20cm (8″) cake tin. Baked for 40 and 30 minutes respectively at 175C in a fan oven (but always check that they don’t get burned!). Cooled thoroughly before applying the icing. I cut the small cake to a Darth Vader head shape and stuck it onto the other cake with some strawberry jam. (I did cut a slice from the top of the larger cake, as it had risen to much and had a rather pointy dome in the center. Cutting it off helped gluing the two parts together.)
For the icing I mixed 450gr sifted icing sugar into 2 egg whites that were whisked until just frothy. Then added 2 tsp lemon juice. You should add 2tsp glycerine, but I never do and it works fine. Then I took roughly 8 big spoonfuls of the icing and put it in another bowl, where I added black food colouring paste. This was the hardest, as it was difficult to get it black.
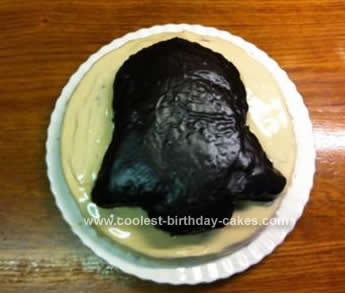
The colouring paste had dried out a bit and I added quite a bit of lemon juice, maybe a bit too much. I added a few teaspoons of cocoa powder too, but it all stayed dark brown. Don’t worry! When the icing sets and the egg whites dry, the icing gets darker and the end result was a pitch black, shiny Darth Vader.
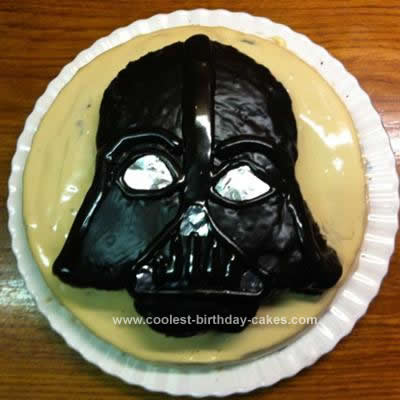
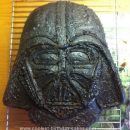
I copied the proportions of the face from a Darth Vader mask. First I did the base coat of the face and let that dry for at least an hour. Then the cream-coloured icing around the face, otherwise the black icing will droop into the white icing around it. When all has set I used a baking paper piping bag to pipe some icing for facial features. This icing always spreads a little, so it all amalgamated together.
If you need sharper lines, make sure you only use 2tsp of lemon juice and slightly (!) cool the icing in the piping bag. Silver foil for eyes and mouth corners, a few more icing lines, and done! No space for his name, but the six candles around it made the face even spookier in the pitch black kitchen with 8 excited children!



Your comment has been sent successfully.