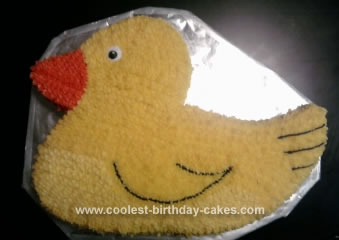
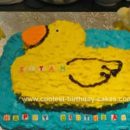
To make this homemade duck cake I just used one box of cake mix and cooked it as directed in a 9×13 square pan. While the cake was cooling I went online and found a picture of a duck that I thought was cute. Once I found the one I wanted, I printed it out, cut out the duck, then traced it onto a piece of cardboard (I went approx. 1-2 inches bigger than the paper I was tracing so that the size of my cake will be larger). When I was done tracing on the cardboard I cut it out and laid it onto my cooled cake. I then cut around the cardboard design of the duck to shape the cake.
Once I was done with this, I iced the cake using yellow icing everywhere except the beak. I iced the beak with orange. The reason you want to ice the cake before you do that star tip design is so that if some of your stars are spaced out, then you wont be able to tell. Once this was done, I used black icing with just a regular small tip on the end of the bag to draw out the wing and the lines on the tail.
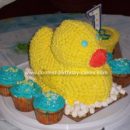
I used white icing to make a medium sized dot for the eye, then used black to make a small dot on top of that for the pupil of the eye. Then, I used a star tip and just made little star drops all over (yellow stars over yellow icing and orange stars over orange icing). Make sure that when you do this you don’t cover the eye or the lines you made for the wing and tail. When your doing the star tip design everywhere, there isn’t really a certain pattern to do. I just went across with one big line, then started the second line and went across right below it.


Your comment has been sent successfully.