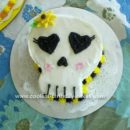
I started out this Evil Skull Birthday Cake by mixing up my own Red Velvet cake; I thought it was appropriate for this cake. With this cake pan you must spray with Pam and then coat with flour.
The cake comes in 2 sections which have to be assembled. The backs of each cake half has to be cut straight so they fit together good. Make a batch of icing like you would make for a cake (not thin) so you can basically take the icing and stick the 2 halves together. Then you can let your imagination run wild.
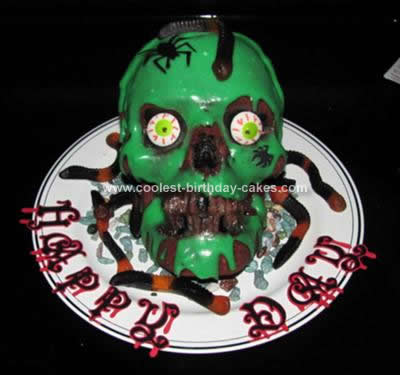
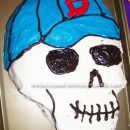
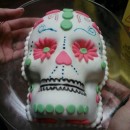
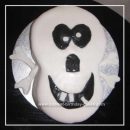
I decorated the cake with mint flavored green icing sugar, gummy worms, sugar eyes candy rocks and a bit of black icing for the eyes, nose and teeth.
I then made the icing thin so I could just pour it over the cake. You have to be careful that you don’t make it too thin then it just runs all over your plate and not so much on the skull. That was the fun part about this cake design because the skull cake is always a different cake every time you make one.
One skull cake I made looked rather scared or freaked out because I had ripped open the mouth and had gummy worms and gummy spiders spewing out of his mouth along with the frosting it looked pretty scary…..I gave it to my Granddaughters School for Halloween.
With this birthday cake I started at the top of the skull and pour slowly making sure that it covers the back of the skull also. As the icing flows toward the eyes take care not to let it flow in, use a spoon to carefully guide it away and let it flow down the cheeks. The mouth/teeth are another area you don’t want to get any icing on. I just used a spoon to put a bit over and under the mouth.
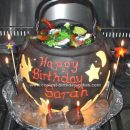
I then added sugar eyes (gives it character) gummy worms, chocolate rocks and a few paper bugs, and the Happy Day words I also made.
This cake looks evil the way the icing poured over the cake so I thought it would be a wonderful surprise Birthday cake for my son which was at the beginning of Oct.
Your comment has been sent successfully.