After seeing several 3D cakes I decided my son needed one for his Star Wars themed birthday party.
First, I baked 6 nine-inch rounds and after cooling I compressed each by covering with wax paper and pushing down to make the cake firmer or more dense and to flatten the normal crowning that comes from the natural rising during the baking process.
Next I stacked the rounds with a layer of frosting between each cake layer. At this point I froze the whole thing for 4 hours to firm it up even more before carving to make shaping/sculpting easier and to add definition to the shape by reducing crumbling while sculpting.
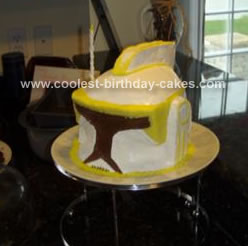
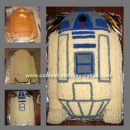
I then began to sculpt the cake by first shaping the dome top and trimming the sides to be uniform. I made sure to cut around raised features such as the visor and side towers. I trimmed out the cheek recesses and carved a separate piece of cake for the vertical blade on the top of the helmet.
I attached the blade with frosting and a few toothpicks to hold it temporarily until I could crumb coat it and refreeze. I then crumb coated the whole cake with white frosting and placed it in the freezer to harden and firm up the crumb coat before frosting and decorating. After freezing remove the toothpicks.
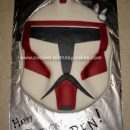
I removed the homemade Commander Cody cake after 4 hours and covered with a coat of white frosting and then refroze the cake for a half hour. I then smoothed the now hard frosting with a frosting knife making sure to keep it wet by constantly dipping it in a cup of water. This smoothed the frosting to a helmet like appearance.
I then refroze the cake again so that I could remove any decoration mistakes without ruining the white frosting.
I now added all decoration using gold/yellow frosting, chocolate frosting, and created the antenna by frosting a straw and sticking it into the cake.
To serve I cut the first half of the fully edible Commander Cody cake into slices and then the bottom half. It fed a lot of people.

Your comment has been sent successfully.