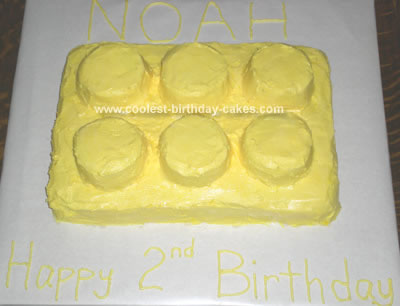
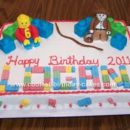
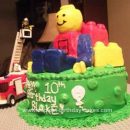
This Lego Birthday Cake is made from 2 rectangular cakes. The first cake is used to make the base of the cake. The second cake is used to cut out the circles for the top of the cake. I used a glass to cut out the circle dots from the second cake. (The extra cake from the second cake is great to snack on while icing the cake!) I then iced the whole thing as if it were one cake.
I choose yellow for the Lego block because I figured the yellow would not stain as easy as other colors. It took a good deal of food coloring to make the vivid color. I would normally use gel food coloring but decided on liquid coloring for this project; I was afraid that the large amount of gel may create a taste in the icing.
The cake is placed on a piece of cardboard covered in white freezer paper. I liked the freezer paper because it provided me a place to write my message. It was really easy to write on the freezer paper because mistakes could easily be wiped up and done again. This also allowed me to write in yellow. Only having to mix one color of icing was a big time saver. The freezer paper will absorb some of the moisture so it is only good for about a day.
The hardest part of this cake to me was icing between the dots. I did not have a spreading utensil small enough to easily fit. I found the small metal knife from my son’s eating utensil set was the perfect size!
For the party, we used some of my son’s blocks as decorations. We also used square plates instead of round ones to help further the theme. My son was so excited about his cake block!!
well done! Such a simple idea I am going to do this for my son’s birthday but he wants his in chocolate.