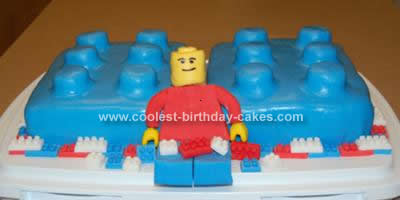
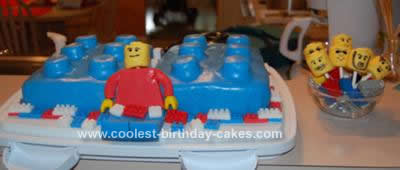
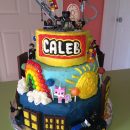
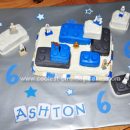
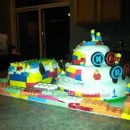
My son LOVES Lego’s, so of course I had to make him a Lego Birthday Cake. I got ideas from other cakes on this site, as well as some other websites and went from there.
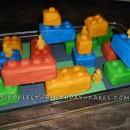
I used an 11 X 15 pan to bake the cake, cut it in half to make two Legos. Torted and crumb coated both cakes with buttercream icing. I cut about 1/4 off the top of 12 large marshmallows using a sharp knife and coated them with icing for the knobs. I used homemade marshmallow fondant tinted royal blue, rolled it out and draped carefully over the cakes. When draping the fondant, I made sure that I almost folded it together in the middle and brought it down to touch the icing between the marshmallow knobs, so I had enough fondant to stretch around the knobs and not tear. I actually bought two pieces of PVC pipe (cleaned really well, of course) to use for rolling and draping fondant.
I then carefully and gently used my fingers to form the fondant around each knob, but I did have to pierce the fondant with a needle around each one to get out the extra air pockets.
For the small Legos, I used tinted pre-made fondant, so that they would harden somewhat. I used an actual Lego for all my measurements. I rolled the fondant out to the thickness of a Lego, and then used a sharp knife to cut strips the width of the Lego and then cut the strips the length of the Lego. To make the knobs, I rolled the fondant into very thin “snakes”, really thinner than you think they should be because they get a little smushed up when you cut them. Then I popped them into the fridge to harden them up a little and cut them into little bits, which then had to be re-formed a little bit to get the roundness back. I used a small paintbrush to brush the tops of the blocks with water and placed the knobs on and let them dry.
For the blocks on the bottom row, I only put knobs on half of each block so that when I stacked the white on top, it would look like they were stuck together, like actual Legos would be.
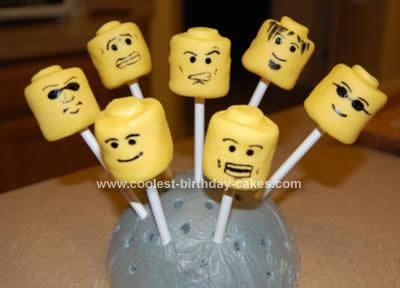
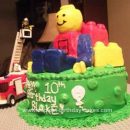
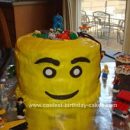
For the Lego man, I used premade fondant to shape the different pieces of his body and used water and toothpicks to hold the pieces together. For his head, I had made “pops” using large marshmallows and yellow candy melts. For the bolt on top of his head, I used slices of marshmallow and used the round bottom of an icing tip to cut smaller rounds out of the slices. The stickiness of the marshmallow was enough to hold the bolt on top of his head. I dipped them in the melted yellow candy coating and shook of the excess to create as even layer as possible. I stuck them in a piece of floral foam covered with plastic wrap to dry. I used black gel color thinned with vanilla extract and a fine paintbrush to paint the different faces on the pops, using my son’s Legos for models. I had tried a black food writer pen, but I couldn’t get it to write on the candy coating. I cut down the stick and stuck it down into the top of the body to finish my Lego Man!
This cake really turned out much better than I had anticipated. Hope you all enjoy my pictures and I hope you all have fun with your own creations!
I LOVE the mini fig pops! We’re so doing this :) Thanks for sharing and for your detailed helpful instructions!
wow I’m amazed. It looks really time consuming but it is worth it. I admire it but will not attempt it. I don’t think I could do it so perfect. Thanks for sharing.
I love these cake pops the facial expressions are brilliant ! well done
I love the cake pops! My son’s birthday is in August, but I don’t know if I’ll be able to wait that long to attempt to make these. Great job!
Thank you for including your cake and lego head pops – you have inspired me all the way here in Queensland, Australia – I am so making those pops!
Those cake pops are fabulous – I’m going to try them out for my stepson’s birthday this weekend
your lego is amazing i will make the body to go with the head for liams big day or maby even deans LOL!1
xoxo Tori Spelling