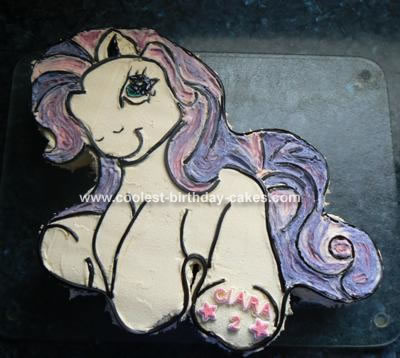
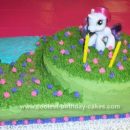
I made this My Little Pony cake for my little girl’s 2nd birthday, she is crazy about My Little Pony!
This cake is 2 slabs of chocolate sponge with butter icing and licorice out lines. This is how to make it:
Make the slabs in a roasting pan with a basic sponge recipe. Print 2 large pictures of my little pony, 1 of the head side and the other the bottom side then join them together with tape (this way you get the size needed and not just the A4 size that a printer will print).
Cut out the picture and place it onto the cooled cakes, using a sharp knife cut around the picture.
Spread jam and whipped cream on one of the cakes then place the other cake onto it. Make up a large batch of butter icing and colour it to your choice.
Spread the butter icing over the whole cake.
Place the cake into a fridge to let the icing firm up. Using a small knife cut out all of the outlines from your picture then tape wooden skewers to the back. Place the picture onto the cake softly, try not to make any impressions on the icing. (only the skewers should be touching the icing).
Using a toothpick trace the outlines through the cutout sections onto the cake, remove the picture. Using long flat licorice slice into long thin strips, place the licorice around the marked outlines of the cake. For the pony’s hair used more butter icing, colour 2 to 3 different colours. To draw on the pony’s eye use a ready to use gel icing tube or pen.
It sounds like a lot of work, but it is really very simple, this was only my second cake I had ever made and the kids loved it!
hi just need a little clarification. what size roasting pan did you use? was it metal or a disposable aluminum pan? would. i need to double a regular cake recipe that makes an 8 or 9 inch round layer cake?