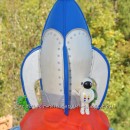
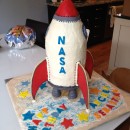
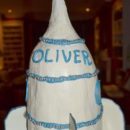
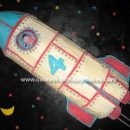
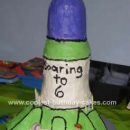
For our son’s 7th Birthday, we were doing a Patriotic Space Shuttle Adventure party. I’d searched online and had seen all those beautiful and fancy cakes and was searching for an easier option. I found a cake on the Betty Crocker site that was a 3D cake and then had come across a NASA model rocket. I decided to base my idea for a Homemade Outer Space Rocket Shuttle Birthday Cake on the two.
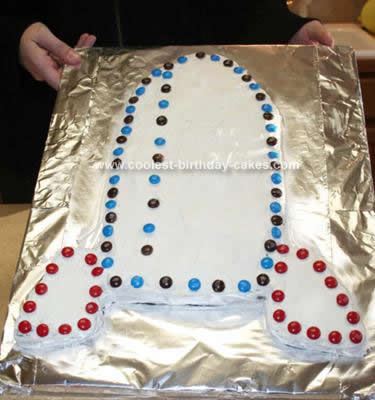
I used one cake box. Baked in a 13×9 baking pan. Once cooled I leveled it off. Flipped it upside down to save myself some crumb issues. I then created a template cutout of the shape I was needing. I drew an outline of a rocket shaping a nose cone, body tube, and fins on a paper. I cut my cake based on this template. Using the cutouts. You should have 5 parts once done. The nose/cone/body tube is one large piece and two will be the fins to place at the base of your rocket. You’ll have two thin strips of cake left. Feel free to discard or as I did- eat them. Yum.
Arrange your pieces on a large cake board. Dabb some frosting on board to adhere your cake pieces down. Arrange and shape your rocket. Apply a crumbcoat.(YouTube it. It’s easy and makes for a cleaner crumb free cake.) Refrigerate approx 30. min. Once set, apply your white frosting. Allow to set.
AWESOME TIP: I learned this after the fact. For smooth look, after frosting cake- REFRIGERATE. Allow frosting to “set” (MUST NOT BE STICKY/TACKY to the touch. If frosting sticks to your finger, it’s not set yet. Once frosting is set, tear large piece of parchment paper or use a paper towel sheet. Lay paper flat along one side of the cake. It should stick to your cake & not peel any frosting off. Keeping paper in place, gently rub your hand on the paper. This will smooth the frosting underneath the paper. Peel paper off, reapply to another section of cake & repeat smoothing technique. (For video search youtube: Cake decorating A Secret to Smoothing Icing).
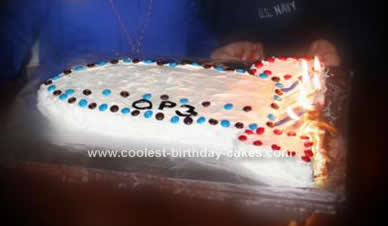
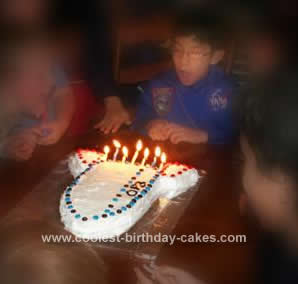
Decorate with red and blue m&m’s. For the writing, I used black ready to use cookie icing in a tube. Has a built in tip. Just squeeze and go. Lastly, we placed the birthday candles at the base of the rocket. Once lit, they really completed the look of our rocket!
The kiddos were awestruck by our cake!
Your comment has been sent successfully.