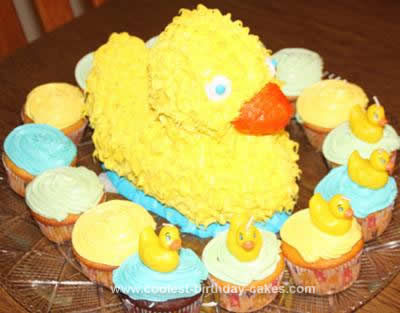
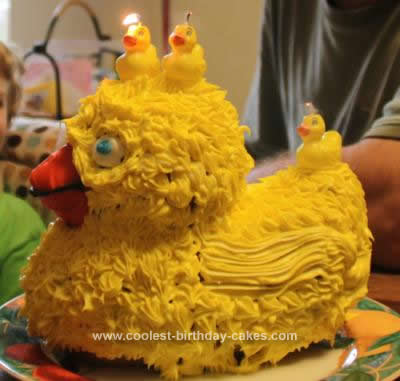
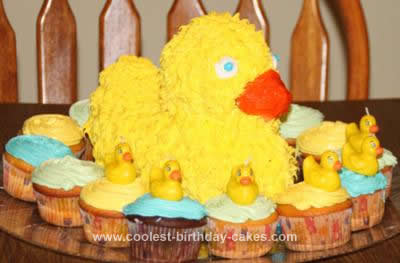
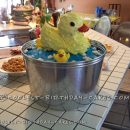
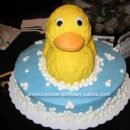
This Homemade Rubber Duckie Cake was easy to bake. We bought the two-part rubber duckie cake pan and rubber duckie candles on-line. We just made a standard cake mix and poured it to the brim of the bottom part. As the instruction stated, we had greased it heavily so that it wouldn’t stick. Then we placed the top of the pan over it and tied it around with wire while it baked in the oven.
We put it on a sheet pan with aluminum in case it ran through the little hole on top (which was for inserting a toothpick), but it didn’t run over much. We removed the top pan, cooled it for ten minutes on one side, replaced the top pan, flipped it, and removed the top pan to cool on the other side.
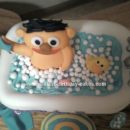
We waited until the next day to decorate it so that it would be completely cool. We added yellow food coloring to standard cake icing and piped it on. It worked better after refrigerating it for about fifteen minutes at a time. We used tubes of white decorating icing for the eyes and (with blue color added) for the irises and water.
Overall, it was fun and easy to make! We made one for a baby shower and one for a birthday party! Our two-year-old son LOVED it, and it also got a lot of compliments at the baby shower!


Your comment has been sent successfully.