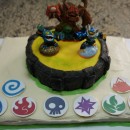
Every year I ask my son, “What kind of birthday do you want?” and almost instantly regret it. I love making cakes, but I am no expert; I have no training of any kind and some of the designs I come up with are quite difficult, though I’m not experienced enough to know it. But I do love a challenge. This year, it was no surprise when my son asked for a Skylanders cake. I went to the internet for inspiration and found lots of cakes that looked like the portal from the game but I decided to buck the trend and create a part of their world. I knew I was going to put real Skylanders on it, so I researched images for inspiration. I found one of a mountain, with a bridge and a waterfall, and started having ideas right away. I would lie awake at night envisioning Skylanders villains made of chocolate. Luckily, the game is played 25 hours a day at our house, so I was able to do a lot of covert research.
Details on the Cake
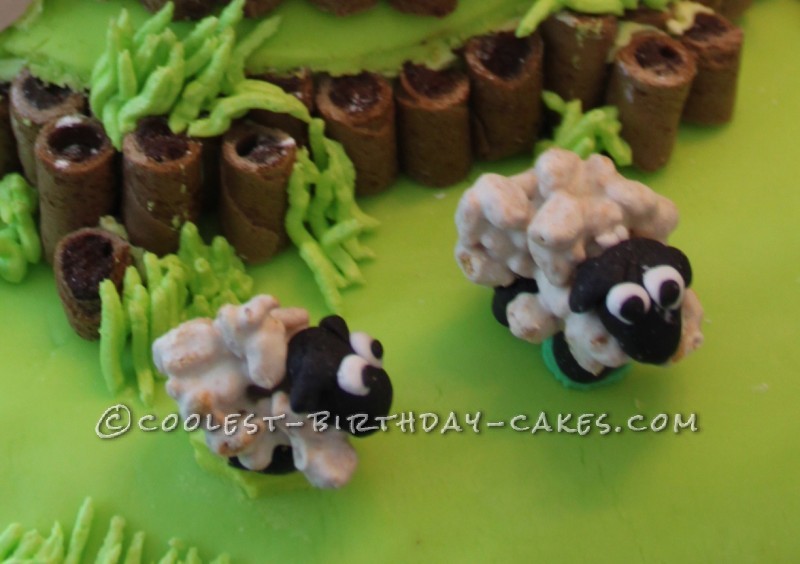
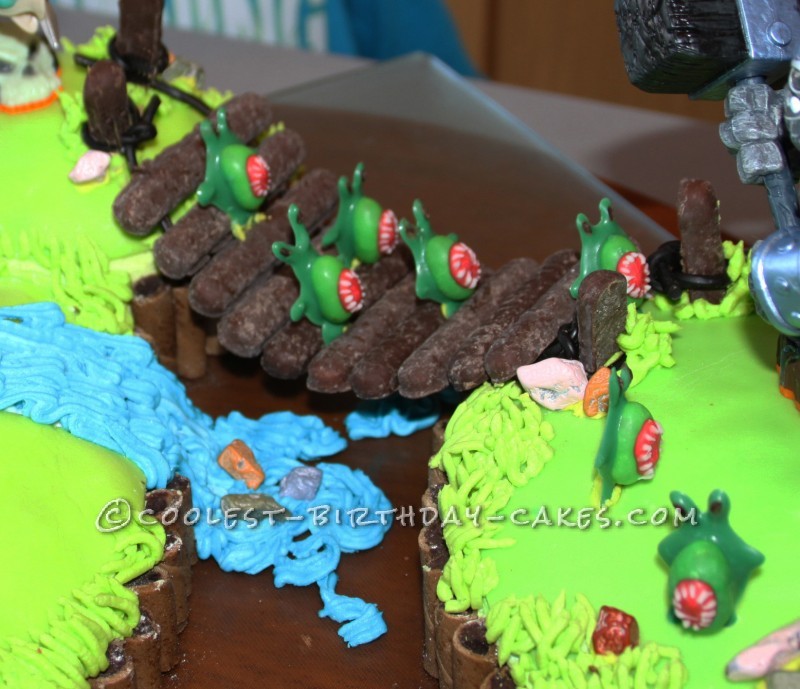
I had lots of time to make this cake, but of course you can start work only a few nights before the party. The first thing I did was some of the details that I wanted to add. In the game there are bad guys called Chompies, and there are also sheep on some levels that my boys really got a kick out of that I wanted to put into the scene. I headed down to the bulk store for inspiration. I bought chocolate rocks to add to the cake, green jelly beans for the Chompies, and Clodhoppers for the sheep. I also got some green, red and white melting chocolate to use for details on the Chompies. My older son suggested Fiddlesticks cookies for the planks of the bridge and we got some black licorice strings for the rope.
I made the Chompies by melting the green chocolate and piping the body, arms, and feet onto a plastic wrapped plate and stuck the jelly bean in the middle. Once that set I melted red icing to pipe on for the mouth, and let it set again. I melted white chocolate for the teeth and regular chocolate chips for the eyes, and “painted” it on with a toothpick.
The sheep were a huge hit, my nephew has requested a cake that is a field covered in sheep for his birthday. I made them out of Clodhoppers and fondant icing. I moulded the heads and legs and wet them a bit where I was joining them to the Clodhoppers. A word of warning: Clodhoppers melt fast in your hands!
I made the bridge by first cutting 2 cookies in half to be the posts and tying the licorice rope to them. Then I laid out the cookie planks face down and used melted chocolate chips to glue the rope to the underside of the planks. Once the chocolate hardened it was actually quite strong.
These details were my favorite part of the cake. They were a lot of fun to imagine and create.
The Cake Part
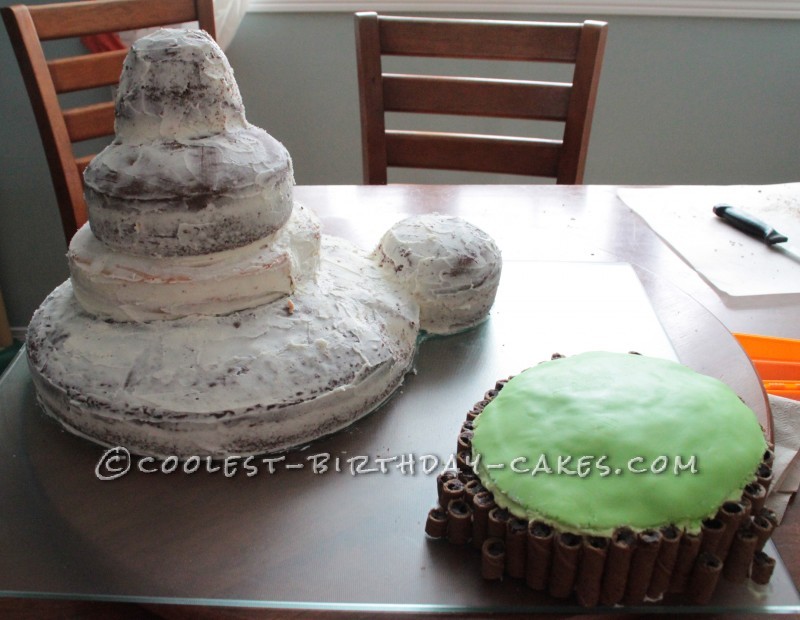
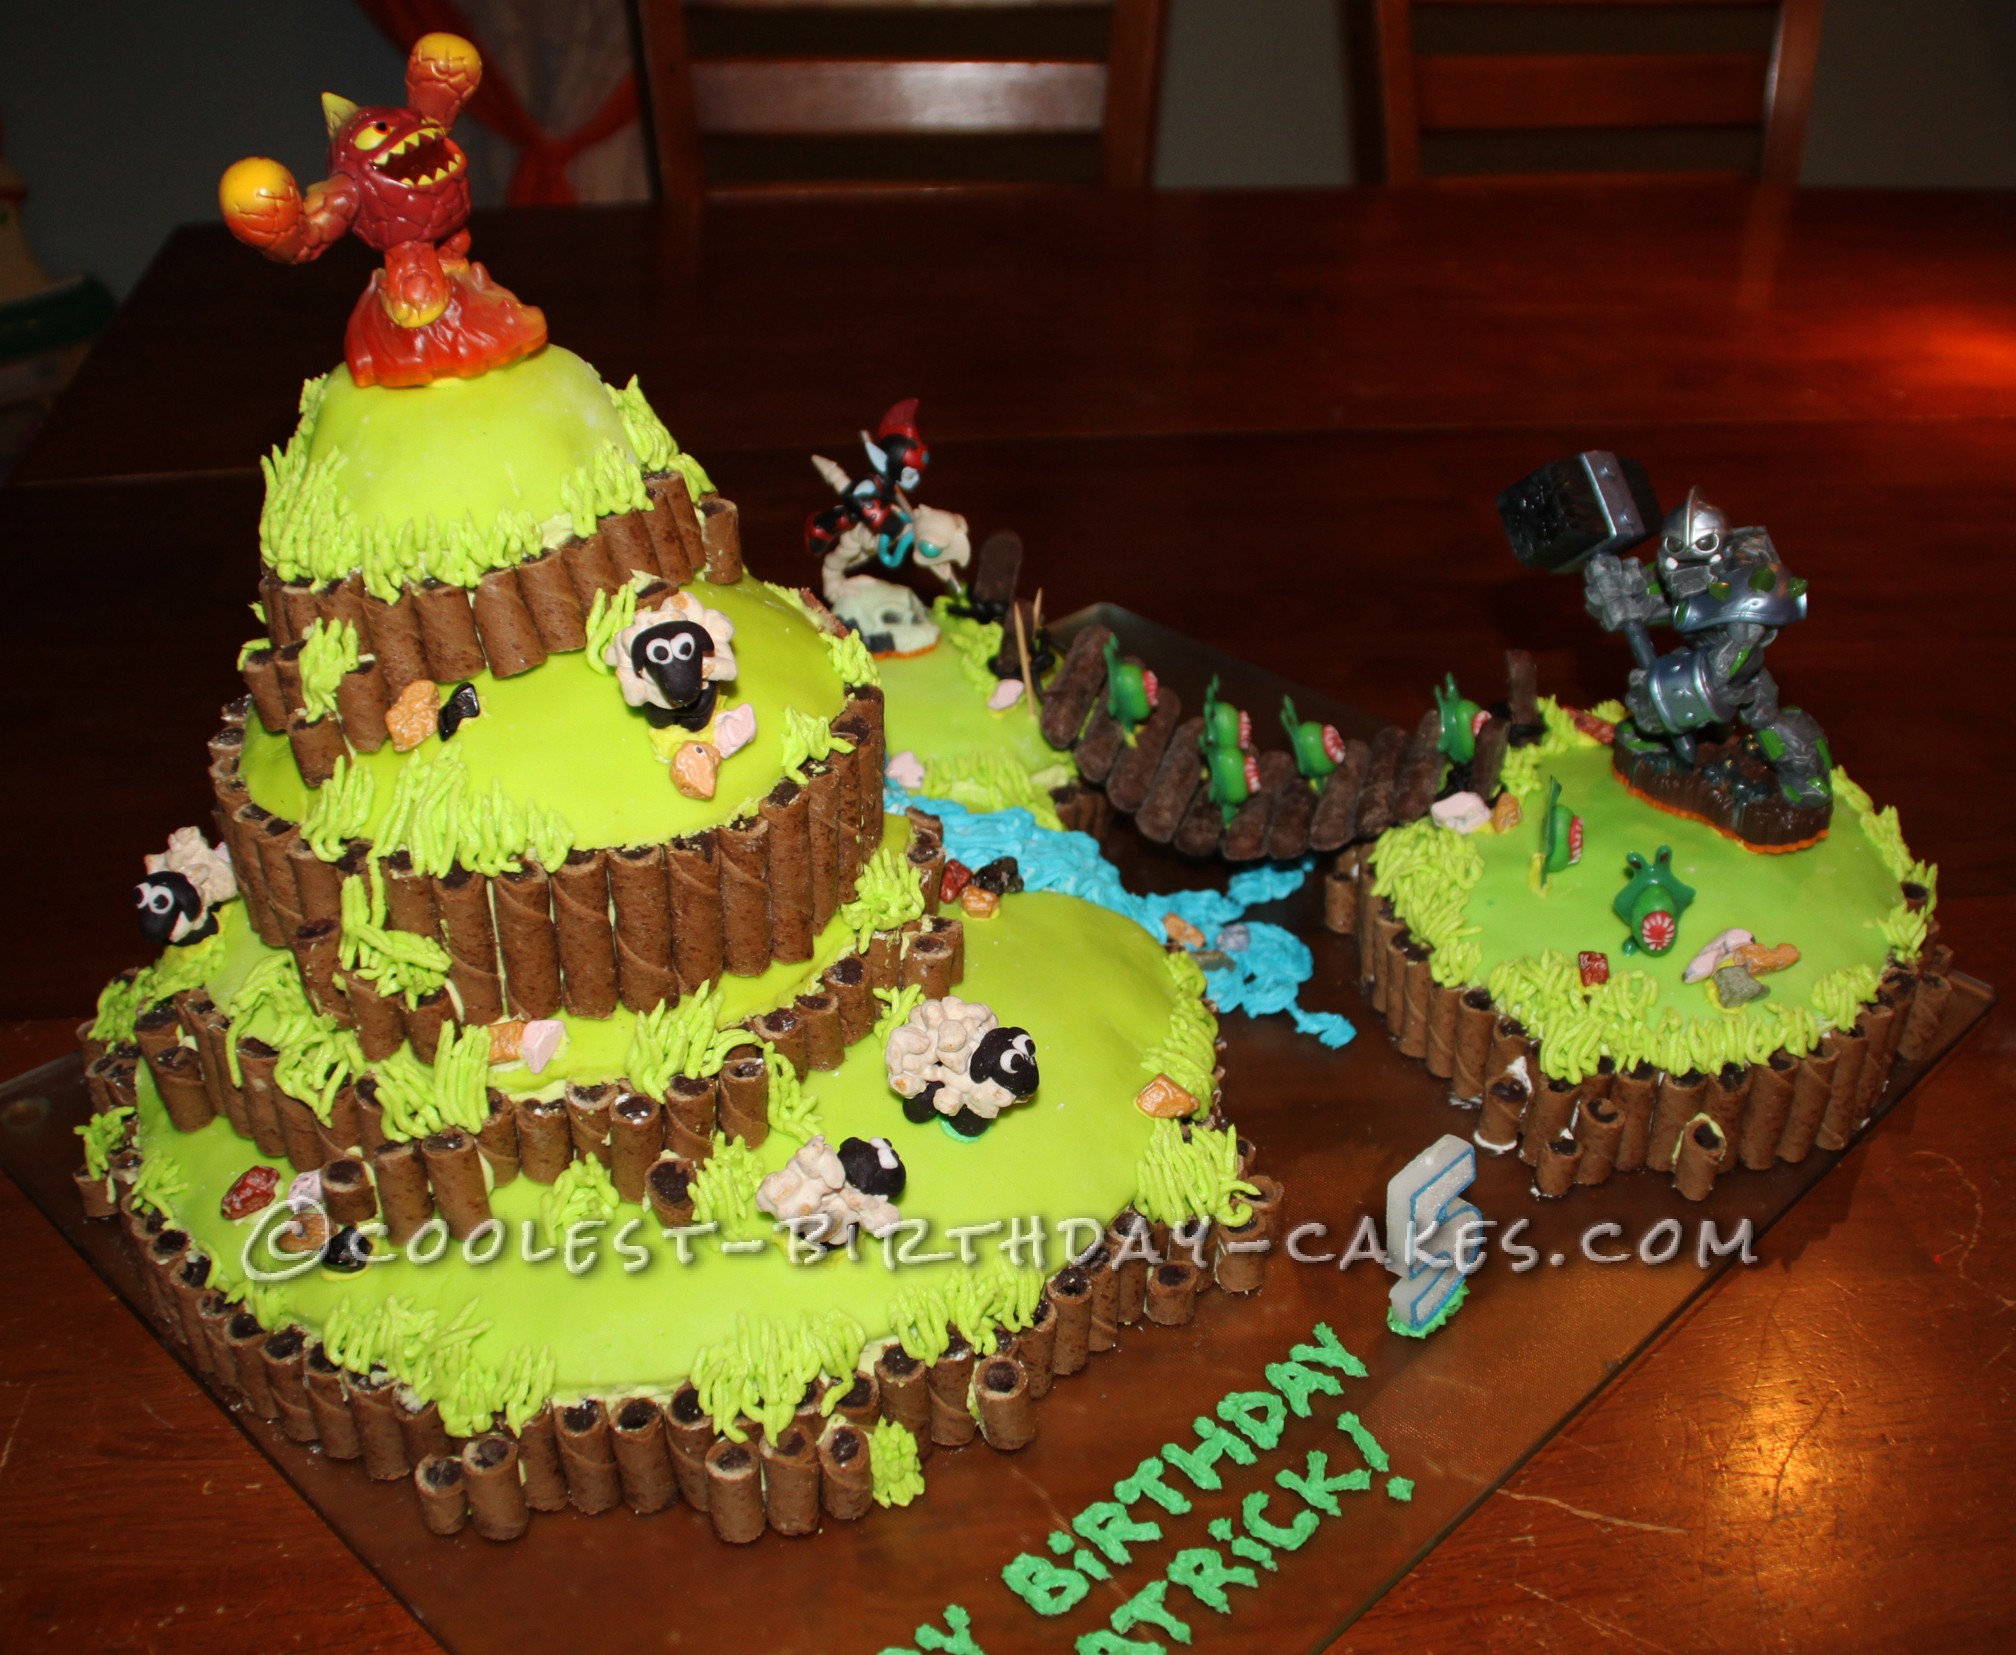
My son wanted chocolate and vanilla, so I alternated the layers. I used 3 cake mixes to make one 14″ round, and two 9″ round sections. Then using the glass baking dishes I had, I made a 5 1/2″ round and two 3 1/2″ rounds. Starting with the bottom layer I covered it in a thin crumb coat, (thank you to my professional cake making friends! This step is super helpful!) and refrigerated it to let it set before adding the next layer. Once the icing hardened I added more icing under the new layer I was piling on top. I then crumb coated that layer and let it set in the fridge again. I carved into the top layer a bit to make the shape more mountain-like. One of the 3″ cakes was notched to fit up against he bottom layer. And one of the 9″ cakes made the separate island that was connected by the cookie bridge. Once all the layers were piled up and crumb coated I carved out the path for the waterfall and then crumb coated it too.
And now the fun can begin!
The Decorating Part
I started with the edges of the cake, coating them in green butter cream icing, then sticking cookies I had cut to the appropriate height into the icing. I used the cookies because they looked like the earth in the Skylanders photo I was using, and they’re delicious! This step was very quick. Once the sides were done I coated the top in green butter cream and rolled out the fondant and laid it on top for the grass. That sounds so easy, lol, but fondant is evil! It looks amazing and I knew I had to suck it up and do it. I used a homemade marshmallow fondant that I tinted as needed, so one recipe gives you lots of colors. Kneading the color in is a lot of work, and the homemade stuff is a bit harder to work with than the store bought.
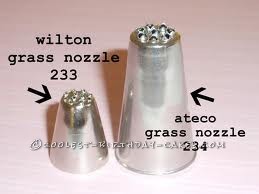
After much complaining on Facebook, and tips from all my friends I got it done. Luckily I had lots of details to add to hide my sins. After all the layers had their “dirt” edges and fondant grass I started adding detail. I used an icing tip like the one pictured below to add tall grass. Then I placed the bridge, with icing for glue, and by pushing the cookie posts through the fondant. I used toothpicks to hold them straight until the icing set. I made the door frame for the waterfall out of chocolate wafer cookies and had fun with blue and white icing in my bag at the same time to pipe out the water detail. Then I got to ice on my chocolate rocks, sheep, and Chompies. The Skylanders were iced into place and the cake was done.
My son was thrilled when he saw the cake. I brought it out of the fridge about 15 minutes early and he stood beside it admiring and discussing it the whole time. It was a big hit and so much fun to make.
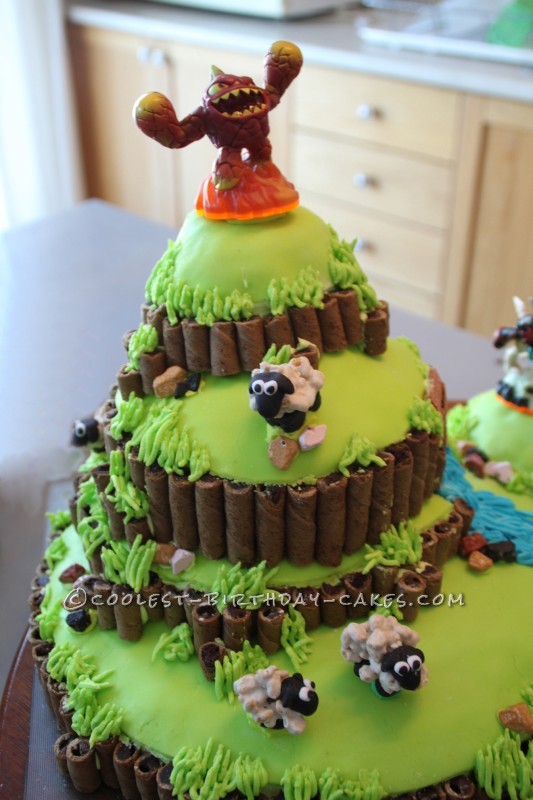
Eruptor’s the king of the castle.
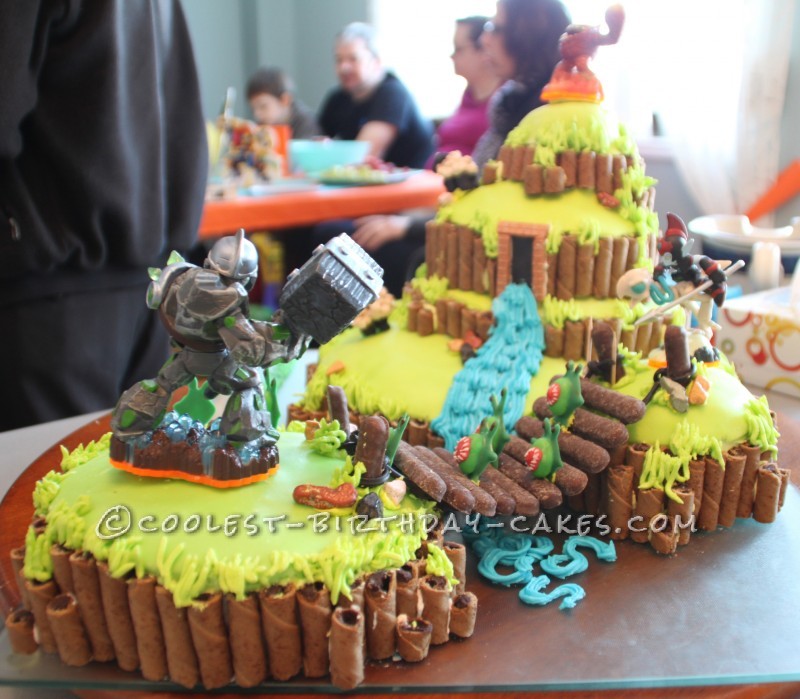
No trolls under that bridge
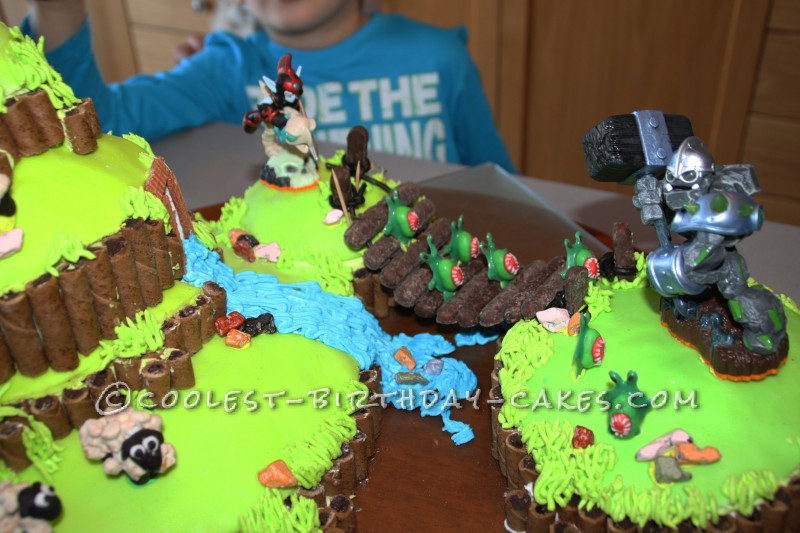
Crusher defeating the chompies
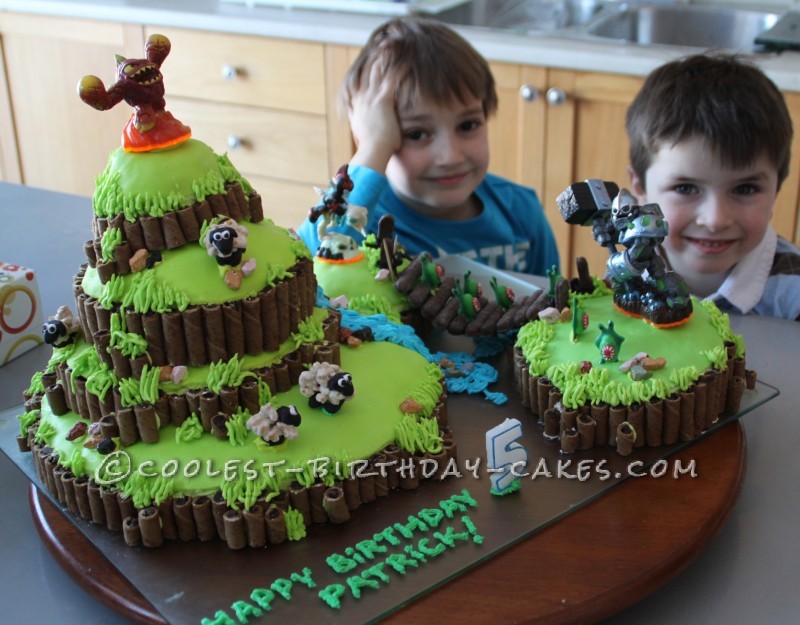
The cake judges giving their approval.


Amazing! Exactly what I was looking for for my obsessed 5 year old for his birthday cake! Thank you so much for the instructions, they helped give me the confidence to know how to complete this amazing cake!
What are clodhoppers? Will be replicating this week!!
This is a phenomal cake! What icing tip did you use for the waterfall?
Thank you for the awesome ideas, and instructions. I think my cake came out incredible – people could not believe I made it and I still get compliments on it. Thank you thank you!!
LOVE this!!
thank you so much for this cake – it is going to make my sons day. Since we don’t have clodhoppers in the US I made marshmallow popcorn balls and it did the trick!
Thanks so much for the inspiration! My son loves the cake we designed based on your ideas and description.
You are totally awesome. Way to go. Love this
Great Cake!